
Smoked Pulled Beef
Last tested June 2026
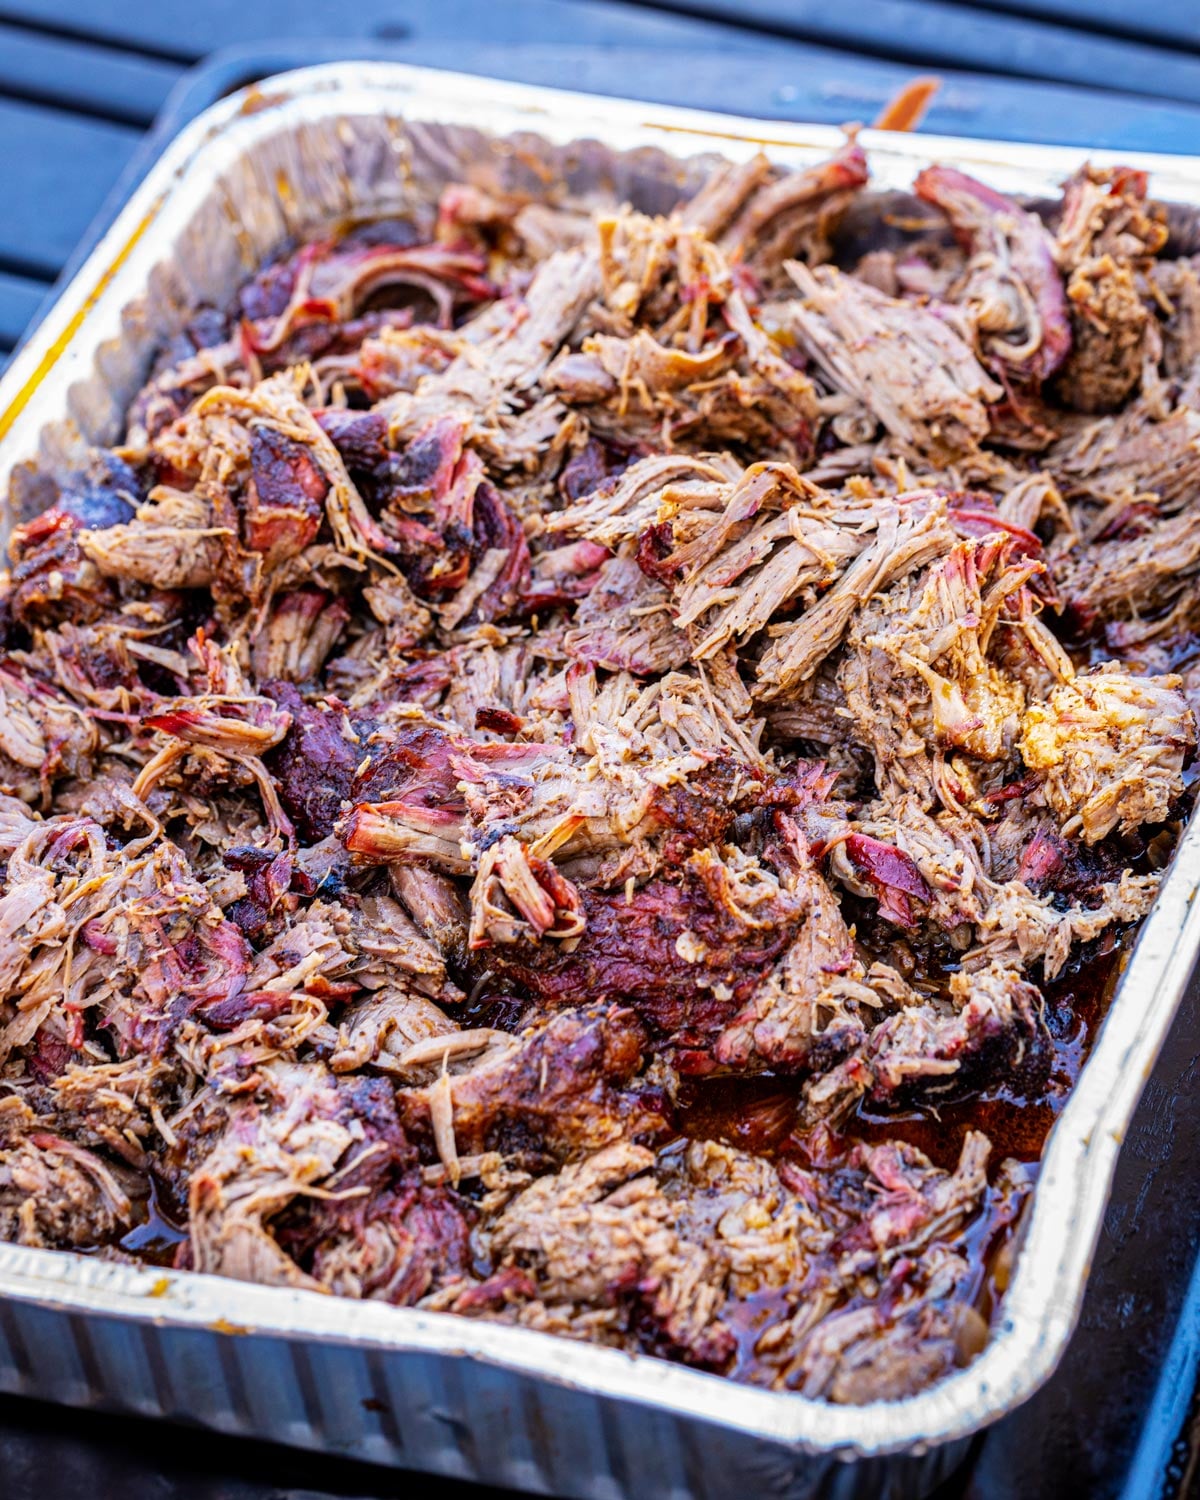
Chuck roast smoked and finished in a covered braise makes some of the best pulled beef you can put on the table. The two-stage process, smoke first and braise second, is what separates this from a basic smoked roast: the first phase builds bark and smoke penetration, and the second phase breaks the connective tissue down completely until the beef is tender enough to fall apart on its own.
Shredded beef has been a regular in our house for as long as I can remember, usually out of a slow cooker. About 10 years ago, my oldest son tried beef barbacoa at a Mexican restaurant and asked me to make it at home. That was the beginning of this becoming a monthly staple.
The seasoning shifts depending on the meal, but the process never does. Affordable, consistent, and versatile enough to show up in tacos, rice bowls, sandwiches, or straight off the pan.
Why This Process Works
- The beef shreds with almost no effort because the covered braise creates a sealed, steamy environment around the roast, which breaks down the collagen more completely than any dry smoke method would on its own.
- Two stages mean layered flavors you can taste: the unwrapped smoke phase drives bark and smoke penetration into the surface, and the braise phase pulls aromatics from the broth and onions into the meat as it finishes. You get both.
- Shredding in the braising juices rather than draining them makes a noticeable difference: the pulled beef absorbs the liquid as it cools slightly, which keeps every piece moist and means you are not trying to rescue dry shreds with added sauce at the end.
How Long to Smoke Pulled Beef
Plan for 7-8 hours total across two stages. The smoke phase runs about 3-4 hours at 250°F, and the braise phase runs another 3-4 hours at 300°F. Both phases are done by feel and probe tenderness, not a clock, so treat these numbers as a planning guide and always start earlier than you think you need to.
| Stage | Temperature | Target | Estimated Time |
|---|---|---|---|
| Smoke (unwrapped) | 250°F | 165-175°F and bark formed | 3-4 hours |
| Braise (with liquid) | 300°F | Probe tender around 205°F | 3-4 hours |
Pulled vs. Sliced: Why the Wrap Is Everything
Both pulled and sliced chuck roast smoke the same way and finish at roughly the same internal temperature. What separates them is what happens at the wrap.
This recipe goes into a covered pan or heavy duty foil with beef broth and onions once the bark has formed, which creates a braise environment inside the foil. The roast softens completely, the bark becomes part of the braising liquid, and everything shreds together.
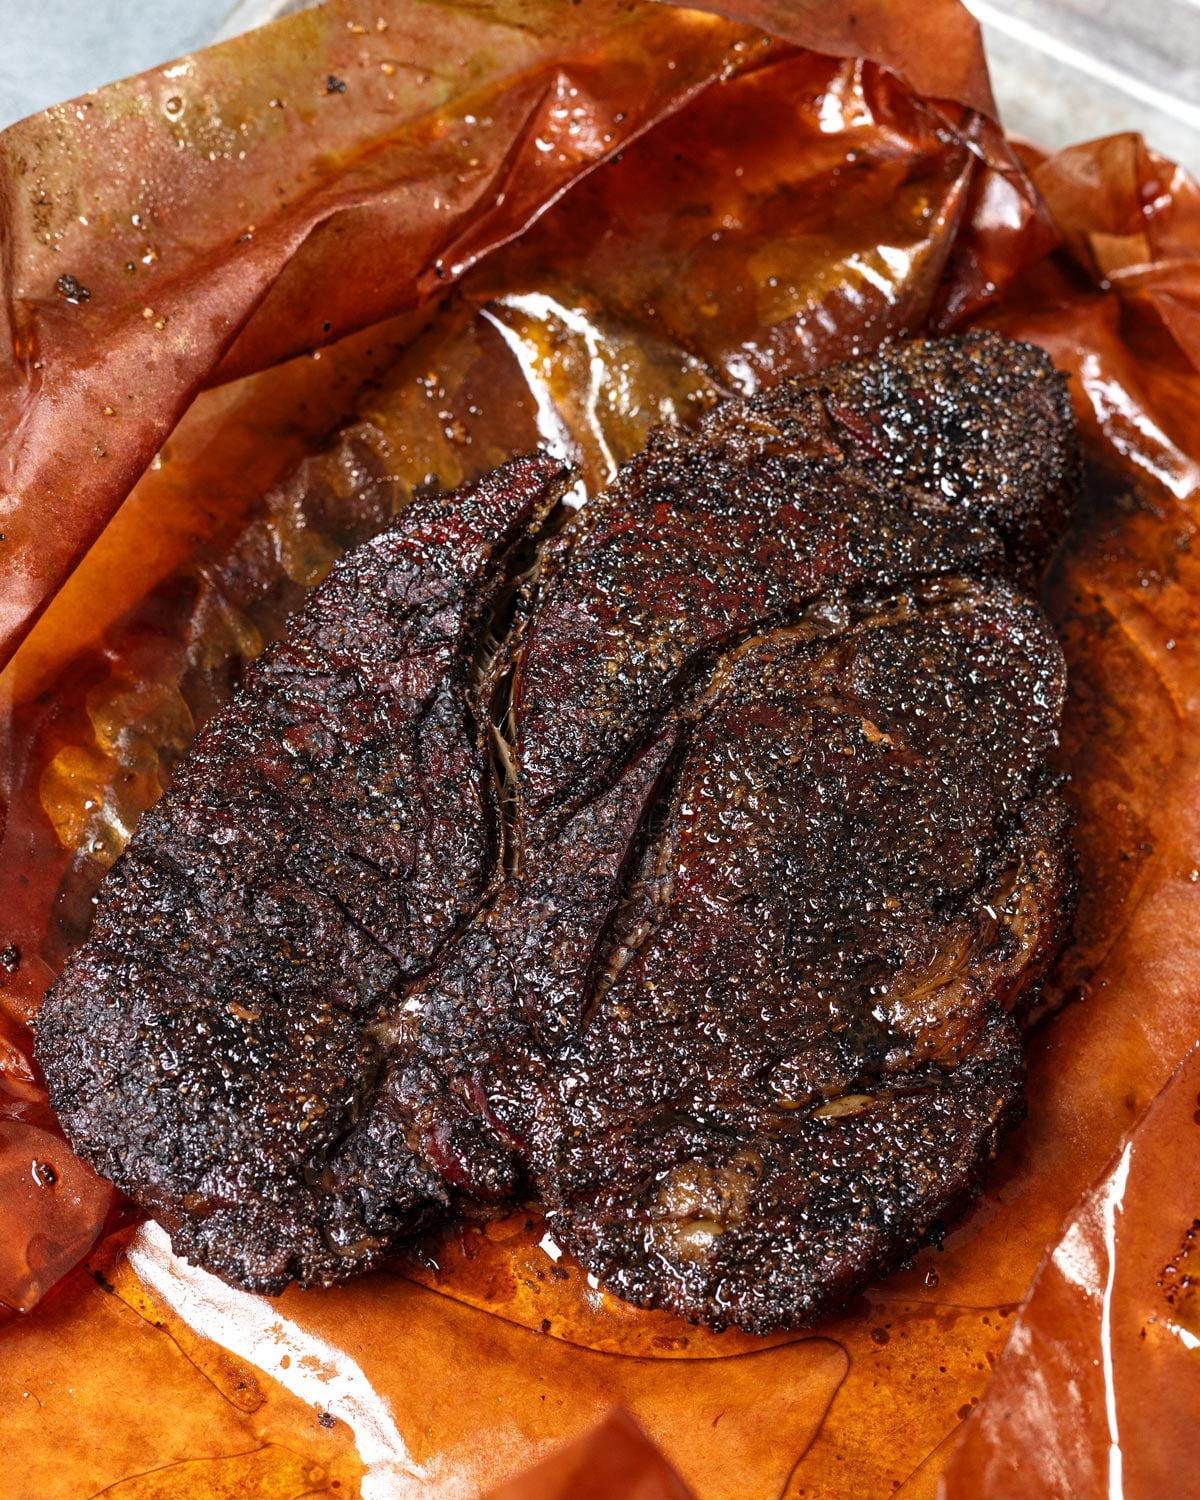
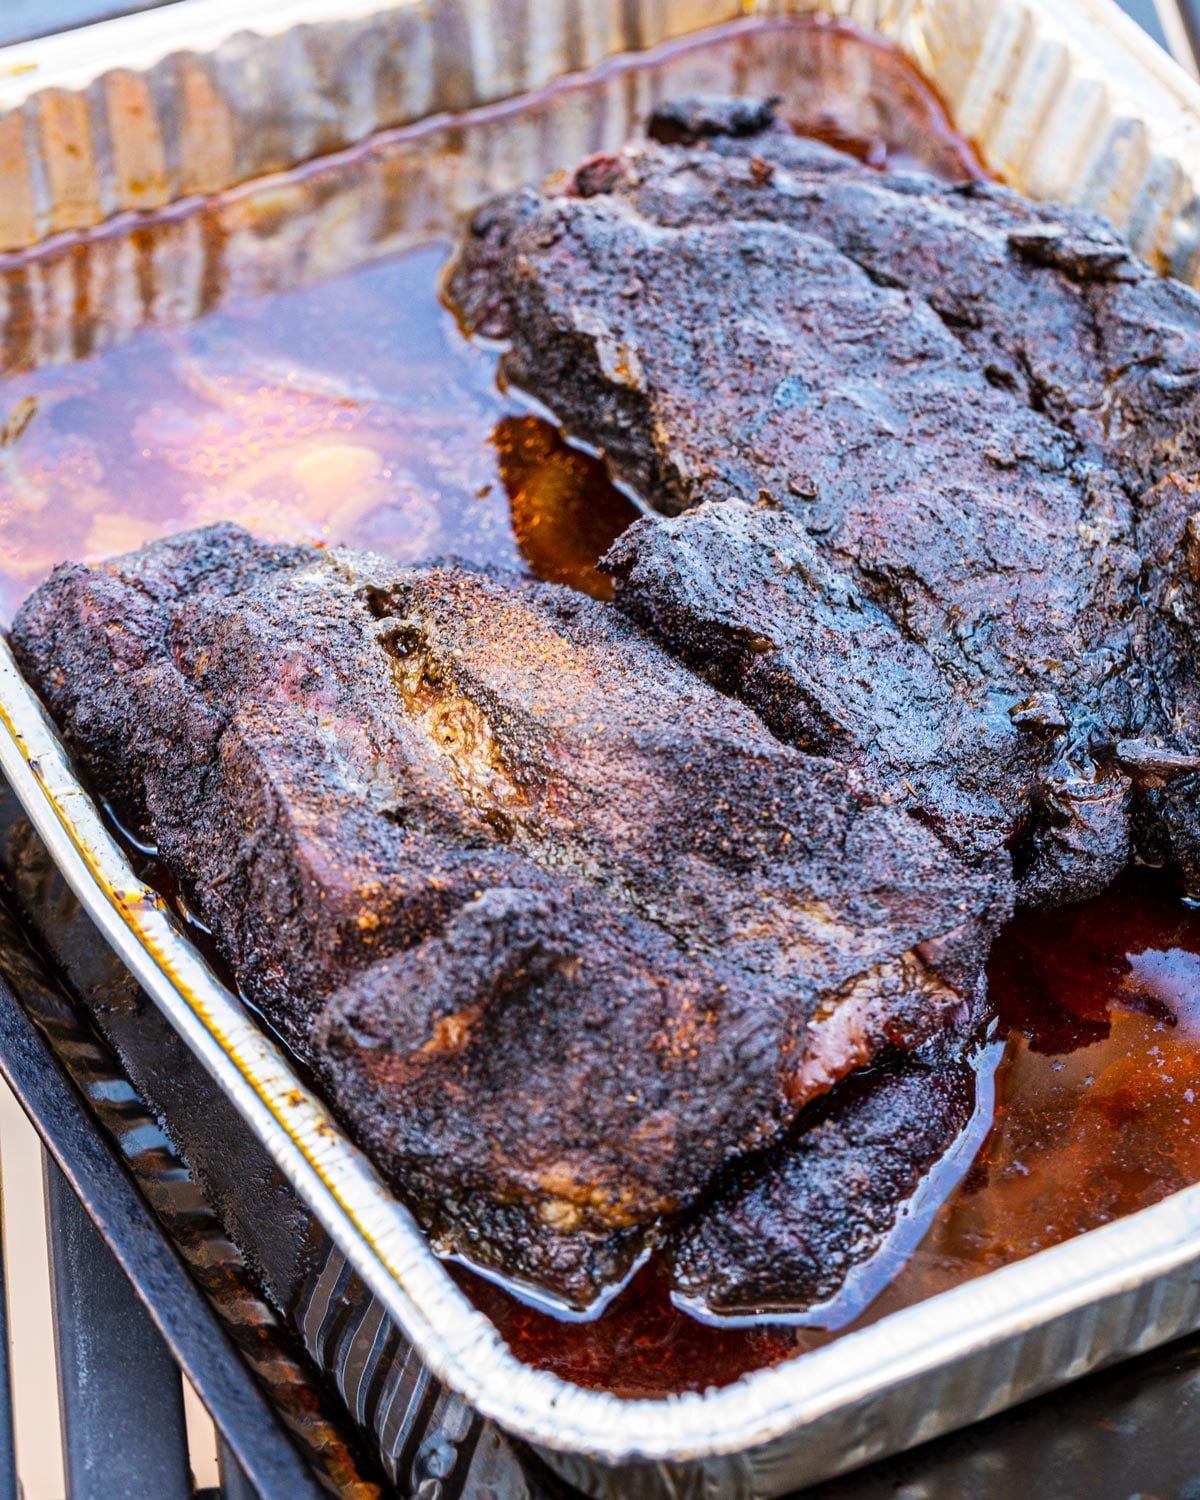
Sliced chuck roast uses a butcher paper wrap instead (shown below), which lets steam escape and keeps the exterior firm enough to hold a clean cut. The texture and the experience are genuinely different. If you want sliced brisket-style chuck roast, the full method is here: Smoked Chuck Roast, Poor Man’s Brisket.
How to Choose a Chuck Roast for Pulling
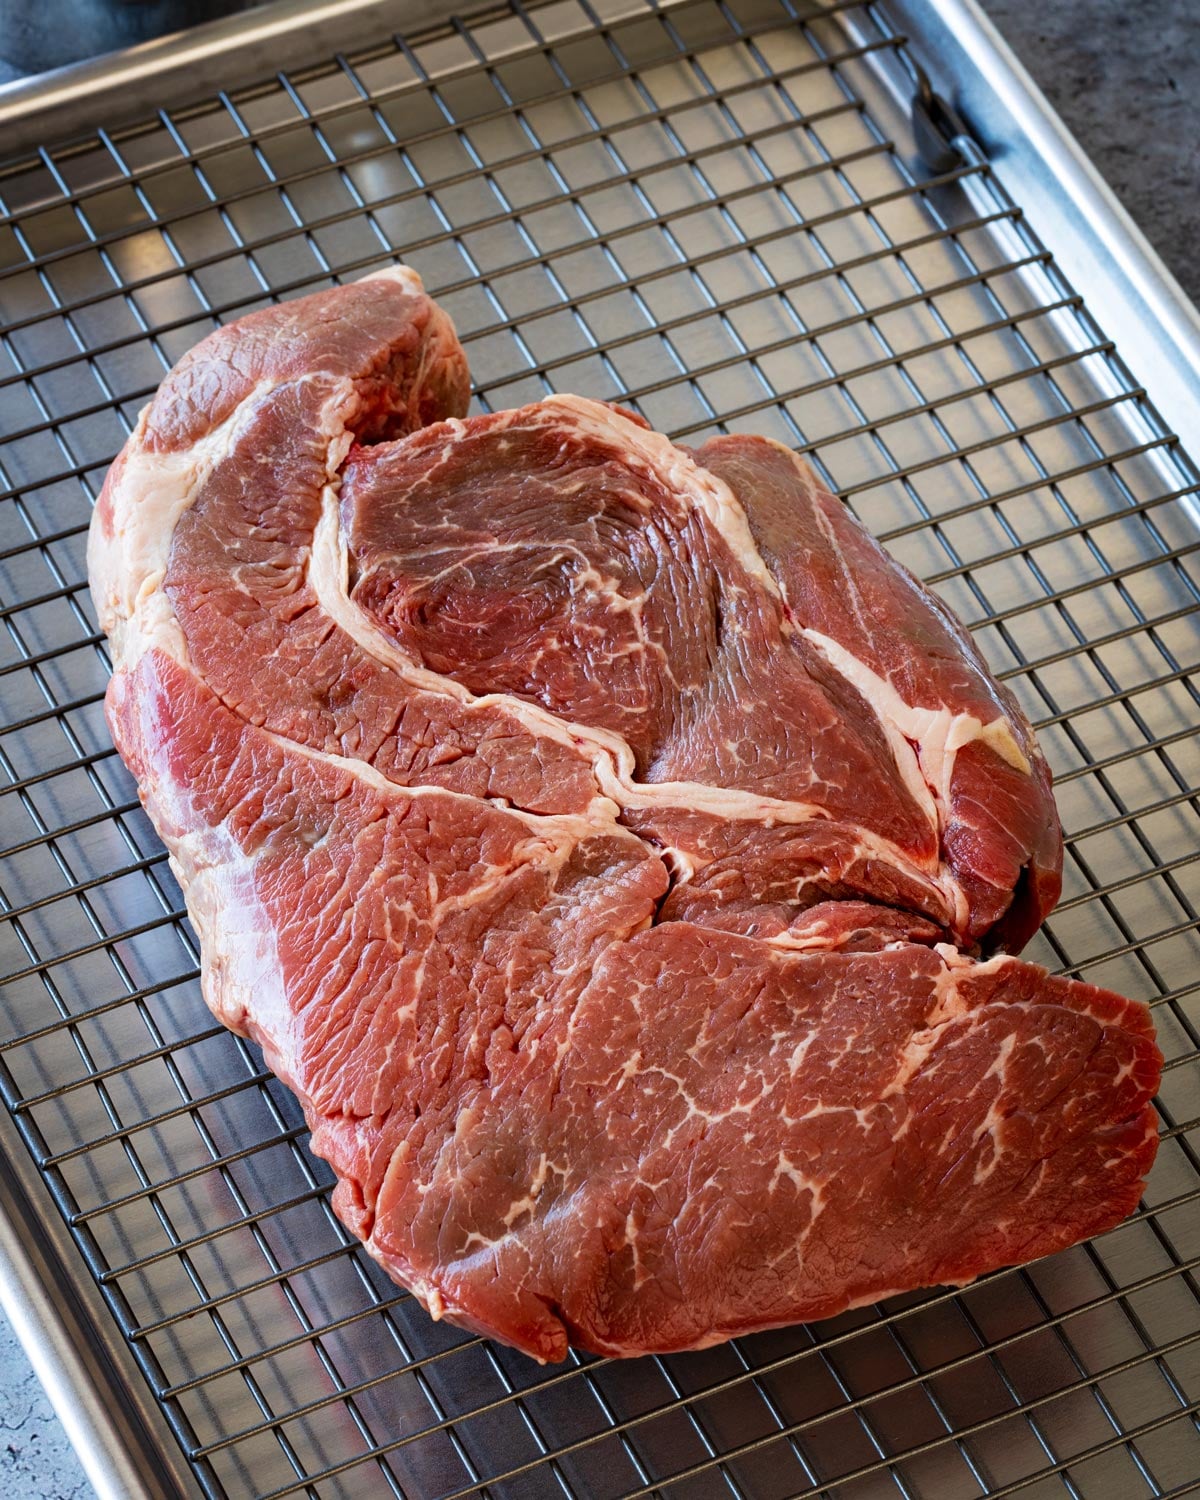
For pulled beef, the intermuscular fat band that runs through the center of the chuck roast is not a problem. It holds the different muscles together through the entire cook, and once the roast is fully braised and probe tender, you can pull it apart and discard the fat band cleanly without losing any meat. Do not trim it before the cook.
Look for good marbling within the muscles themselves. A Choice grade roast with visible intramuscular fat will shred more evenly and eat better than a leaner Select grade. Prime chuck is worth it when the price is right.
How to Season Smoked Pulled Beef
The seasoning on this recipe has more flexibility than the sliced version because the bark softens in the braise anyway. You are still building flavor at the surface, but the bark becomes part of the braising liquid rather than a standalone crust, which means you can push into bolder spice territory without it feeling aggressive in the final dish.
Salt and Pepper Base: 50/50 kosher salt and coarse black pepper, equal parts by volume. This is the foundation, and it works every time. Apply generously on all sides.
I’ll typically make a seasoning blend like this for smoked beef, scaled for about 4 pounds:
- 1.5 teaspoons kosher salt
- 1.5 teaspoons coarse black pepper
- 1 teaspoon granulated garlic
- 1 teaspoon chili powder
Canyon Crust Beef Seasoning: Our first choice for smoked pulled beef. The blend is built around the same salt-and-pepper base with added garlic, chiles, and depth that integrates well into the braising liquid and comes through in the shredded meat.
Sedona Sand Fiesta Seasoning: Use this if you want the pulled beef to lean southwest. The chile and aromatic profile gives you something close to smoked barbacoa, and it pairs well with the onion-and-broth braise.
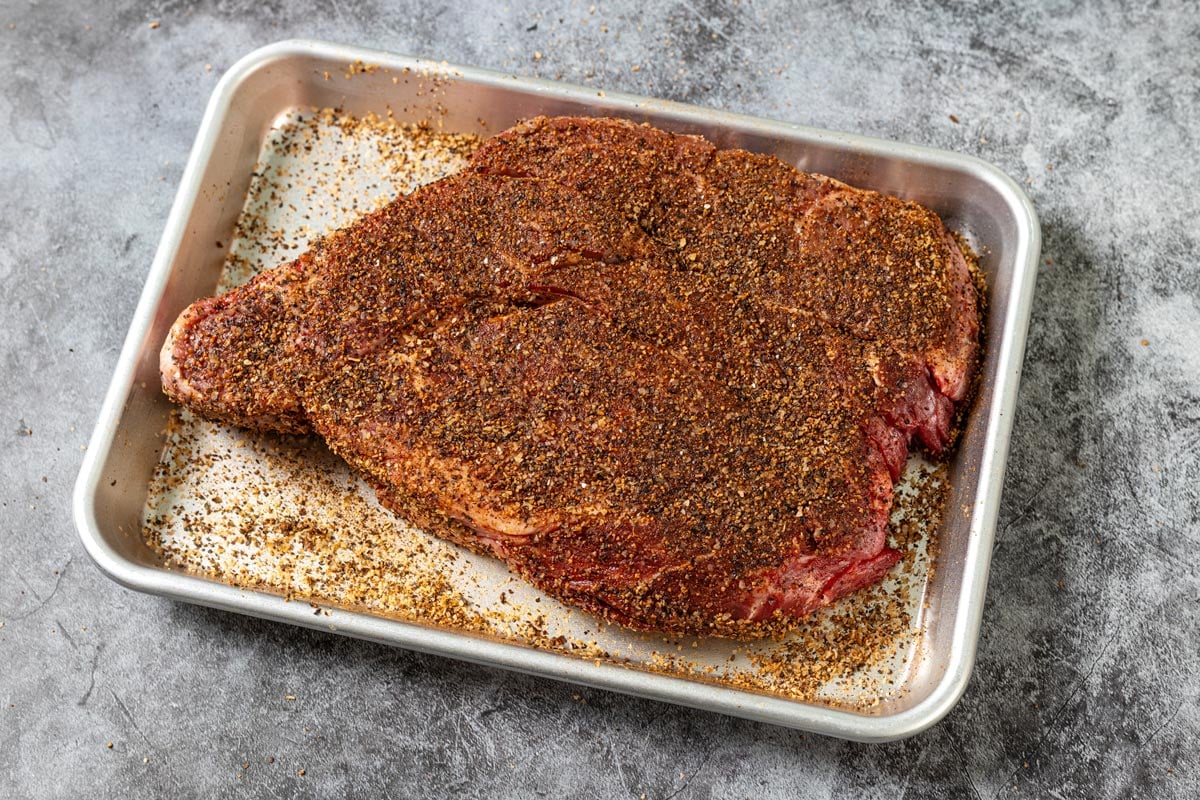
Stage 1: Smoke the Chuck Roast
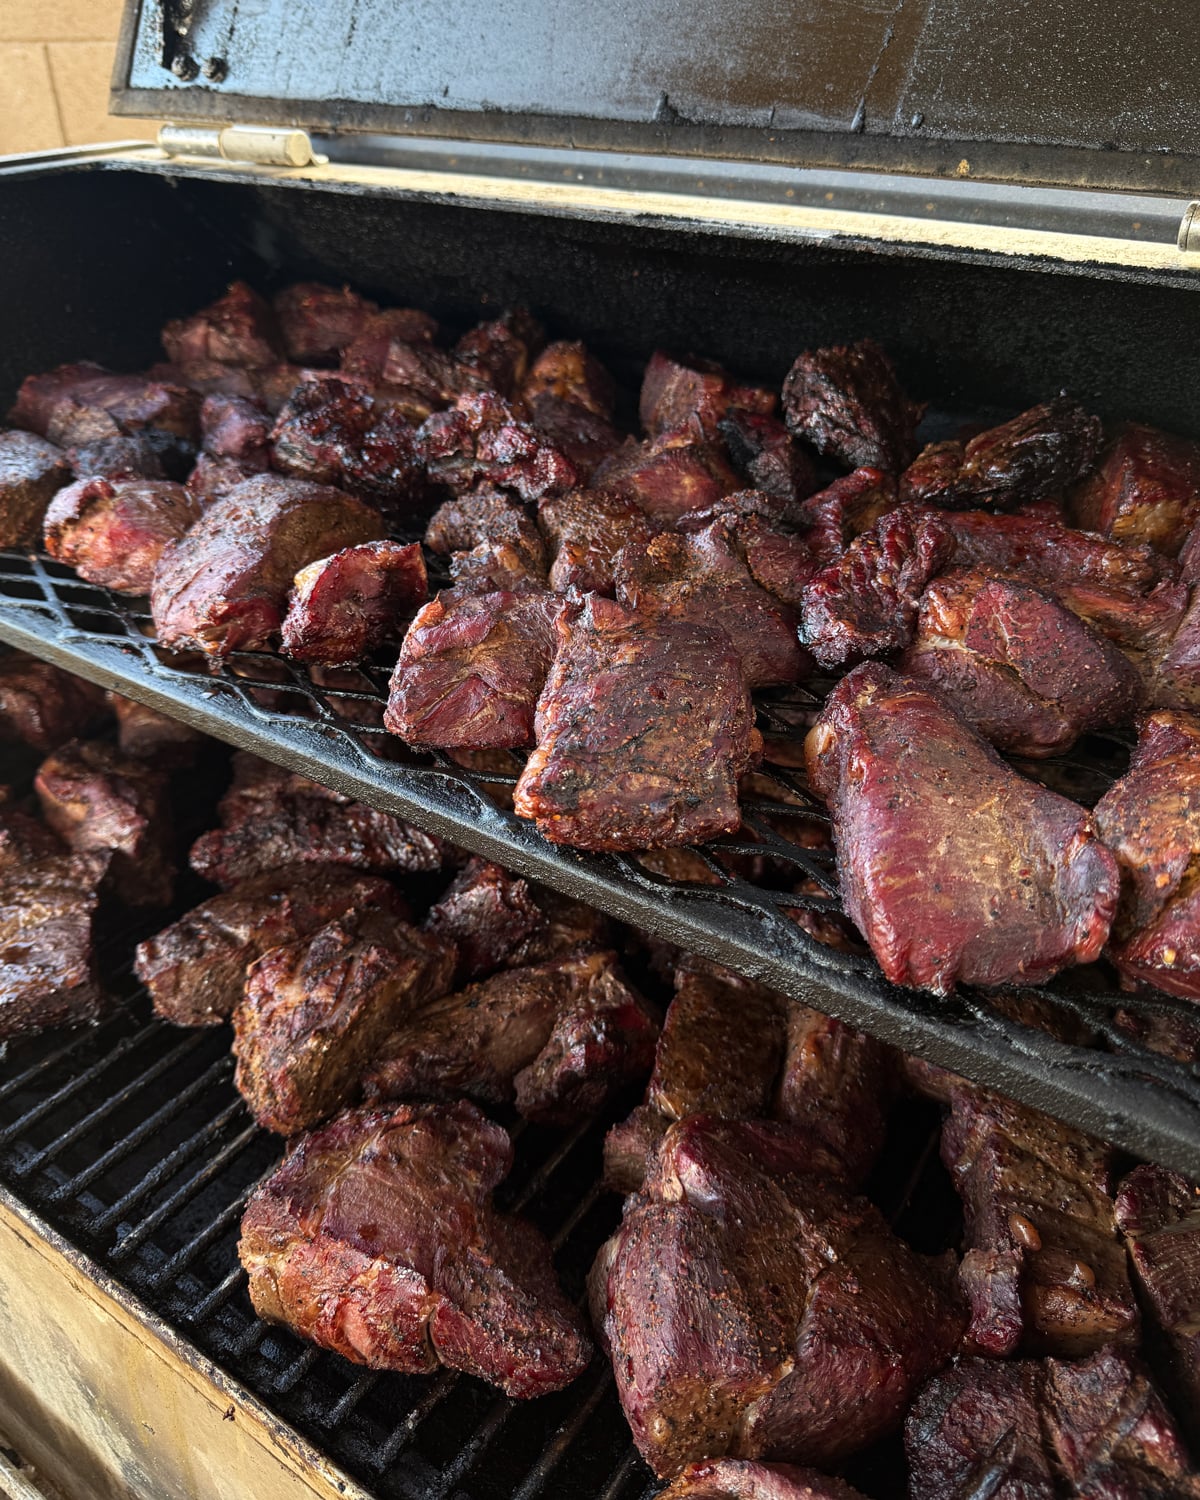
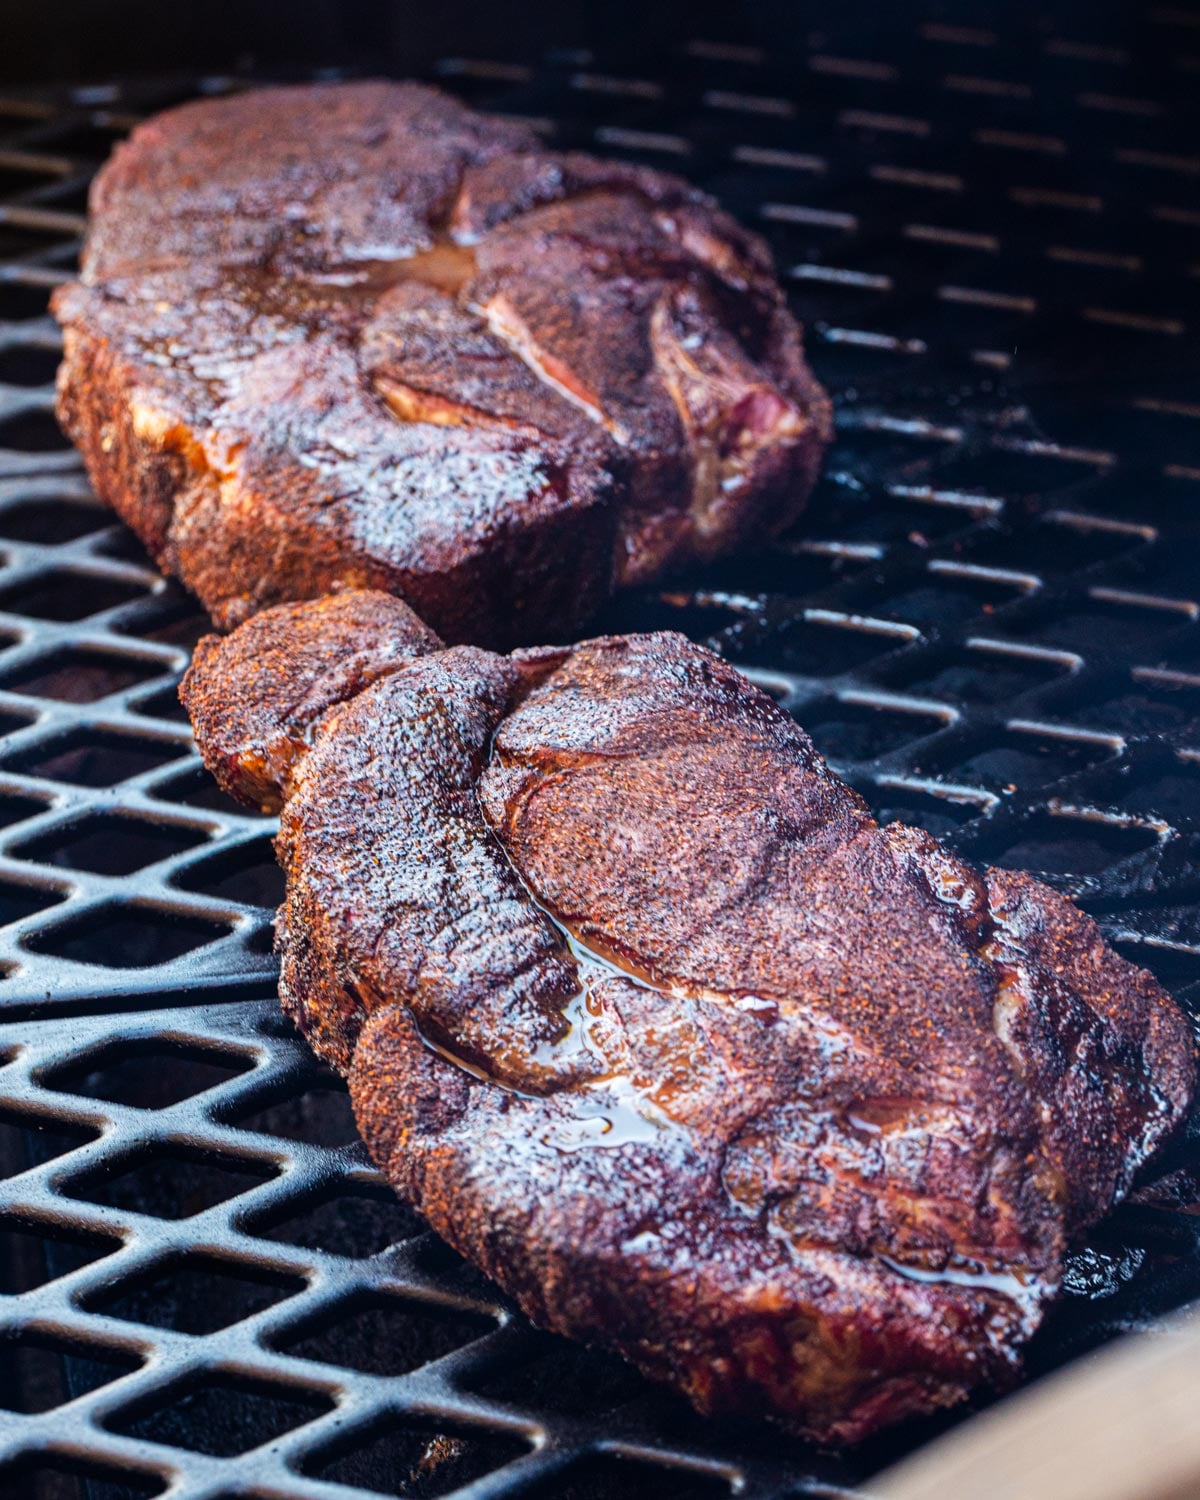
Preheat your smoker to 250°F. Place the seasoned chuck roast on the grates and close the lid. This works on a pellet grill, offset, or charcoal set up for indirect cooking. You want steady heat and clean smoke running through the chamber.
After the first hour, you can begin spritzing every 45 minutes to an hour. Since the beef is going into a braise, spritzing is less critical here than it would be on a sliced cook, but if you want to layer flavor into the bark before the wrap, coffee or flat stout are the moves.
Smoke until the internal temperature reaches 165-175°F and the bark has formed into a visible, darkened crust on the surface. This takes roughly 3-4 hours depending on the size of the roast.
The exact temperature matters less than the bark: you want enough crust built before the braise so the smoke flavor is locked in.
Stage 2: The Braise
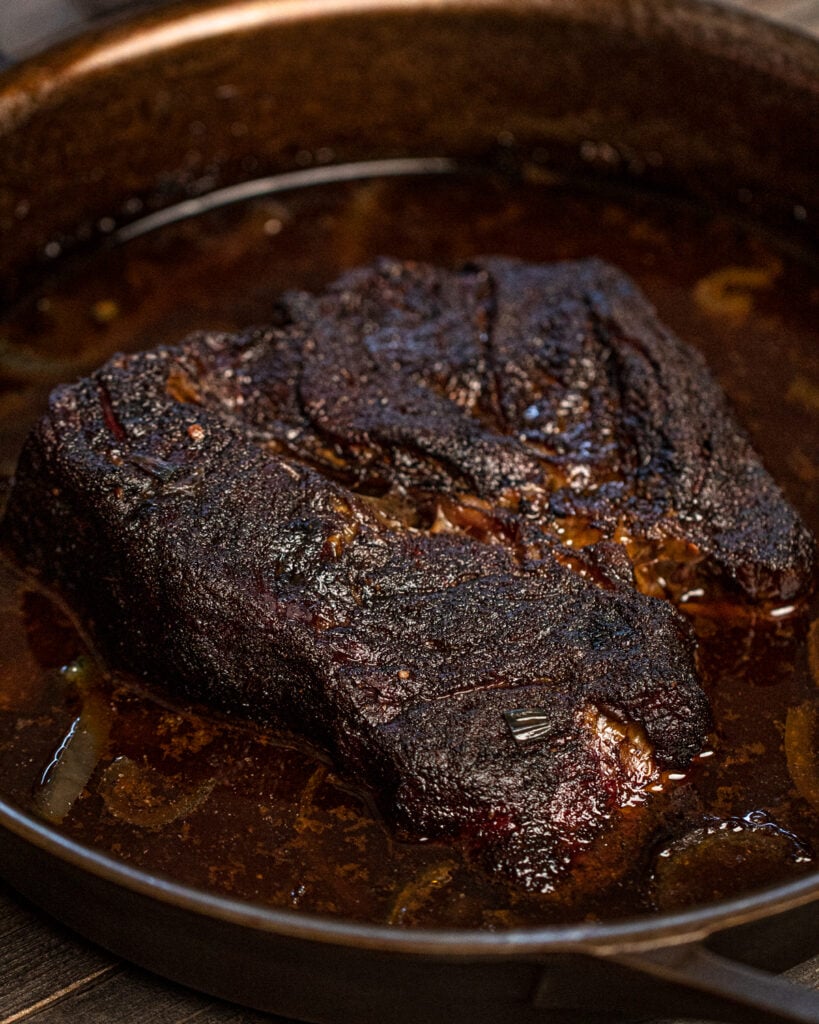
This is what makes pulled beef different from sliced. Place the smoked chuck roast into a heavy-duty foil pan or a cast iron skillet large enough to hold it. Both work the same way here, so use whichever you prefer. Pour about 1/3 cup of beef broth into the pan around the roast, not over it.
The meat does not need to be submerged, just enough liquid to generate steam inside the sealed environment. Lay the sliced onions around the roast if using. Cover tightly with heavy-duty aluminum foil, or use a lid if your vessel has one. No steam should be escaping.
Increase the smoker temperature to 300°F and return the covered pan to the smoker.
The beef will continue cooking inside the covered pan, now both smoking and braising simultaneously. The broth steams inside the sealed pan, breaking the connective tissue down further than the dry smoke phase would on its own. The onions add sweetness and depth to the liquid, and all of it absorbs into the meat as it finishes.
Cook until a probe or instant-read thermometer slides into the thickest part with absolutely no resistance, the same feeling as pushing it into a jar of peanut butter. That is when the collagen has fully converted and the beef is ready to shred. If there is any resistance at all, keep going.
Pro tip: Once the roast is covered and sealed, you can finish the braise in an indoor oven at 300°F. There is no benefit to keeping it on the smoker at this stage since the sealed environment means no additional smoke is getting in anyway. Free up your smoker and use the oven.
How to Rest and Shred
Once the beef is probe tender, remove the pan from the smoker and leave it completely covered. Rest at room temperature for at least 45 minutes before touching it. The beef will be extremely hot, and the rest allows the juices to settle back into the meat before you break it apart.
For shredding, I use cotton gloves with a layer of disposable gloves over them. That combination gives you heat protection and keeps everything clean. Pull the muscles apart directly in the pan and discard the intermuscular fat band as it separates. Mix the shredded beef through the braising liquid so every piece is coated.

Make-Ahead and Storage
Just like chili, this beef is genuinely better the next day. Once shredded and resting in its juices overnight, the meat reabsorbs the braising liquid and the flavor deepens. If you have the time, cook it the day before and reheat low and slow before serving.
Keeping it warm: Leave the beef in the covered pan and hold it in a 170°F oven or an insulated cooler. Shred to order when possible rather than holding it already shredded.
Refrigerator: Cool the beef down to a safe temperature before sealing and refrigerating. Store with the braising liquid for up to 4 days. It works in tacos, rice bowls, burritos, sandwiches, pasta, and wraps.
Reheating: Reheat in a covered skillet over low heat with a splash of beef broth until just warmed through. A 325°F oven covered in its juices also works well.
Freezer: Freeze in portions with some of the braising liquid for up to 3 months. Thaw overnight in the fridge and reheat the same way.
Pro Tips from the Pit
- Start at least an hour earlier than you think you need to. Pulled beef is easy to hold warm in a covered pan in a cooler or low oven, and impossible to rush if you fall behind.
- The stall at 165-175°F is your cue to braise, not a problem to solve. That is exactly when you move to the covered pan. The temperature will climb steadily once it is sealed in with the liquid.
- Use a foil pan that fits the roast snugly. A pan that is too large means the broth is spread too thin and evaporates before the beef finishes. The roast should fit with just enough room for the liquid around it.
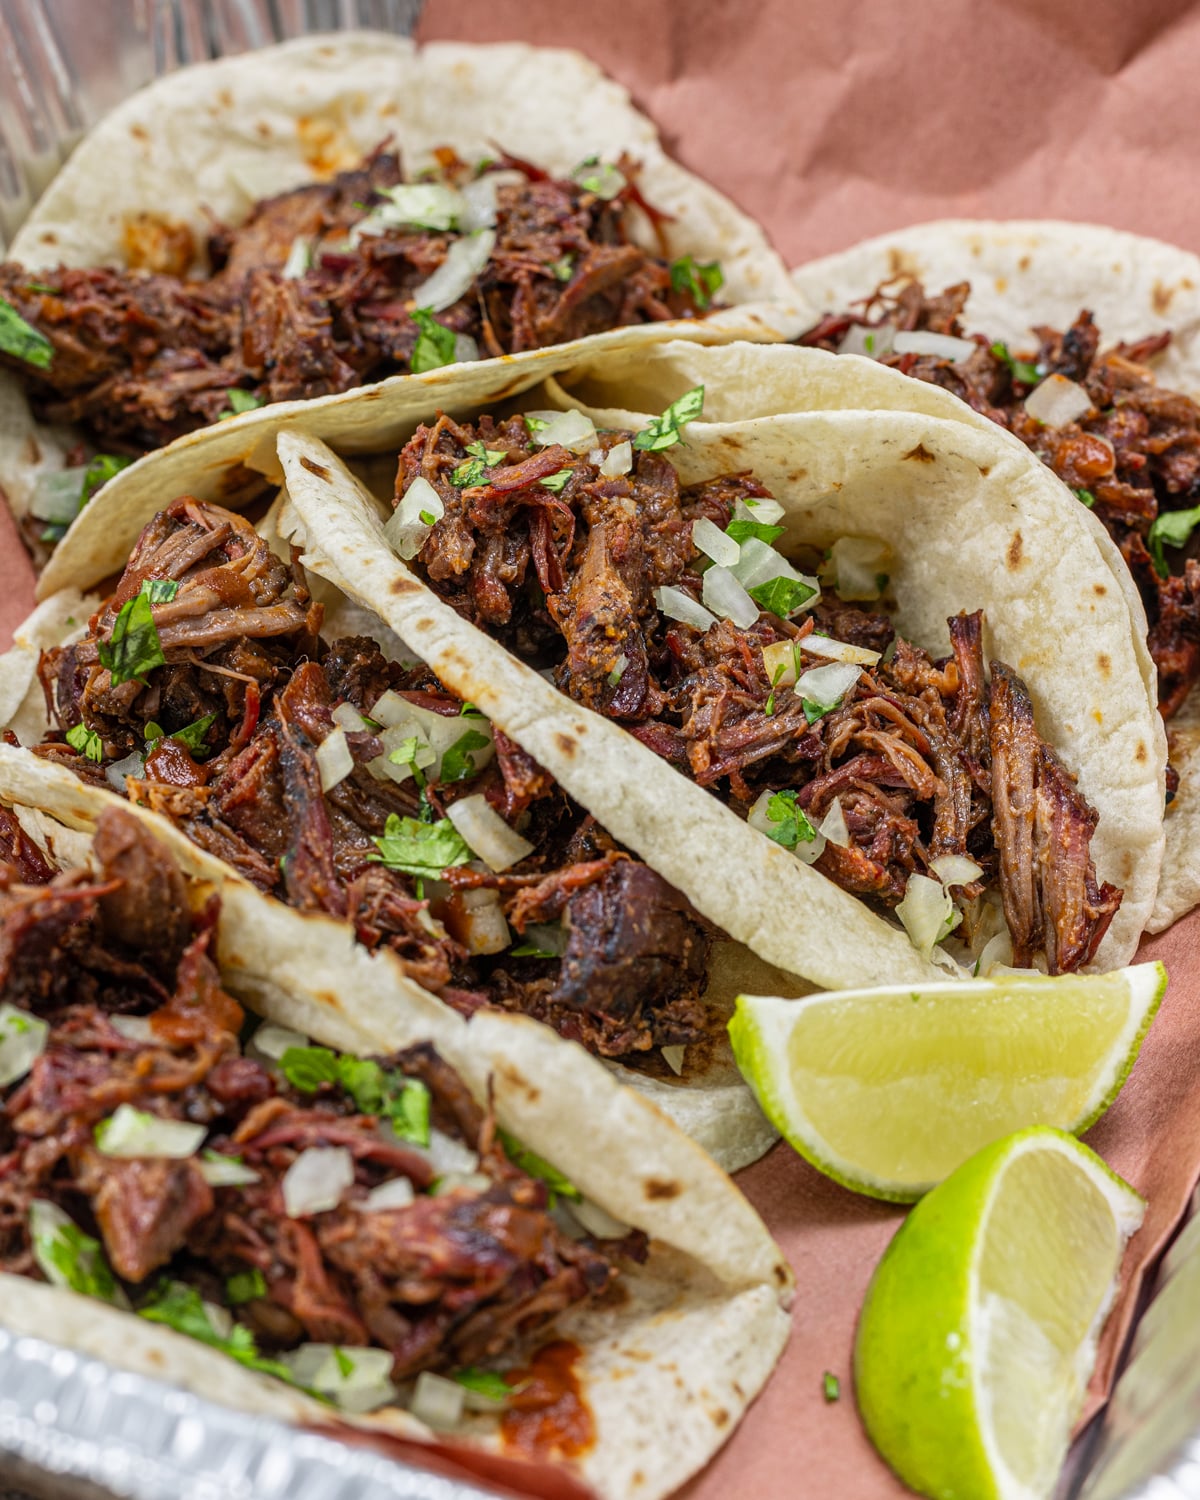
What to Serve With Smoked Pulled Beef
Pulled beef works over or alongside almost anything. These are the pairings that make the most sense.
- Smoked Baked Potatoes: load them with pulled beef and you have a full meal off one plate.
- Smoked Mac and Cheese: runs in the smoker alongside the roast during the first phase with no extra effort.
- Smoked Baked Beans: same setup as the mac, same timing, easy to run both at once.
- Smoked Jalapeño Poppers: good while the beef is in its rest, and the heat plays well against the rich braising juices.
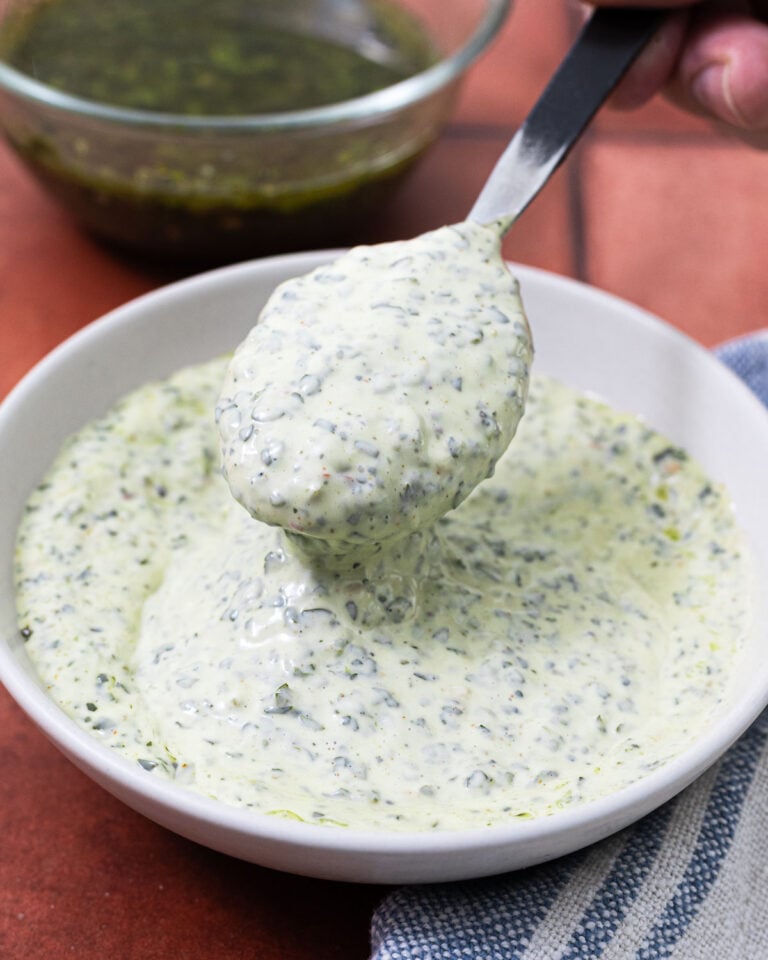
- Charred Salsa Verde: if you are going tacos or bowls with the pulled beef, a spoonful of this over the top is the move.
Frequently Asked Questions
Probe tender around 205°F, but use feel as your final check rather than the number. The thermometer should slide into the thickest part with almost no resistance, like a jar of peanut butter. If there is resistance at 205°F, keep cooking. Some roasts need another 30-40 minutes before they fully relax and shred cleanly.
Yes, and the wrap is what makes it pulled rather than sliced. Once the bark has formed around 165-175°F, the roast goes into a covered pan with beef broth and onions. That sealed environment creates a braise inside the foil, which breaks the connective tissue down more completely than a dry smoke would on its own. Butcher paper wrap, by contrast, lets steam escape and keeps the exterior firm enough to slice. The wrap is the fork in the road between these two recipes.
About 1/3 cup is the right amount for a 3-4 lb roast. Coffee and flat stout are the best choices since they add depth that carries into the finished beef. Beef broth works as a neutral base if you want to keep things simple, but it does not add much flavor on its own. From there you can add aromatics like smashed garlic, sliced onion, a splash of Worcestershire, or a spoonful of tomato paste depending on the flavor direction you want.
Yes, and it is genuinely better the next day. Cook it fully, shred it in the juices, cool it down to a safe temperature, and refrigerate in a sealed container. The beef reabsorbs the braising liquid overnight and the flavor deepens. Reheat in a covered skillet over low heat with a splash of liquid. For holding same-day, keep it in the covered pan in a 170°F oven or insulated cooler and shred to order.
More Beef Recipes
- Smoked Chuck Roast, Poor Man’s Brisket: the sliced version of this same cut. Different wrap, different result, worth knowing both.
- Smoked Brisket: the full packer when you have the time and the occasion.
- Smoked Beef Plate Ribs: single-bone beef ribs smoked until the meat pulls back from the bone.
- Smoked Meatballs: a low-and-slow take on a weeknight staple, worth adding to the rotation.
- Juicy Smoked Burgers: smoked patties with a reverse-sear finish for a proper crust.
Try It and Tag Us
Give this a try and leave a star rating and comment below. It helps other people find the recipe, and I read every one. Tag us on Instagram when you do.
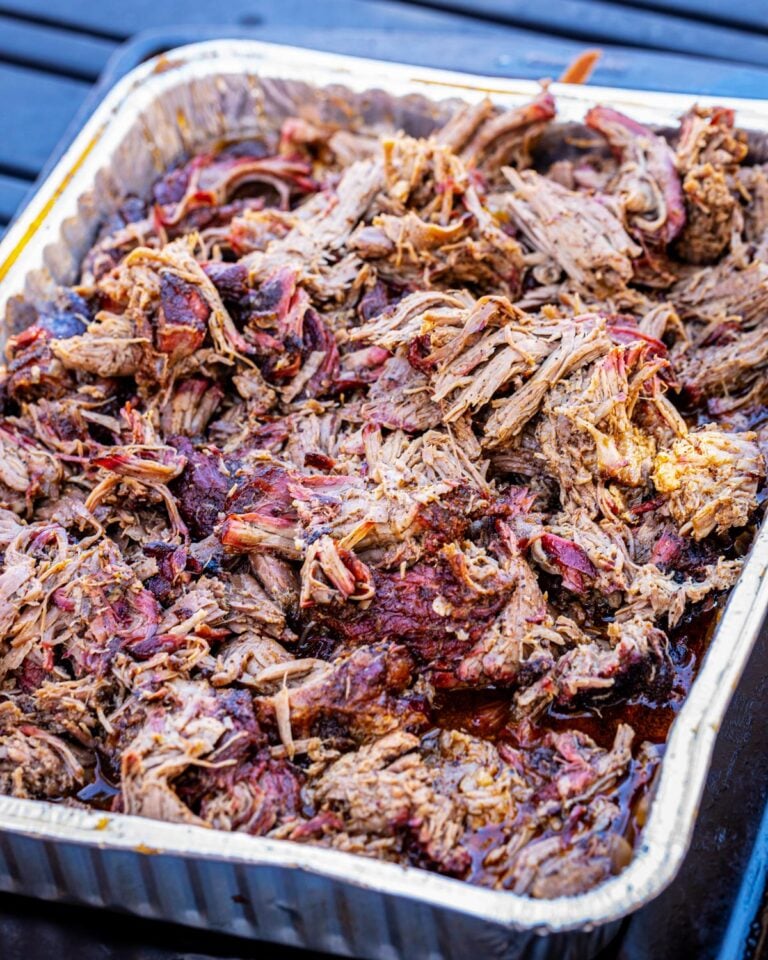
Smoked Pulled Beef
Chuck roast smoked low and slow and finished in a covered braise until the beef is completely tender and falls apart when shredded. A two-stage method that builds real smoke flavor before breaking the beef down completely.
- Total Time: 8 hours
- Yield: 8 servings 1x
Ingredients
- 1 beef chuck roast, 3-4 pounds
- 2 tablespoons Canyon Crust Beef Seasoning, more as needed
- 1/3 cup liquid for braising (coffee, flat stout, or beef broth)
- 1/2 onion, sliced thin (optional)
Instructions
- Season the chuck roast generously on all sides. For best results, season and refrigerate uncovered for 2-24 hours before cooking.
- Preheat your smoker to 250°F. Place the chuck roast on the grates and close the lid.
- After the first hour, you can begin spritzing with coffee or flat stout every 45 minutes if desired. Smoke until the internal temperature reaches 165-175°F and a visible bark has formed on the surface, roughly 3-4 hours.
- Transfer the roast to a foil pan or cast iron skillet. Pour 1/3 cup of liquid around the roast. Add sliced onion if using. Cover tightly with heavy-duty foil or a lid so no steam escapes.
- Increase the temperature to 300°F. Return the covered pan to the smoker, or transfer to an indoor oven at 300°F. There is no benefit to the smoker at this stage since the sealed pan blocks additional smoke.
- Cook until a probe slides into the thickest part with absolutely no resistance. Remove from heat and rest completely covered for at least 45 minutes.
- Shred directly in the pan. Mix the shredded beef through the braising liquid before serving.
Notes
Start earlier than you think you need to. Timing varies by roast size, fat content, and smoker. The beef is done when a probe slides in with almost no resistance, not just when it hits a number. Leftovers keep refrigerated for up to 4 days; store with the braising liquid and reheat low and slow covered.
- Prep Time: 15 minutes
- Cook Time: 7-8 hours
- Category: Beef & Lamb
- Method: Braising, smoking
- Cuisine: American BBQ
- Diet: Gluten-Free
Nutrition
- Serving Size:
- Calories: 308
- Sugar: 0.6 g
- Sodium: 975.3 mg
- Fat: 11.5 g
- Carbohydrates: 3.5 g
- Protein: 45.2 g
- Cholesterol: 134 mg

Brad Prose has been crafting recipes over live fire for 20 years. He’s the author of two cookbooks, Chiles and Smoke and Epic BBQ Sandwiches, and the creator of the original smash burger taco, as credited by the Washington Post, TODAY Show, Good Morning America, and Food Network. Brad is the force behind Chiles and Smoke, the home of Sonoran BBQ: bold flavors built around chiles, smoke, and the traditions of the American Southwest. Follow along on Instagram, YouTube, and Facebook.



This recipe used to include the spice rub ingredients and quantities. Does anyone remember what those were?
It’s in the seasoning section, here you go:
1.5 teaspoons kosher salt
1.5 teaspoons coarse black pepper
1 teaspoon granulated garlic
1 teaspoon chili powder
I typically make a bigger batch, just to make sure I have enough on hand.
Amazing blog thanks
Thank you!
Food looks good
Thank you!
good
Can’t wait to try this this weekend…. Roughly how long per pound do you think cooking on the first part and the second part? I was going to go 3 hours then put it in the broth for roughly how much longer?
It’s going to be around 3 hours, but I go by temperature. Chuck roast can vary quite a bit with fat and size, but 3 hours is a good estimate to start checking. Check the guide above for a walkthrough on what to look for with the details for timing and texture.
Nice blog. I will keep visiting this blog very often
Thanks David!
You can tell you’ve dialled in your process and the results come out perfect everytime. This will be a go to recipe in future!
This recipe is so easy to follow. It gives the humble chuck roast an entirely new spin. Half got consumed straight from the cast iron before it made it to anything.
Great to hear Nikki! I’m also a sucker for chomping down before it transfers into a taco 😂
Love this. Family always asks me to make this. Biggest thing I learned is cook to 200-205. Sometimes it will take longer other times it will take less time. Biggest thing is plan ahead. Get a empty cooler lines with blanket and another blanket or towel. If meat is done early just pop it in the cooler. It will stay at temp for 2-6 hrs
Thank you for the feedback! I’m glad to hear you are working through the variables, as meat seems to cook differently every time.
We make this all the time now, thank you! Two at a time will last our family through the week. Lots of tacos.
Haha thank you sir, glad you enjoy
great post, very informative. I wonder why the other experts of this sector don’t notice this. You must continue your writing. I’m sure, you’ve a huge readers’ base already!
I followed this recipe step by step with an angus chuck roast and I could not shred it. I had to cut it like a brisket and it tasted exactly like a brisket. It was amazing but I was trying to make shredded beef and that won’t happen. But def delicious, I am gonna use his recipe to make “brisket” for parties and save money on the meat haha.
Very interesting, feel free to hit me up directly. I’d love to help you get there and have it shred. I’ve been using the same process for a long time so I’m curious to know what went sideways.
So glad you enjoyed the end result no matter what. It’s delicious!