Roasted Hatch Chile Jam
Whether you want to dress up your Grilled Ham and Brie Sandwich, Smoked Turkey Breast, or take your Juicy Smoked Burgers to the next level, you will find yourself adding this luscious jam to everything. Spread it, smear it, spoon it directly into your mouth… just make it!
Why This Process Works
- Easy Process – This stovetop jam requires minimal work for maximum payoff. It can be broken down into three simple steps, chop, saute, and simmer.
- Versatility – This chile jam can dress up a burger while being completely at home on your next cheese or charcuterie board. Its complex flavors stand out on their own while also being the ultimate accent for countless dishes. Just like fireworks light up the sky, this Hatch chile jam will light up your palate.
- Balance of Flavors – Sweet, savory, smoky, spicy, tangy, and a little earthy. This chile jam has it all. It starts off a little sweet upon the initial taste but the irresistible, crave-worthy heat builds, making you go back for another bite.

Recommended Equipment
- Grill or Broiler – These Hatch chiles don’t roast themselves! You’ll need a heat source that can scorch the outside of the chiles, allowing them to blister and peel.
- Saucepan – The stovetop does all the work for this effortless creation. Once the chiles are roasted, everything else comes together quickly with minimal effort.
- Food Processor – Stick with this, a blender really purees the jam too much. Having a nice coarse texture is really important and adds to the experience. Here’s the food processor I use.
Check out the Hatch Chile Recipes Guide for details on how to roast them, store them, and more recipes. Read along as this will continue to be updated with new recipes and tips.
Ingredients You’ll Need
Go ahead, crack open a beer, and toast to your new favorite condiment. Combining pantry staples and a few fresh ingredients, this will become your jam when it comes to roasted Hatch chile recipes.
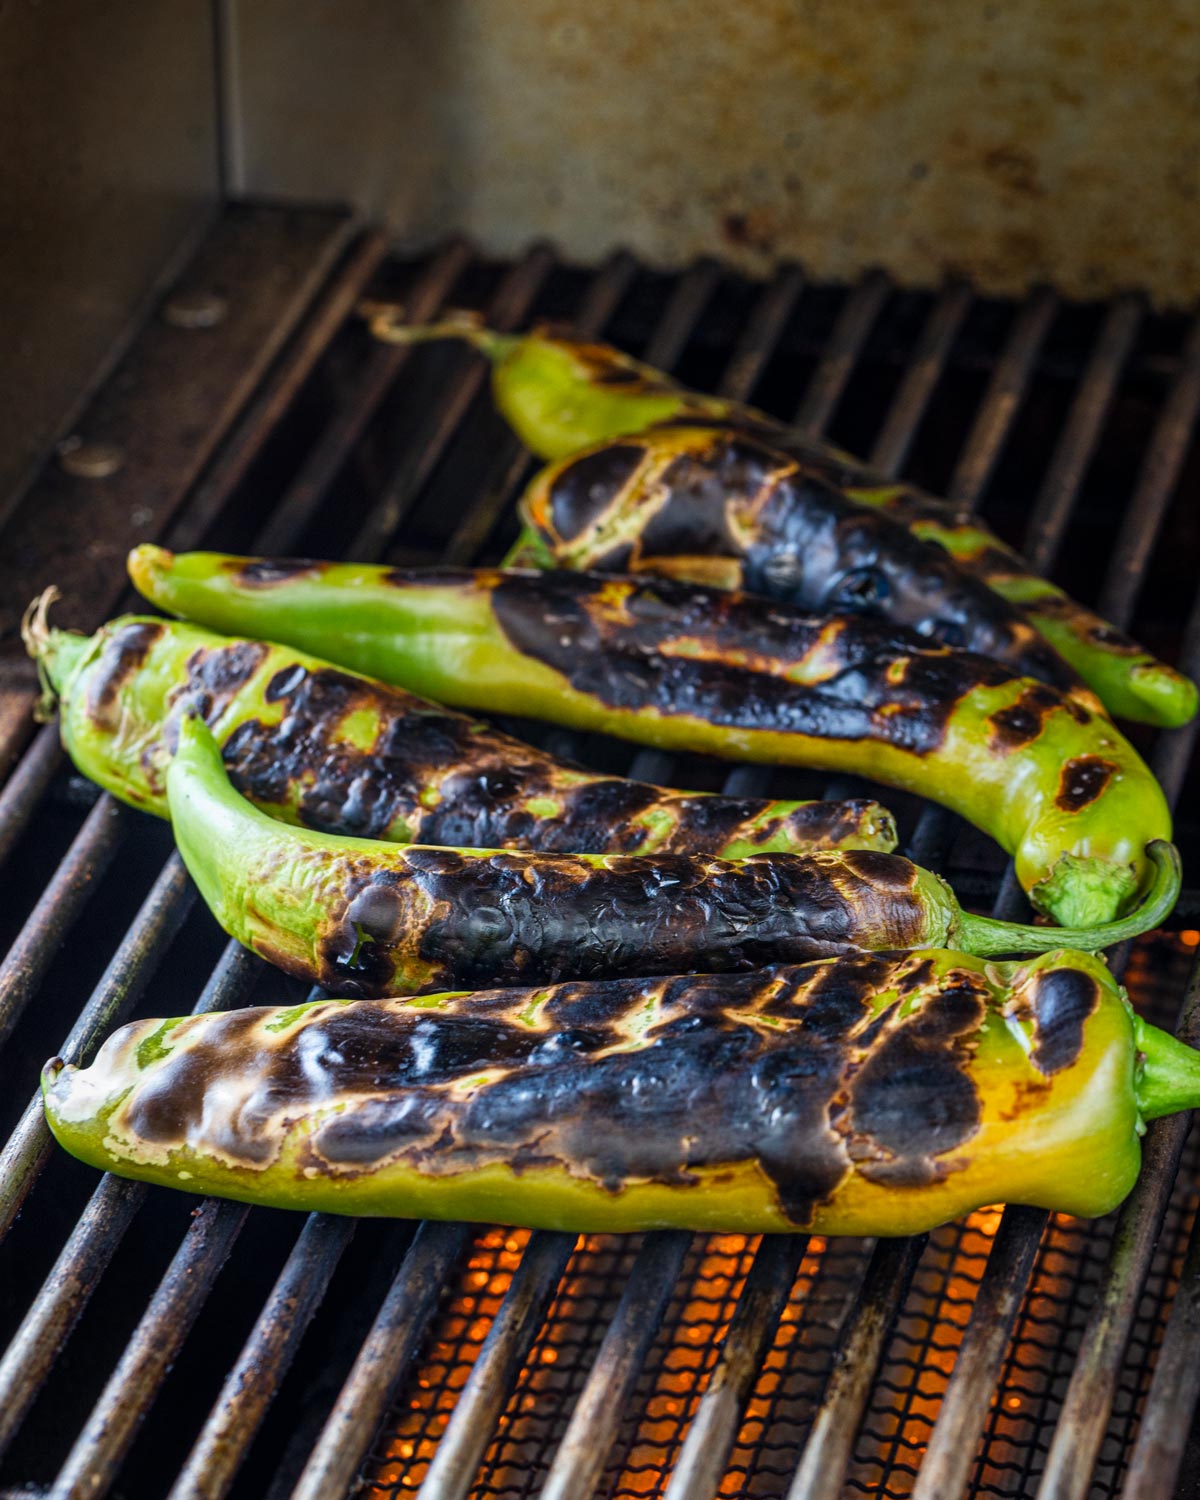
- Roasted Hatch chiles – Buttery, smoky, earthy, and a little bitter, these prized chiles are the stars of this savory jam. The roasted Hatch chiles can be prepared ahead of time, and you can also use roasted Hatch chiles you may have frozen.
- Neutral oil – Canola oil, avocado oil, and vegetable oil are all good options.
- White onion – Pungent yet mellow, this mildly sweet onion will build the first layer of savory flavor to balance the sweetness.
- Garlic cloves – Aromatic and sharp, garlic adds another layer of savoriness while also sweetening as it cooks.
- Amber beer/Apple juice – Complex yet smooth, this malty beer has a slightly toffee-like flavor that pairs well with a sweet and savory jam. Use your favorite for drinking in this recipe as the flavor will concentrate as it simmers down and reduces. You can also substitute the beer with apple juice. The apple juice will be a little lighter in flavor but add both a crisp and sweet backnote.
- Apple cider vinegar – This jam is all about balance. Apple cider vinegar adds a brightness that wakes everything up while also adding tang. In addition, it helps softly pickle the mustard seeds.
- Yellow mustard seeds – Sharp, bright, and spicy in the way of horseradish, these bring bold flavor and a fun pop of texture. There are just enough to wake up your taste buds and make them take notice, but not enough to overpower the roasted Hatch chiles. They will also soften as the jam simmers.
- Brown sugar – The caramel flavor of brown sugar pairs well with the toffee notes of the amber beer. There is just enough brown sugar in this recipe to create that decadent jammy texture that will have you spreading this on everything, but not so much sugar that it takes over.
- Ground Cumin – Earthy, a little citrusy, and deeply aromatic, cumin highlights the smoky flavors of the roasted Hatch chiles while perfuming all of the jam.
- Salt – Salt amplifies all of the ingredients, pulling out and accenting their natural flavors while tying everything together.
- Water – Just a bit allows the ingredients to simmer and reduce, letting their flavors concentrate without concentrating too much.
How to Make Hatch Chile Jam
- Heat up a little oil in a saucepan, and cook the onion and garlic down until softened. Add the diced Hatch chiles, and cumin. Mix everything together, and continue to cook for 3-5 minutes, stirring occasionally.
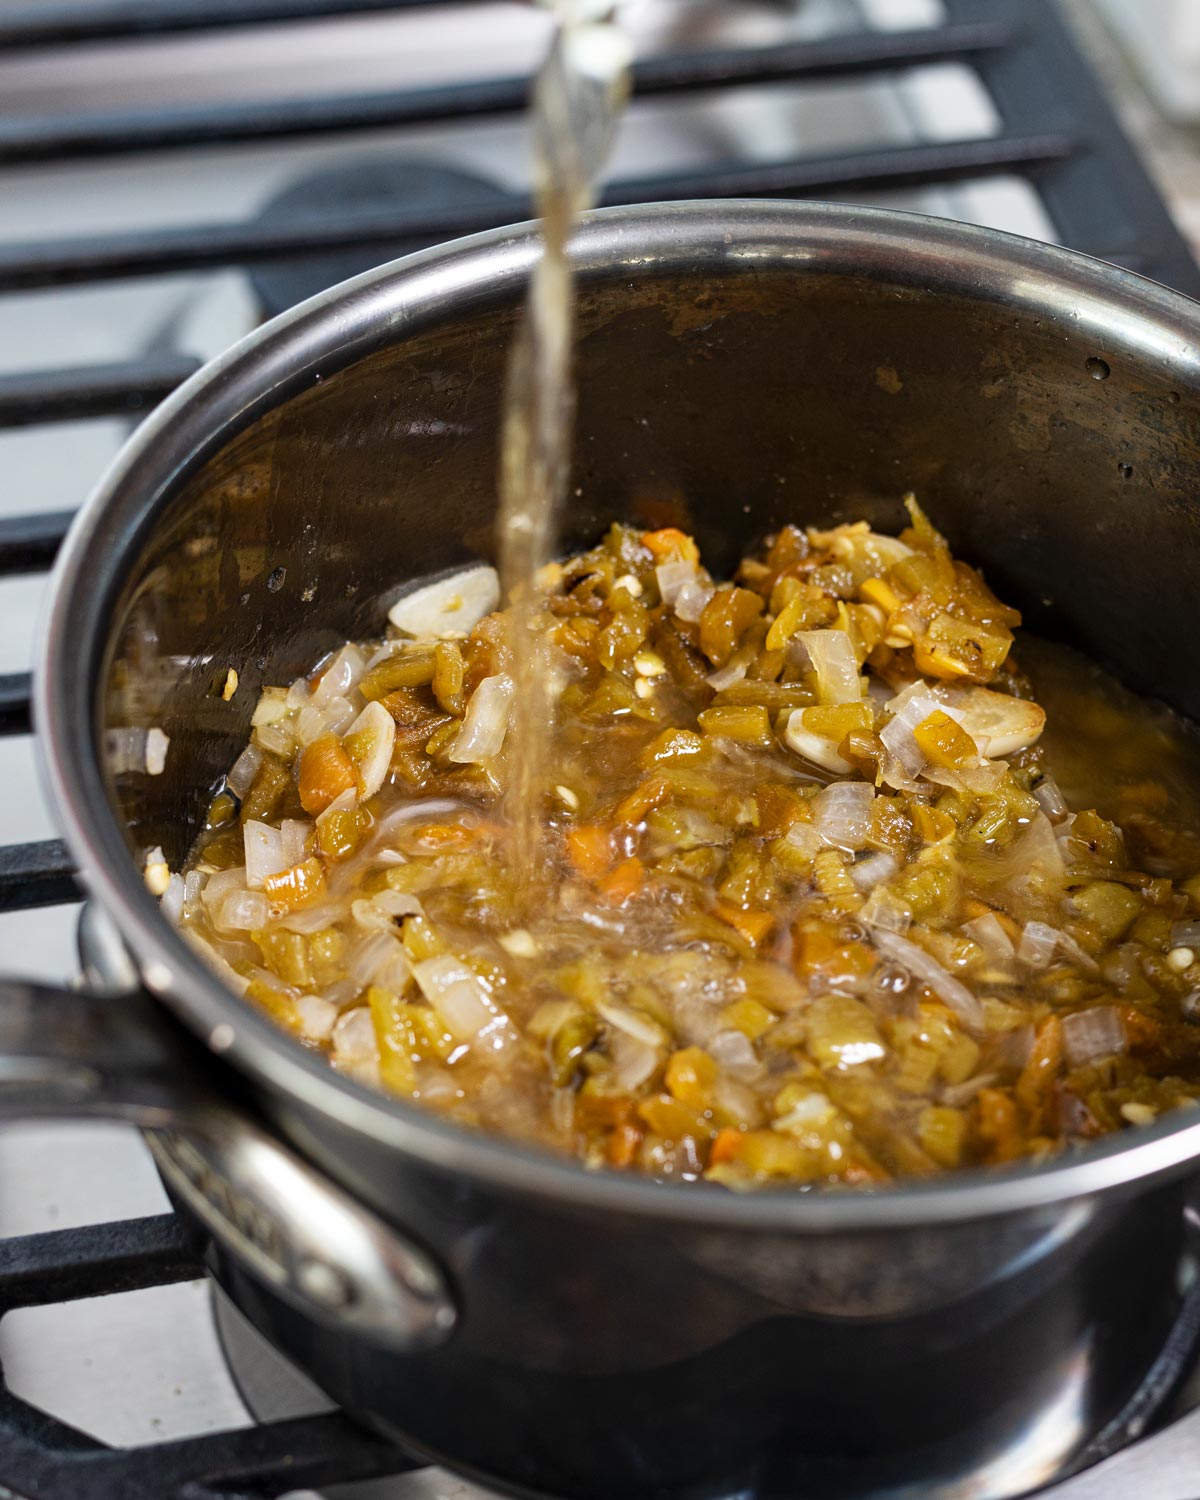
- Once most of the liquid has evaporated, pour the beer (or apple juice) into the mixture and deglaze the pan. Allow the beer to cook and reduce, concentrating the flavors for about 3-5 minutes.
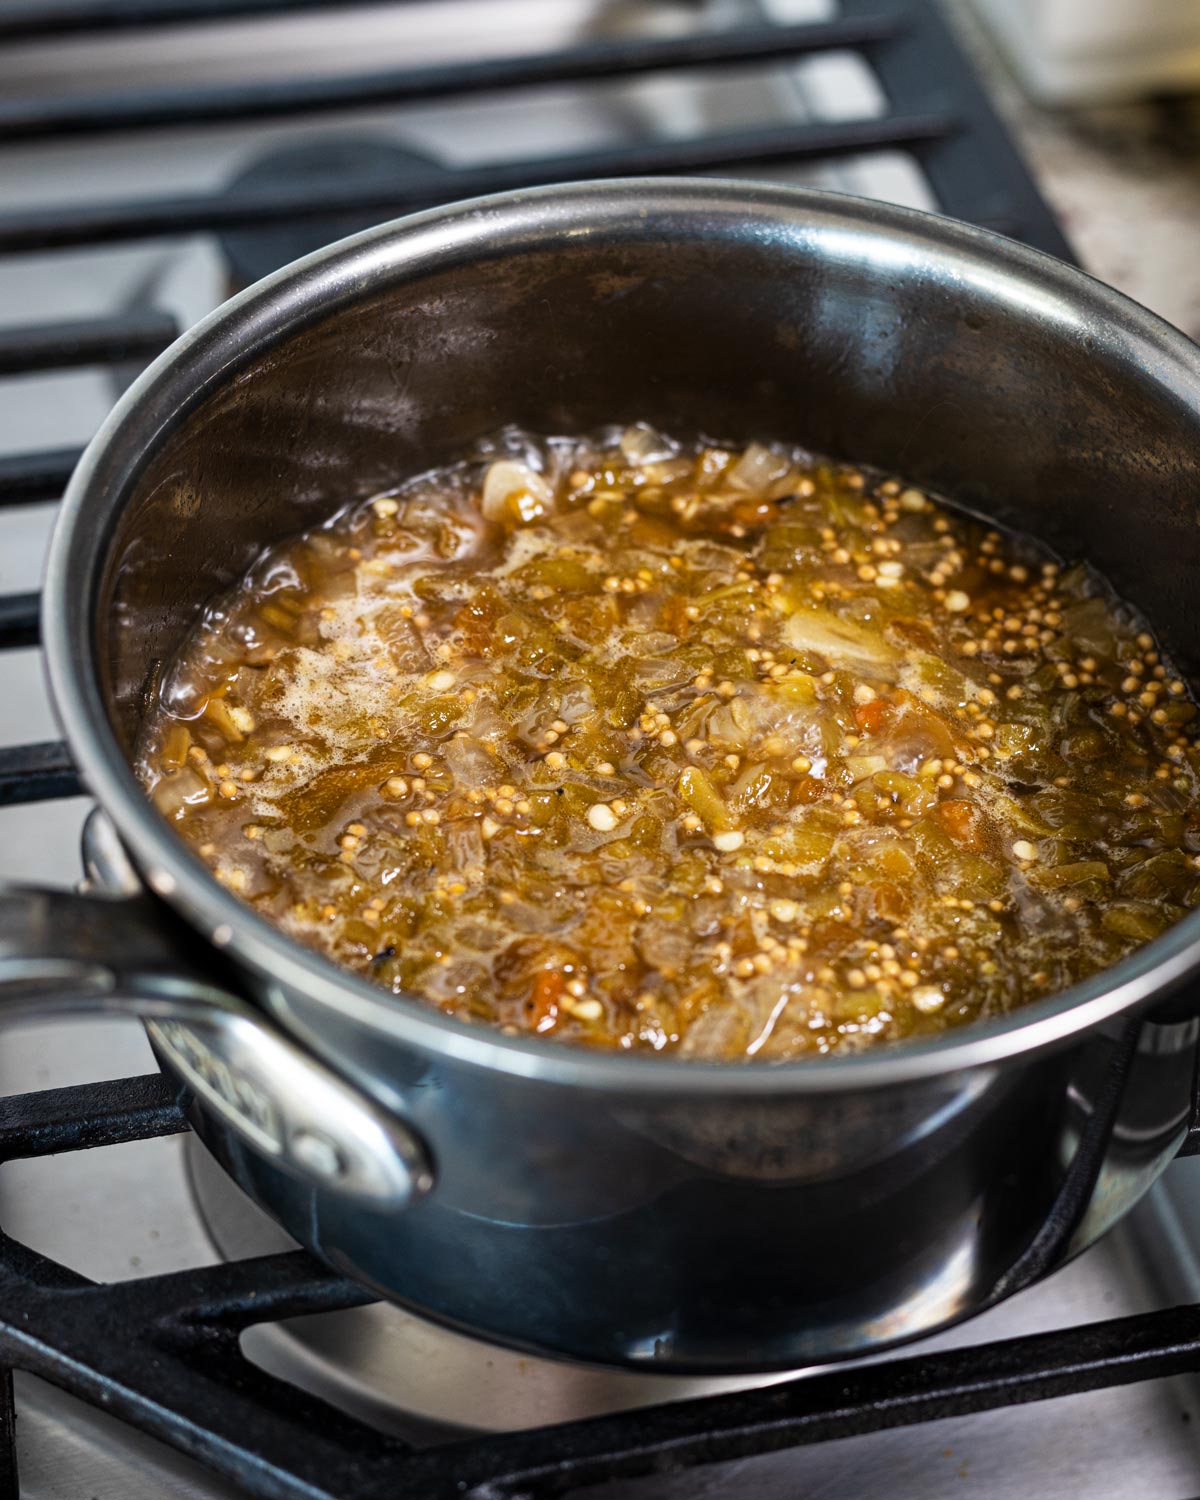
- Add the vinegar, sugar, salt, and water. Bring to a boil, reduce the heat, and let simmer for 30 to 40 minutes. The mixture will start to darken and thicken. Stir occasionally, and look for most of the liquid to evaporate.
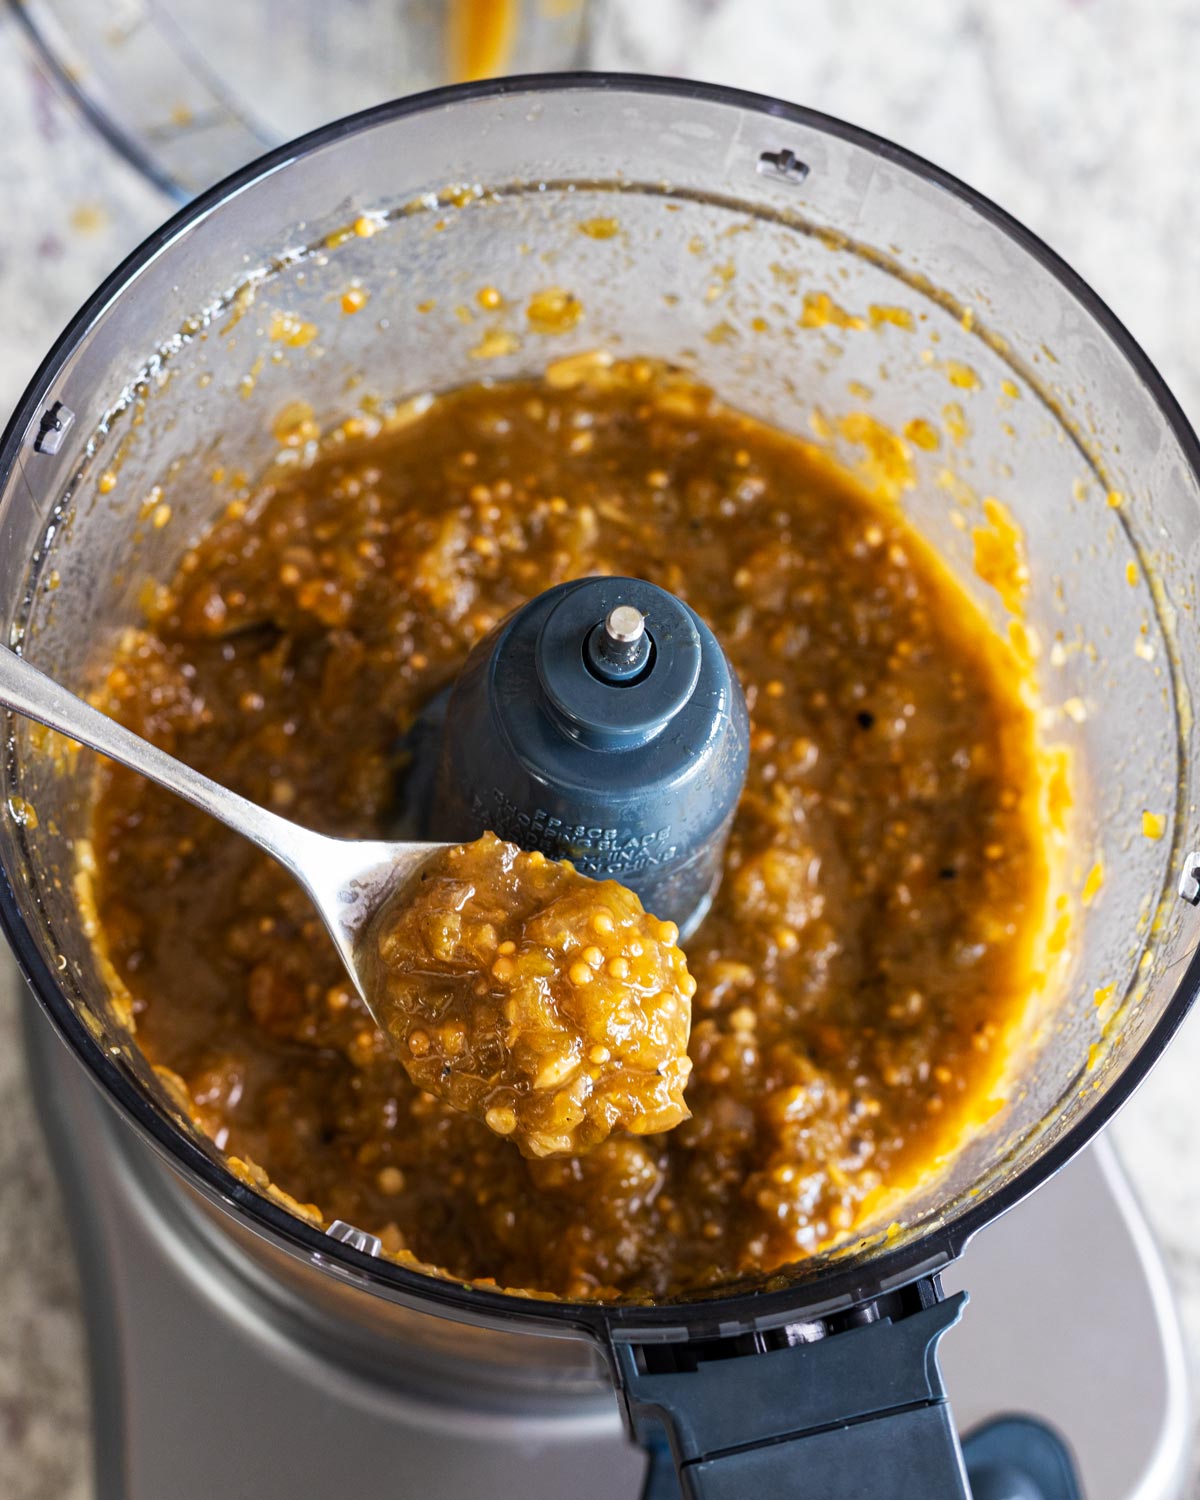
- Place the jam into a food processor and pulse a few times until it has the desired texture. Add more salt to taste.
Storing the Jam
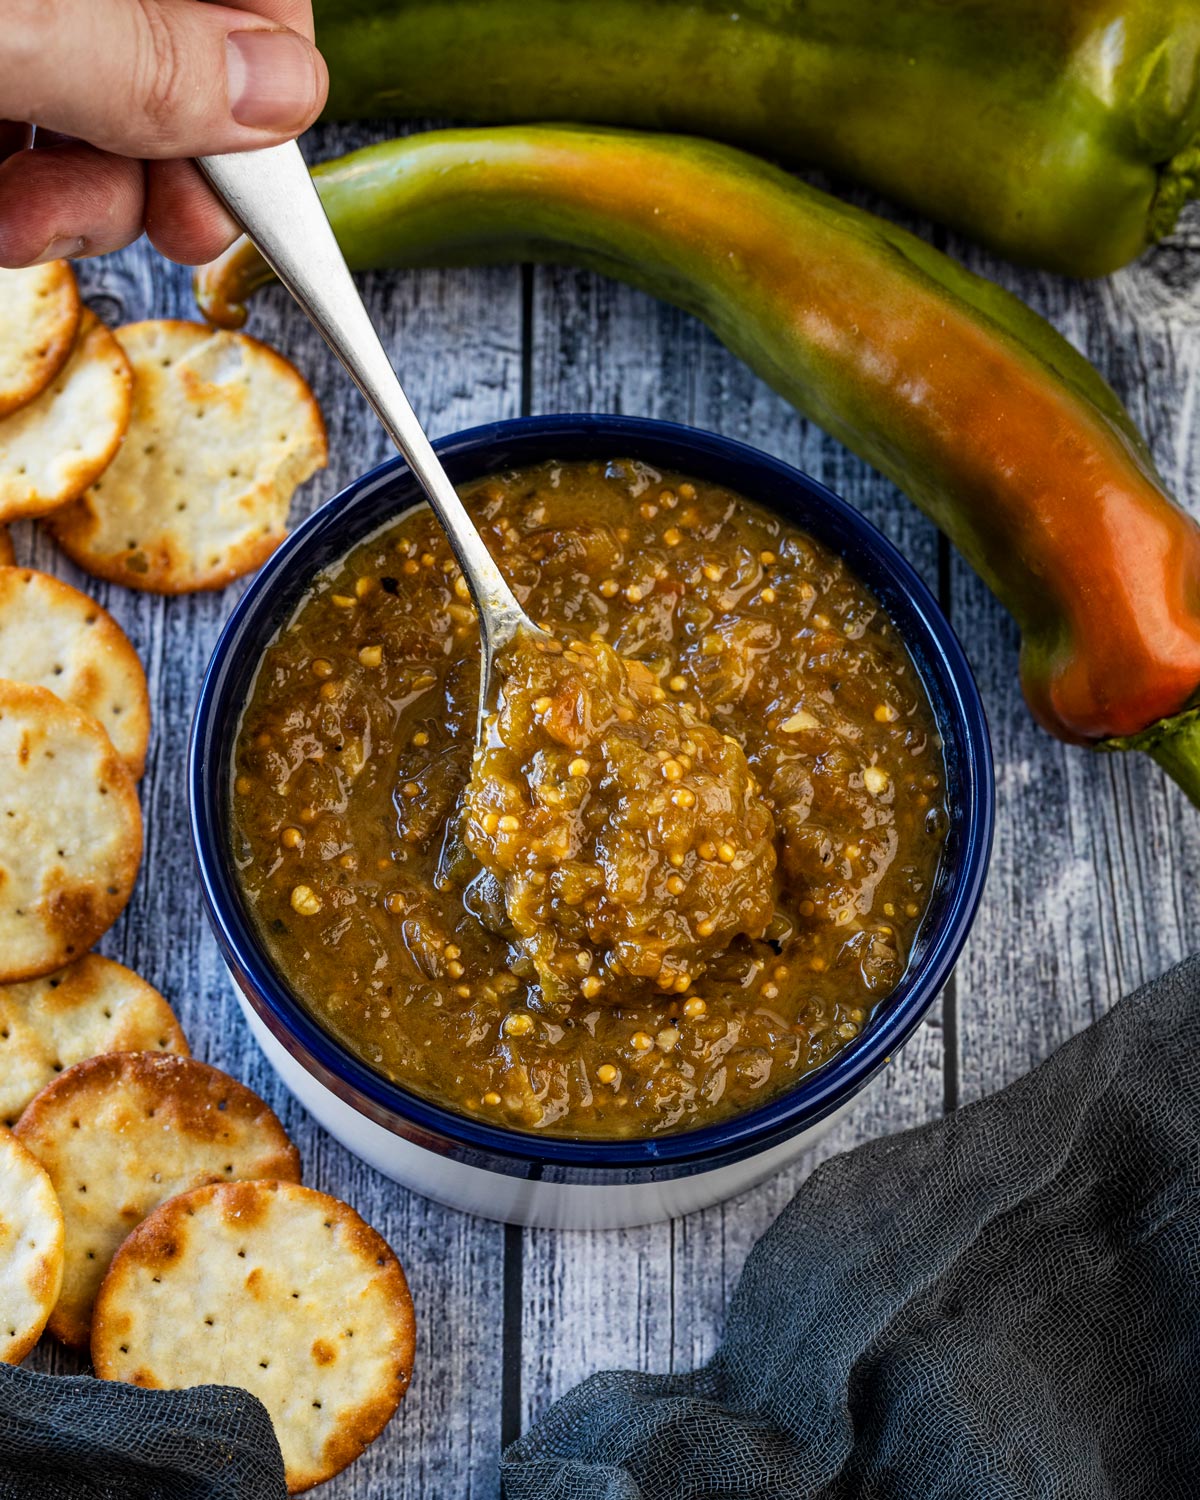
Once the jam has cooled and has been processed, let it cool to room temp before you store it. However, don’t be afraid to use it while it’s still warm! It’s incredible with goat cheese and crackers, right away.
Just like many sauces, the flavors develop and enhance over the next day. The jam will naturally thicken as well, providing you with the ultimate condiment.
How long will Hatch chile jam last?
Transfer your finished jam to an airtight container and allow it to cool. Once it’s cooled you can refrigerate it for up to 2-3 weeks…if you don’t eat it all first!
Looking for More Hatch Chile Recipes?

Thank You For Trying Our Recipe!
We’re here to bring people together with bold flavors, using spice and flames to ignite the food and friendships.
If you try this recipe, please consider leaving an honest review below. You can also find more content by following Chiles and Smoke on Instagram, YouTube, and Facebook.

Roasted Hatch Chile Jam
Sweet, sticky, spicy, and a little sultry. Roasted Hatch Chile Jam is the snap, crackle, and pop of condiments you need in your life.
- Total Time: 50 minutes
- Yield: About 3 Cups
Ingredients
- 1 tablespoon canola oil
- ½ white onion, diced
- 3 garlic cloves, diced
- 1 1/2 cups roasted Hatch green chiles, about 6
- 1 teaspoon ground cumin
- 1/2 cup amber beer or apple juice, room temp
- 2 tablespoons apple cider vinegar
- 2 tablespoons yellow mustard seeds, rinsed
- 1/4 cup brown sugar
- 1 teaspoon salt
- 1/2 cup water
Instructions
- In a medium saucepan over medium heat, cook the onion and garlic in the canola oil until softened, about 8 minutes.
- Add the diced Hatch chiles, and cumin. Mix everything together, and continue to cook for 3-5 minutes, stirring occasionally.
- Once most of the liquid has evaporated, pour the beer into the mixture and deglaze the pan. Allow the beer to cook and reduce, concentrating the flavors for about 3-5 minutes.
- Add the vinegar, sugar, salt, and water. Bring to a boil, reduce the heat and let simmer for 30 to 40 minutes. The mixture will start to darken and thicken. Stir occasionally, and look for most of the liquid to evaporate.
- Place the jam into a food processor and pulse a few times until its the desired texture. Add more salt to taste.
- Transfer to a container and allow it to cool before placing it in the fridge. This will stay fresh for about 2-3 weeks, if you don’t eat it first.
Notes
- If using beer, make sure to measure the beer and allow it to go flat, at room temperature. You don’t want to pour cold, foamy beer into the pan.
- Prep Time: 10 minutes
- Cook Time: 40 minutes
- Category: Sauces & Salsas
- Method: Roasting
- Cuisine: Sauce




can I process this in a water bath canner like salsa and chili sauce to give it a 6 month + shelf life
Yes absolutely!