Grilled Chicken Breast (Foolproof Method)
Last tested: May 2026
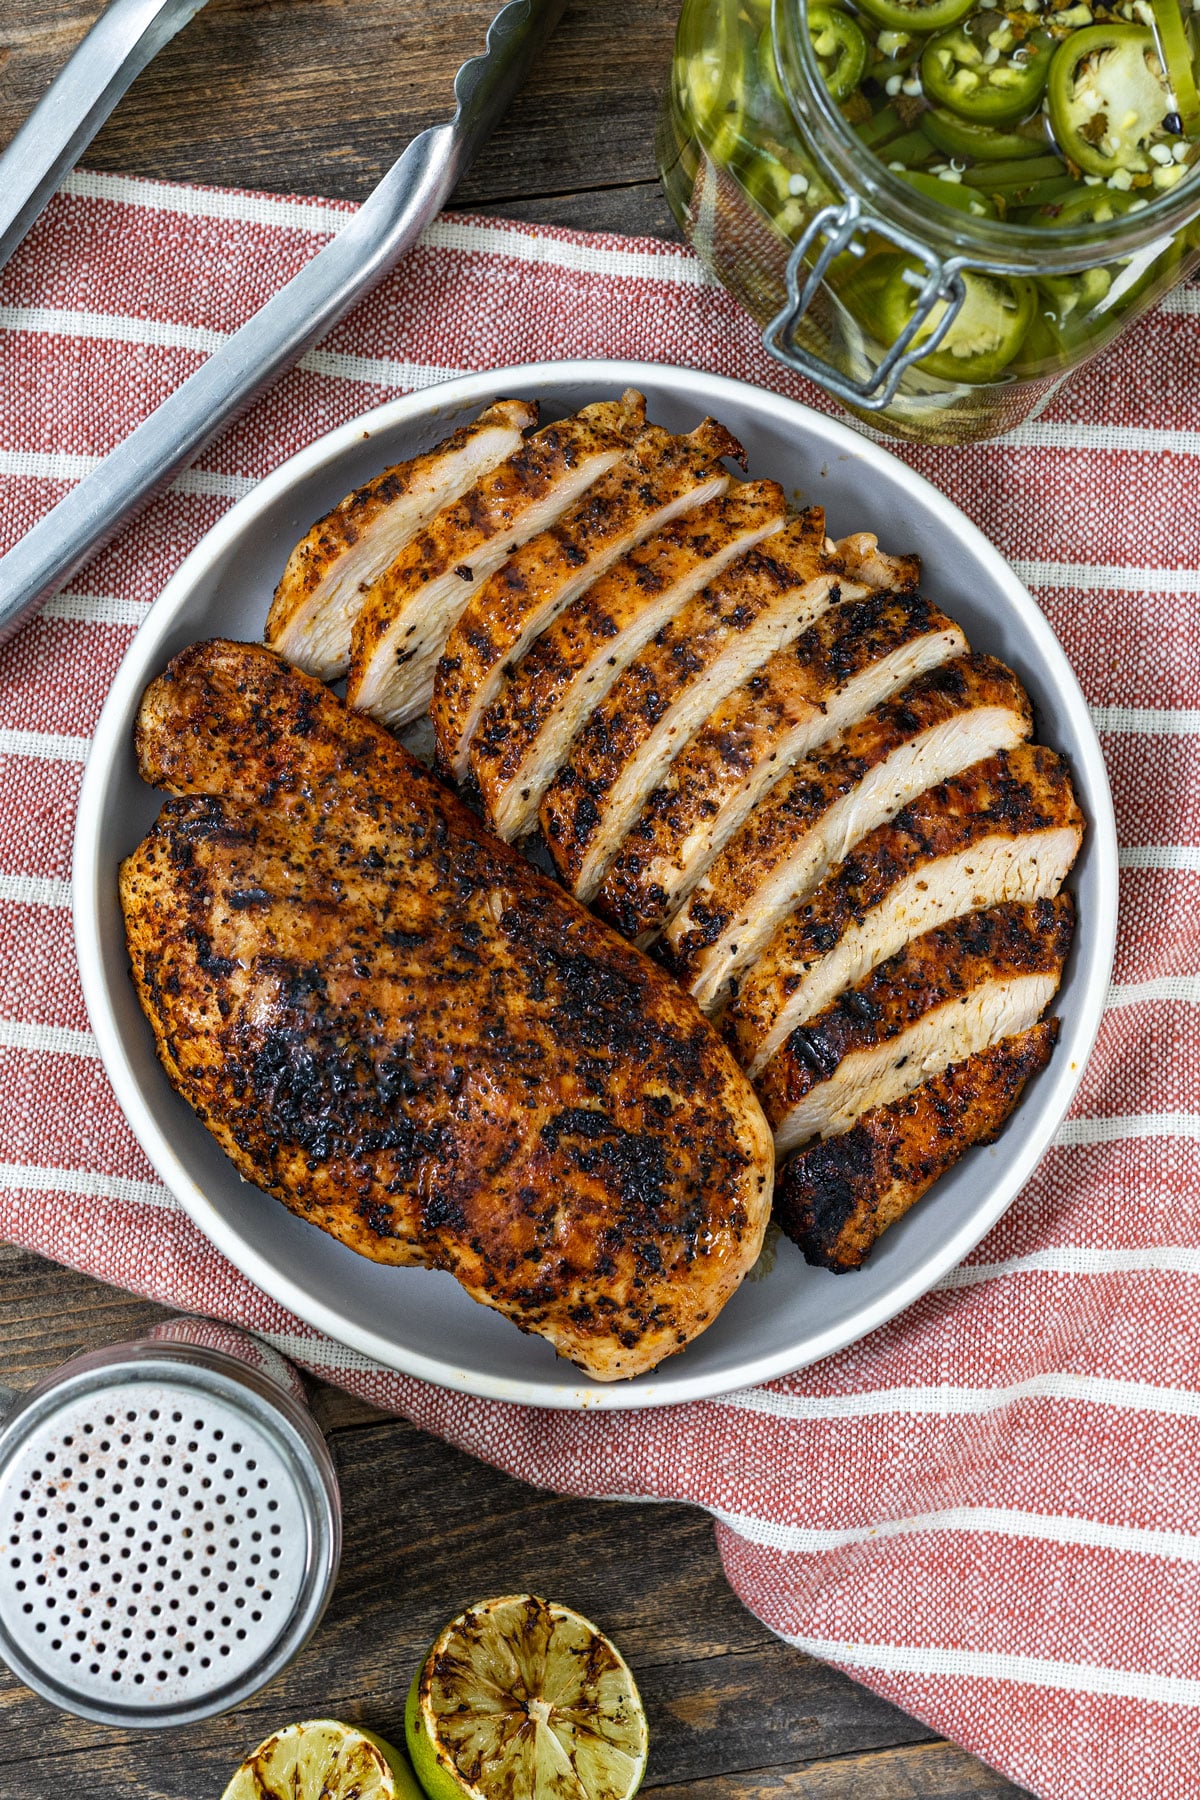
This grilled chicken breast recipe starts with a two-zone charcoal fire: sear directly over the coals for 3–4 minutes per side to build a crust, then move to the cool side and finish at 160°F with the lid on. Pull it off, rest it under foil for 5 minutes, and carryover cooking brings it to a safe 165°F without drying it out. The whole cook takes about 25 minutes.
I use this method every week. One cook sets up wraps, grain bowls, salads, and sandwiches for days. One cook on the grill sets up multiple meals for the family. The two-zone setup is what keeps the chicken juicy every time. Direct heat alone overcooks the outside before the center finishes. Indirect alone never builds the crust. This combination does both.
Want to master chicken on the grill? Check out our guides to Grilled Chicken Wings, Smoked Drumsticks, or the flavorful Butterflied Chicken Drumsticks.
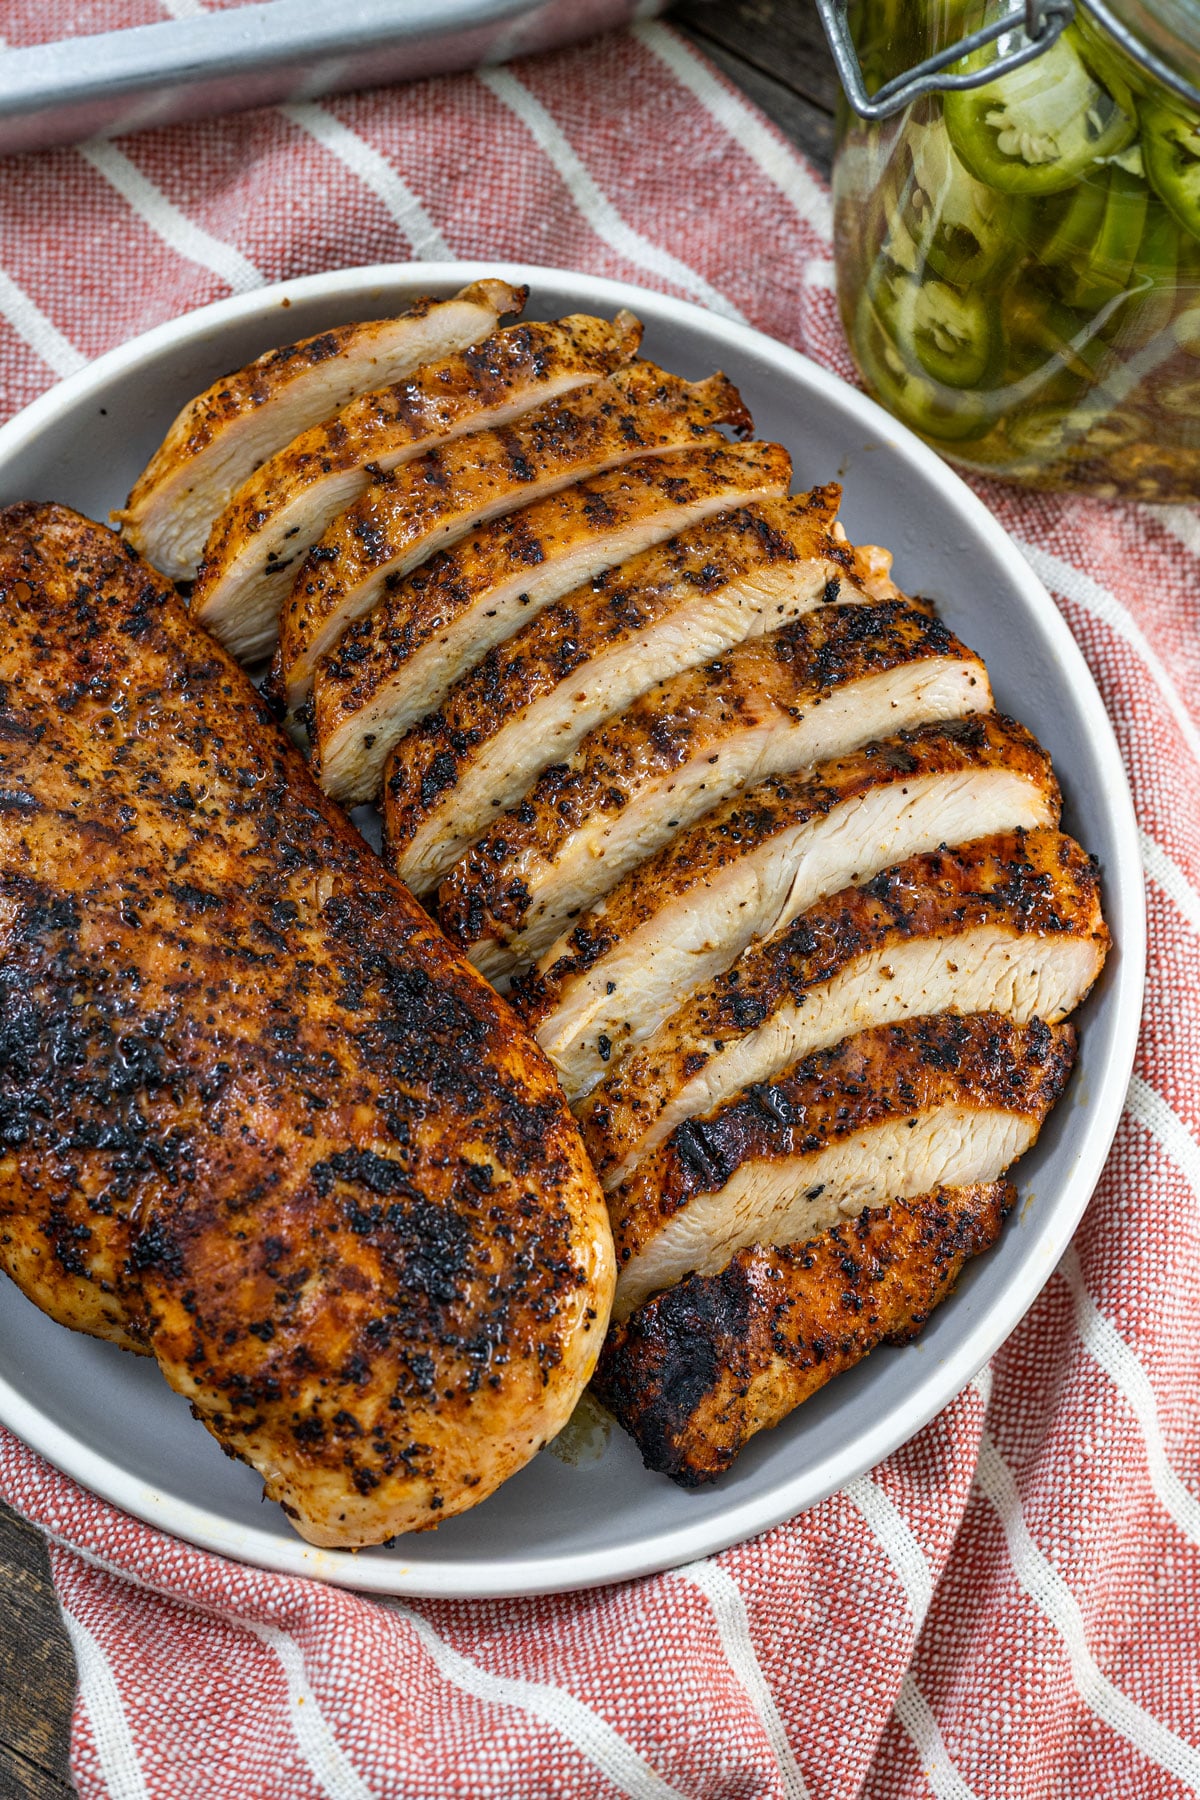
Why This Process Works
- Two-zone cooking solves the dry chicken problem: The sear builds flavor and sets the crust. The indirect finish cooks the center gently without driving out moisture.
- Resting under foil matters: Five minutes loosely tented lets the juices redistribute through the meat. Skip the rest, and they run out onto the cutting board the moment you slice.
- Clean, hot grates prevent sticking: Chicken sticks when the grates are cold or dirty. A hot, clean grate sears on contact and releases naturally when it’s ready to flip.
Oil vs. Mayonnaise: Which One Actually Prevents Sticking?
I wanted to know which coating worked better for keeping chicken from sticking to the grill. It’s one of the most common problems people run into, and most recipes just say “oil the grates” and move on. I tested both oil and mayo side by side to see which produced a better non-stick surface and whether there was a meaningful difference in the final result.
Oil: A teaspoon of avocado oil rubbed over the chicken before seasoning creates a slick barrier between the meat and the grates. The high smoke point keeps it stable over direct heat. It helps the seasoning adhere, promotes an even sear, and releases cleanly when the crust is set.
Mayonnaise: A thin coat of mayo, just enough to cover the surface, does the same non-stick job but through different chemistry. The fat coats the chicken, the egg promotes browning, and the result is a slightly more developed crust with a touch more color. It works very well on charcoal, releasing from the hot grill grates after the sear.
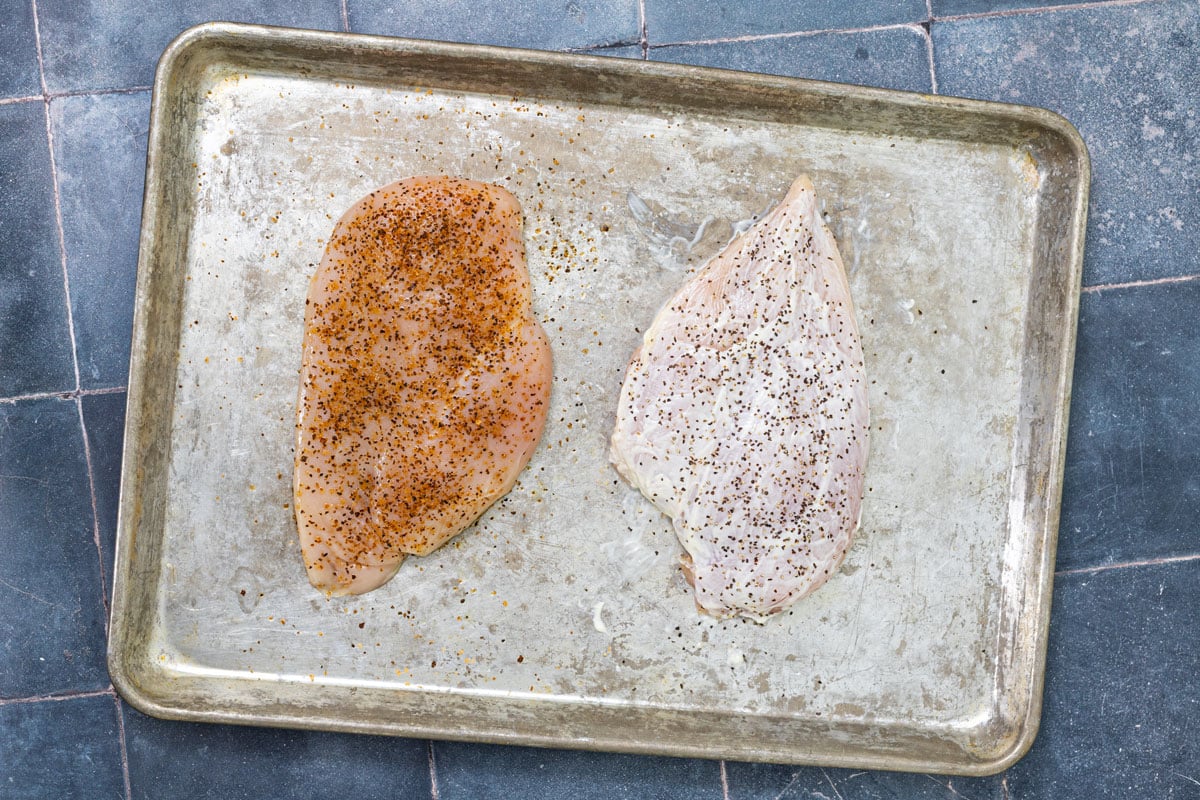
The trade-offs are real, though. Mayo is messier to work with. You need to lightly salt the chicken before applying it, since the mayo creates a layer between the seasoning and the meat. Expect a subtle tang from the mayo itself. That can be a good thing if you use a flavored version (chipotle, garlic, sriracha), or neutral if you go with plain.
The verdict: Oil is the better all-around choice for keeping chicken from sticking to the grill. A teaspoon of oil before the seasoning is all you need. Mayo is worth trying on charcoal if you want to experiment with crust development, but it’s not a meaningful upgrade for most cooks.
Note: Don’t use mayo on a gas grill. The oil and egg react with propane flames and produce an acrid, off-putting flavor. On charcoal, it’s fine. On gas, stick with a light coat of oil every time.
Key Ingredients
- Chicken breast: Bone-in or boneless, both work over two zones. Boneless cooks faster and slices more cleanly for wraps and bowls. Bone-in takes longer but stays juicier and suits a more substantial plate. This recipe focuses on boneless.
- Avocado oil or neutral oil: A teaspoon per breast is plenty. High smoke point, neutral flavor, keeps the seasoning where it belongs.
- Your seasoning of choice: Any bold, low-sugar rub works. High sugar content burns over direct heat before you get grill marks. Sedona Sand Fiesta Seasoning is what I use for a Southwest profile. A versatile all-purpose rub gives you the most flexibility across applications.
- Kosher salt: If you’re slicing and serving plain, a light pinch of salt on the slices after cutting brings the flavor forward. Salted butter right after slicing is another option.
How to Grill Chicken Breast: Step by Step
Optional Prep: Flatten the Chicken
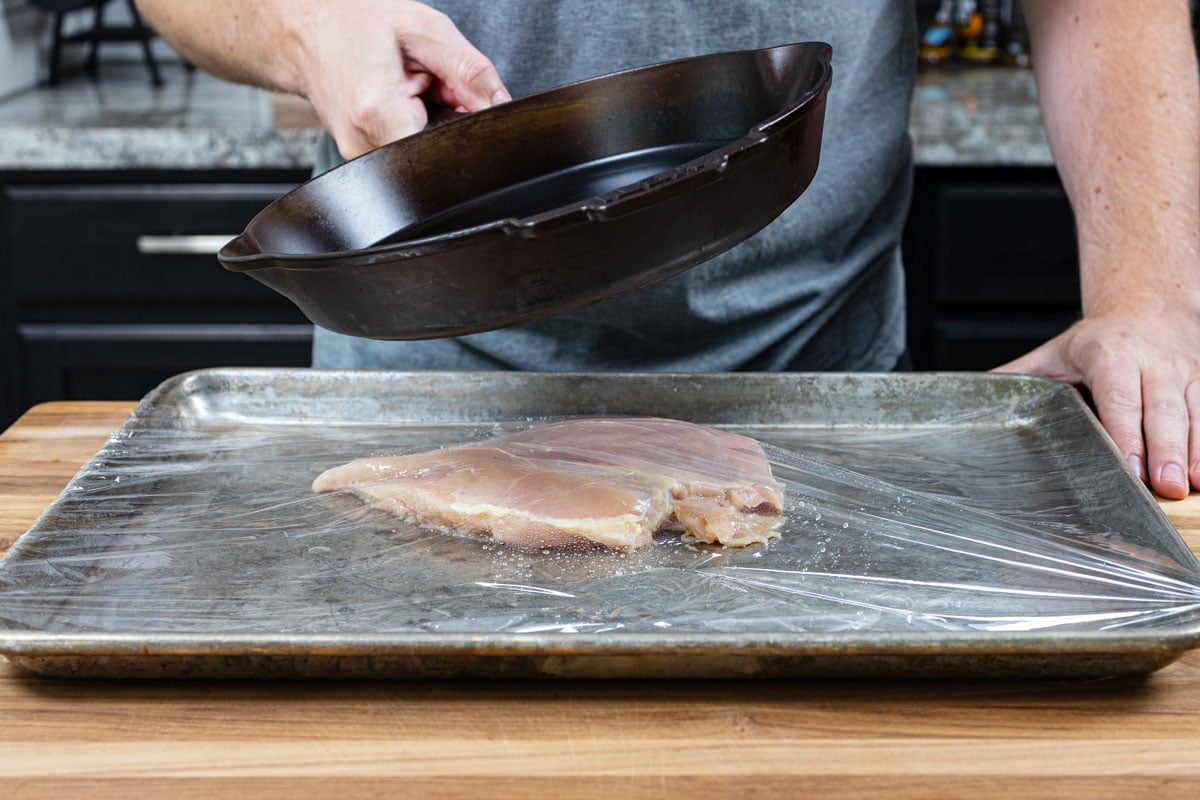
If your breasts are thick or uneven, it’s worth taking 30 seconds to even them out before seasoning. Place each breast under plastic wrap on a sheet pan or cutting board and give the thickest part a few firm hits with a cast iron skillet or heavy pan.
The goal is an even thickness across the breast, not a thin cutlet. This helps the whole breast cook at the same rate and makes portioning more consistent. It’s especially useful for larger breasts over 8 ounces, but skip it if yours are already relatively even.
Step 1: Season the Chicken
Coat each breast with about a teaspoon of avocado oil, then apply your seasoning generously on all sides. Let it sit for 10–15 minutes while the grill heats up. This gives the seasoning time to adhere and reduces sticking on the grates.
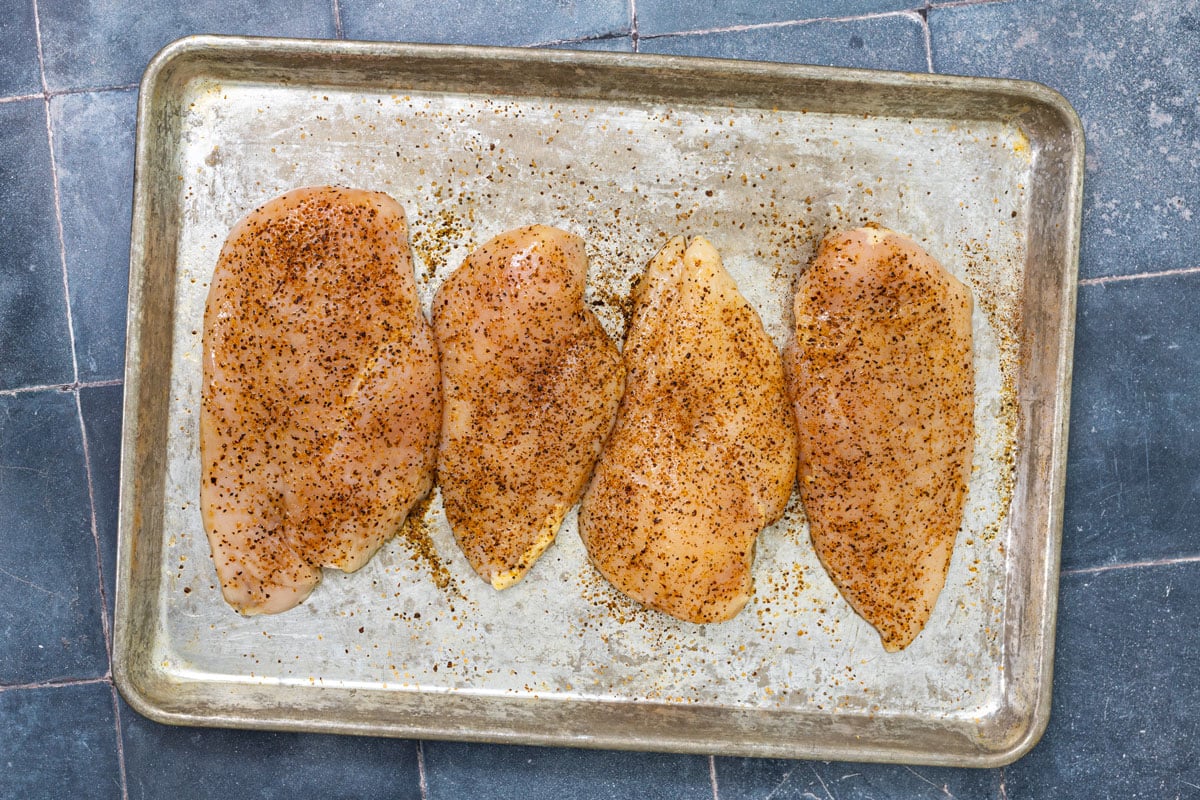
Step 2: Set Up a Two-Zone Fire
Bank the charcoal to one side of the grill. You want medium-high heat on the direct side, around 400–425°F at the grate. Give the grill 10 minutes to stabilize with the lid on before you cook anything. Cold grates are the number one reason for chicken sticks.
Clean the grates with a brush right before adding the chicken. A clean, hot grate releases food naturally. A dirty one will hold on to the chicken and cause it to tear.
If you want extra smoke flavor, add a small handful of wood chips directly to the coals right before grilling. Apple, cherry, maple, and pecan work well with chicken. Hickory adds a stronger, more assertive smoke.
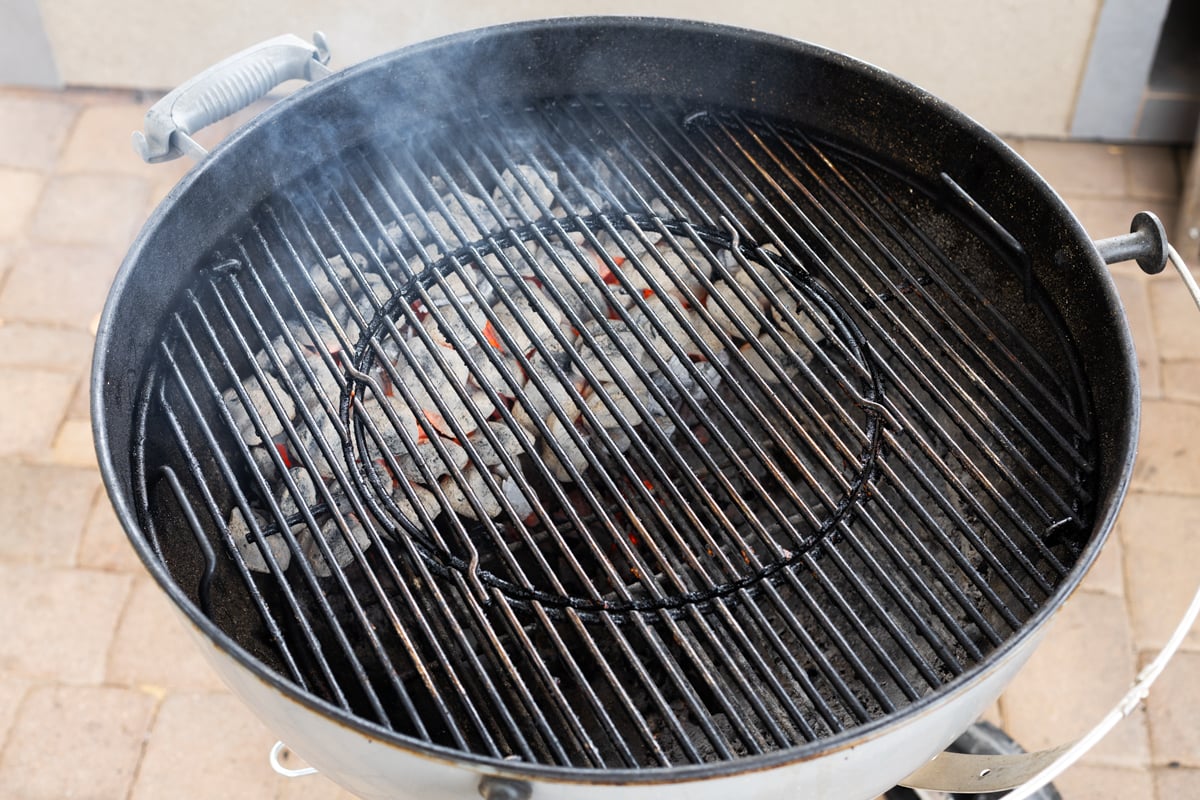
Step 3: Sear Over Direct Heat
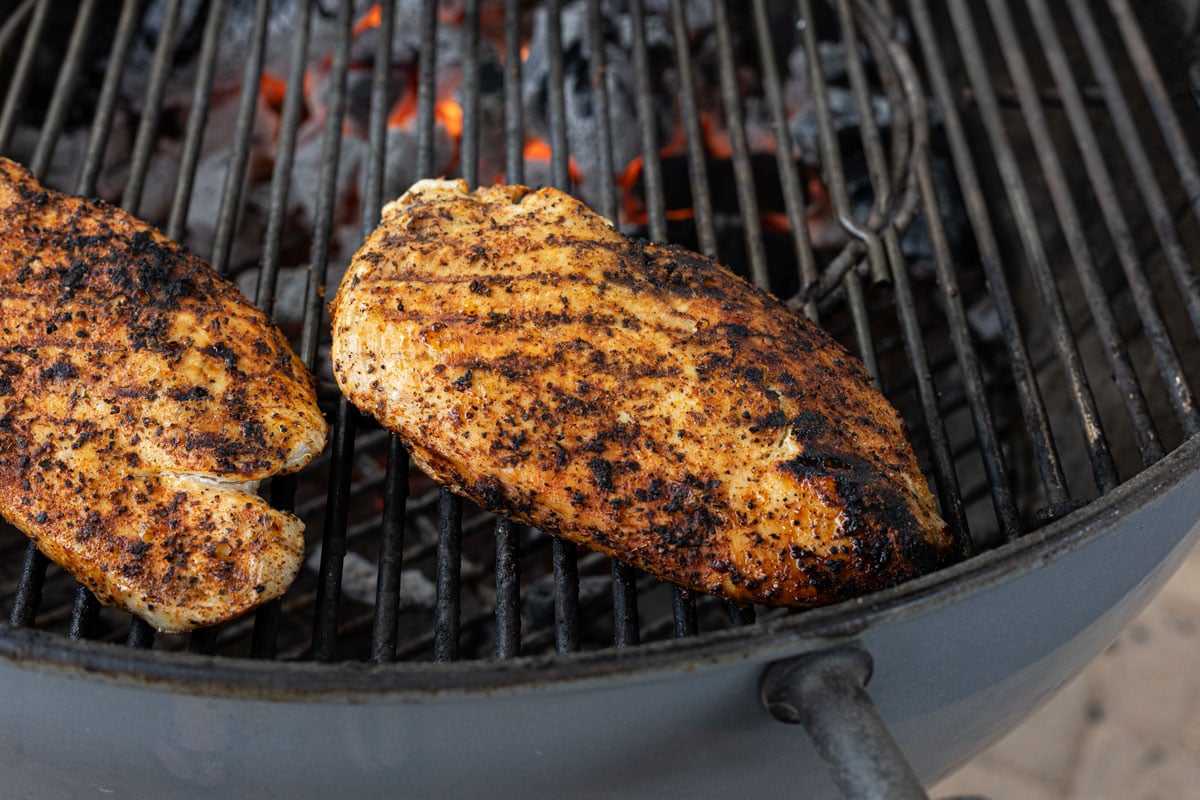
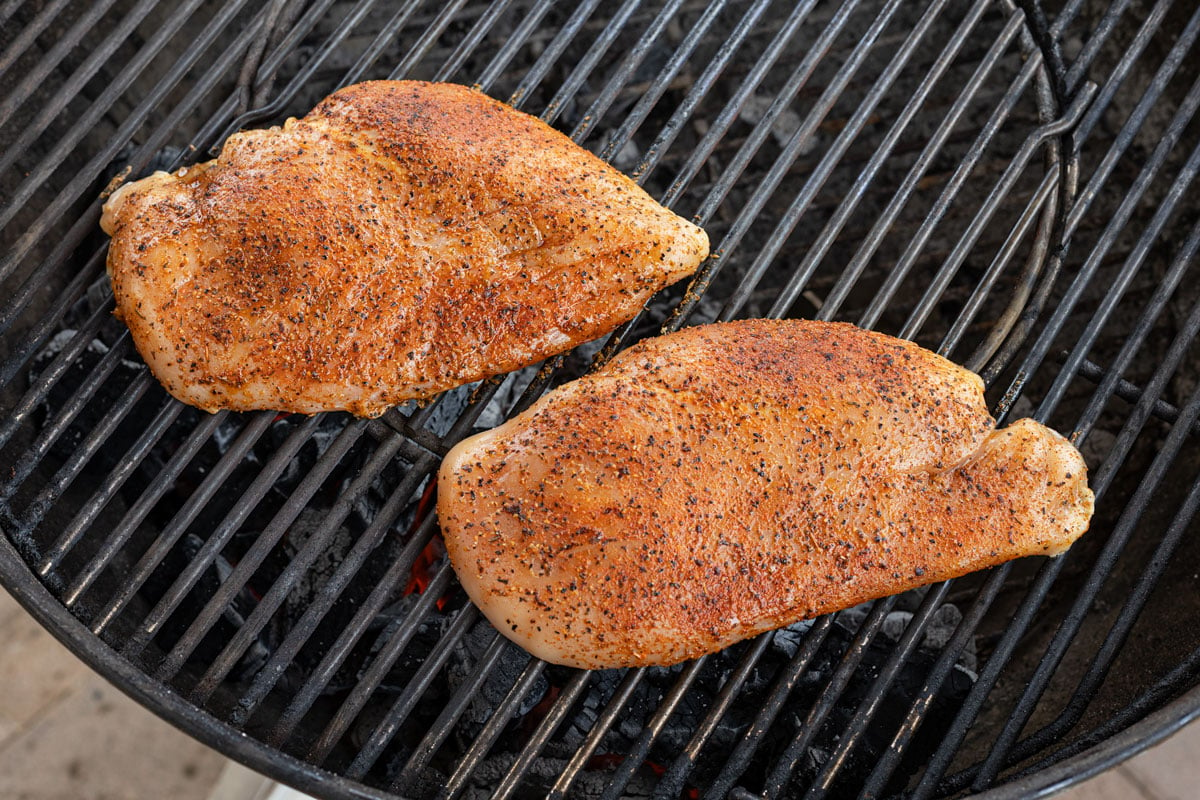
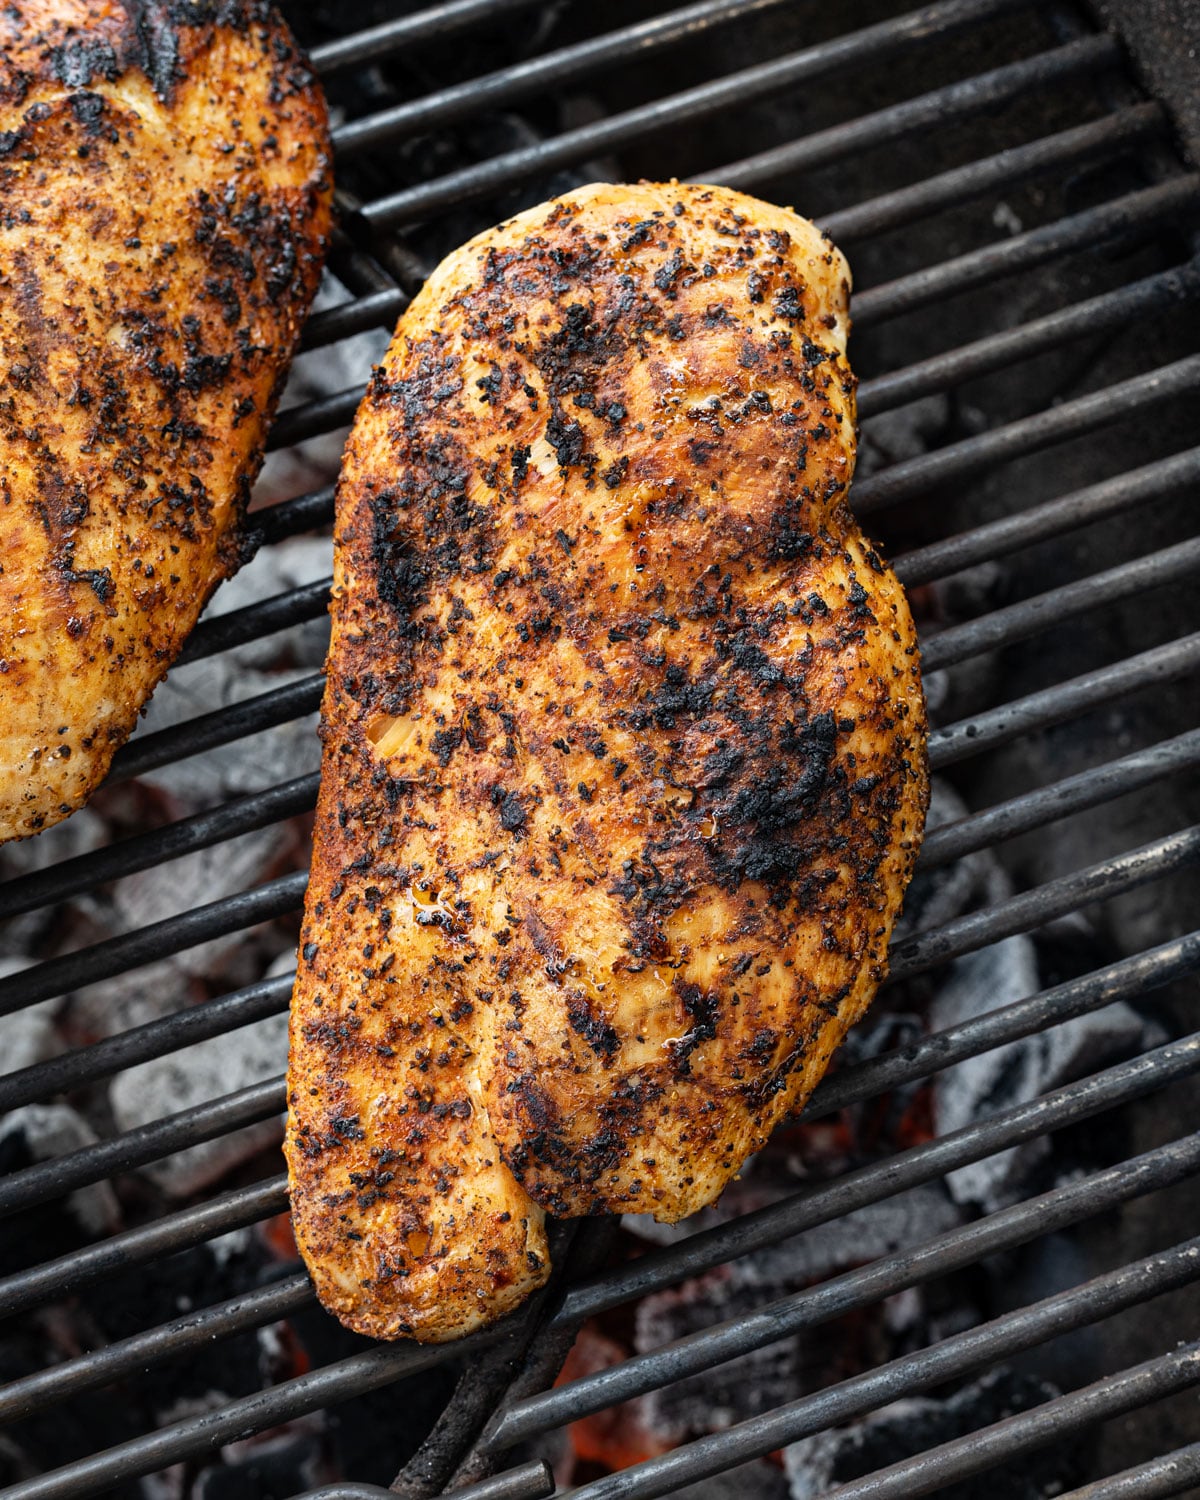
Place the chicken directly over the coals. Sear for 3–4 minutes per side until you have defined grill marks and the outside is set.
Do not flip early. The chicken will stick to the grates if you try to move it before it’s ready. When a proper sear has developed, the meat releases from the grate on its own. If it’s pulling or tearing, give it another 30–60 seconds.
Step 4: Finish on the Indirect Side
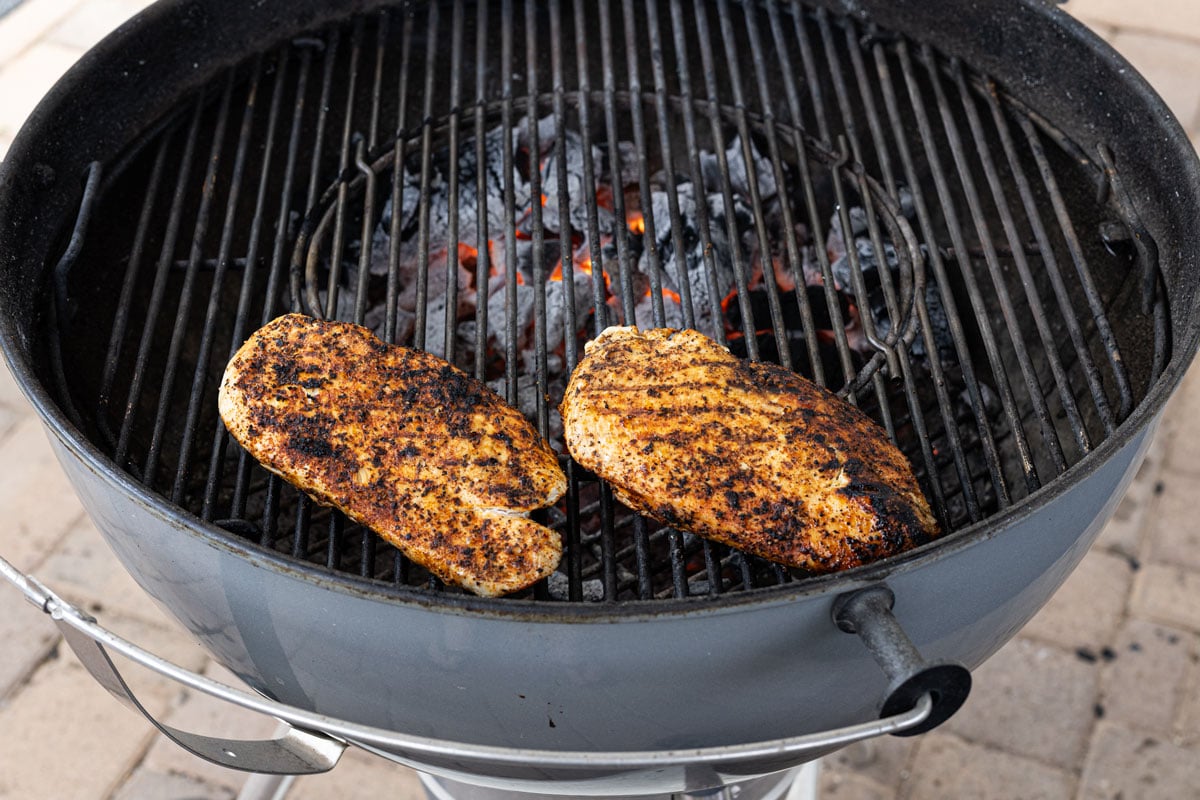
Move the chicken to the cooler side of the grill. Put the lid on and cook for another 15–20 minutes until the internal temperature reaches 160°F at the thickest part. Thickness varies, so use a thermometer rather than time alone.
The indirect finish is the whole game. Direct heat the entire way through works fine for thin cutlets under 3/4 inch, but standard chicken breasts will char outside before the center catches up. The two-zone setup solves this.
Note: Temperatures can vary in cold weather or at higher altitude. Both conditions slow the cook. Add a few minutes and trust the instant-read thermometer over the clock.
Step 5: Rest the Chicken
Pull the chicken off at 160°F and place it on a clean sheet pan or cutting board. Tent loosely with foil and rest for 5 minutes. Carryover cooking will bring the internal temperature to 165°F during this time.
Do not skip the rest. The juices need time to redistribute. Cut into the chicken immediately after pulling it off the grill, and most of the moisture ends up on the board instead of in the meat.
Step 6: Slice and Serve
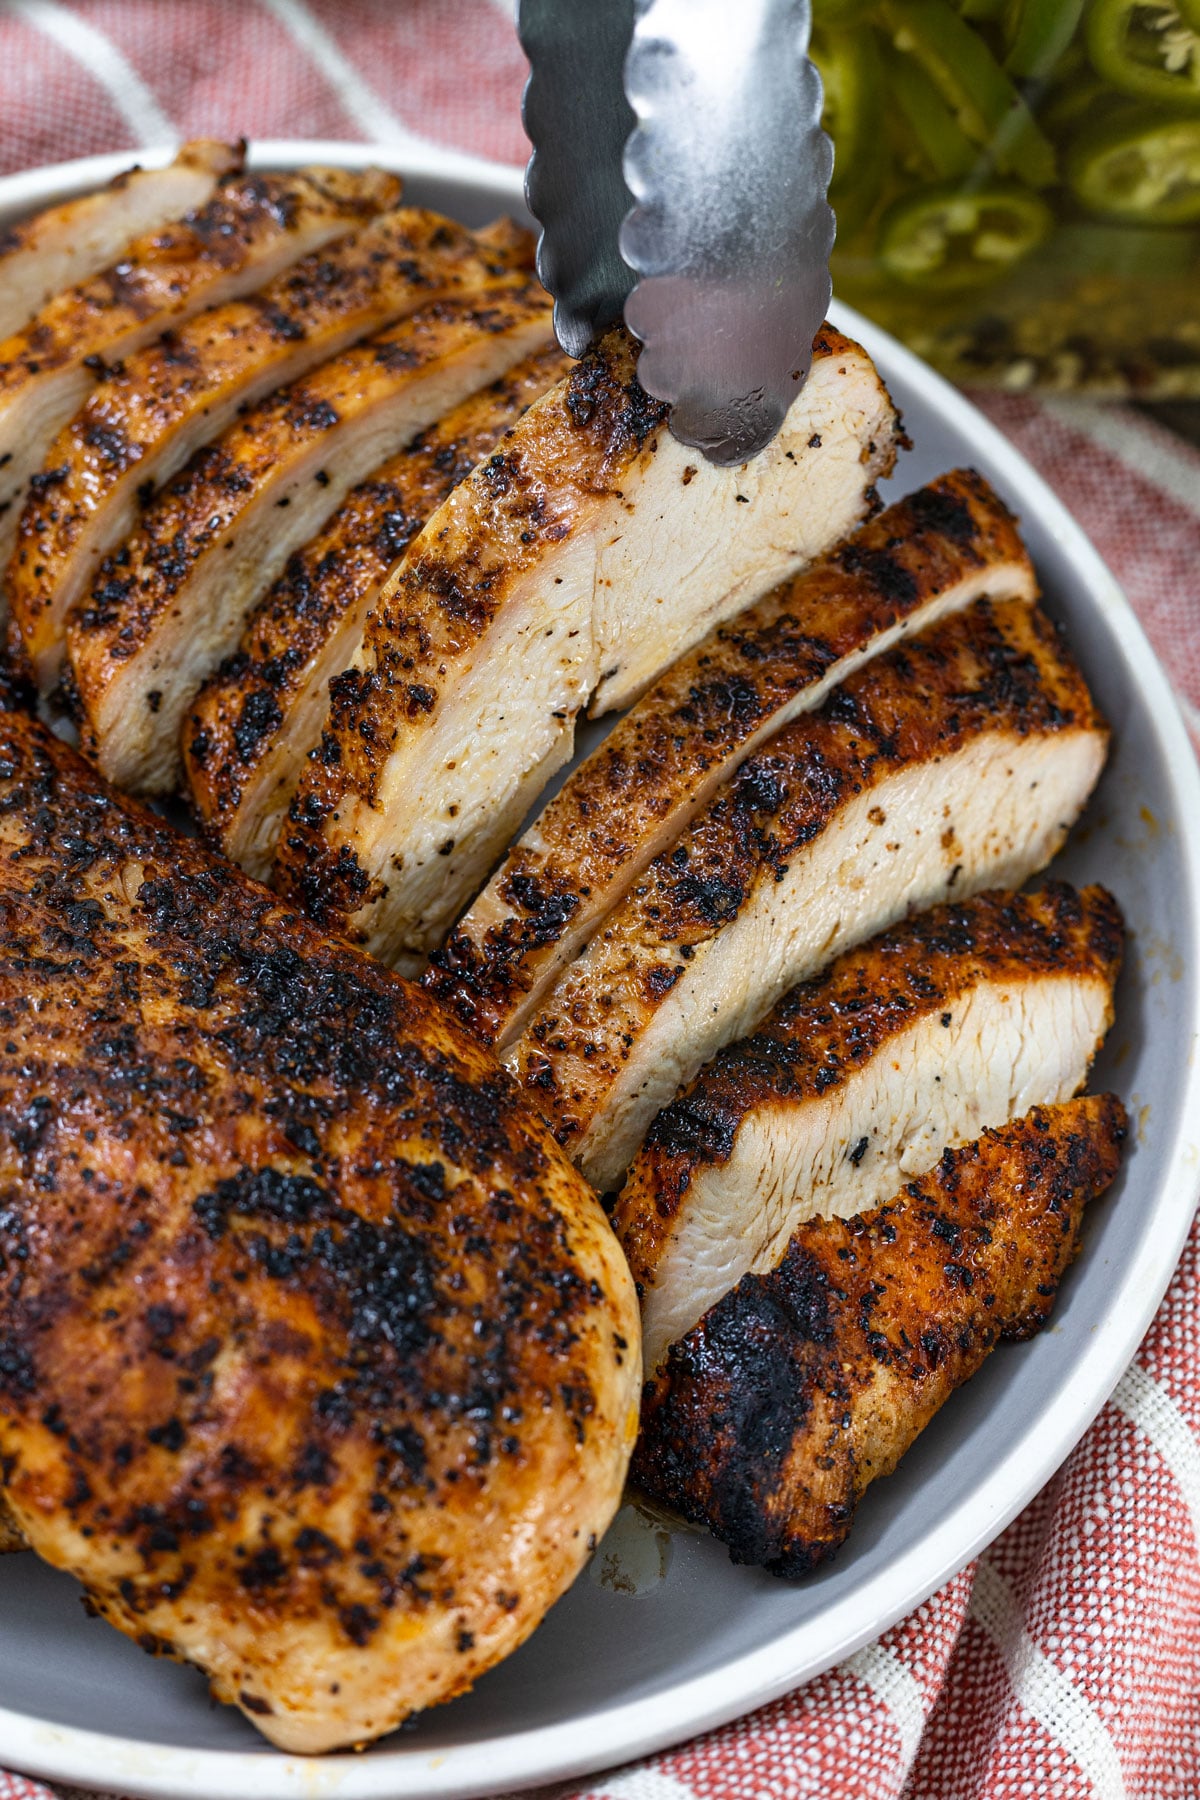
Cut across the grain into strips about 1/2 inch wide. Cutting with the grain produces long, stringy pieces. Cutting against it gives you short, clean slices that hold together in wraps and bowls.
If you’re serving the chicken plain or as part of a simple plate, taste a slice before adding more seasoning. Depending on your rub and how you’re serving it, a light pinch of kosher salt on the slices or a pat of salted butter right after cutting can bring everything forward.
Pro Tips from the Pit
- Hot, clean grates first, chicken second: If the grates aren’t hot before the chicken goes on, you lose the sear and gain a sticking problem. Let the grill run for at least 10 minutes with the lid on before cooking.
- Don’t flip too early: The chicken tells you when it’s ready. It releases from the grate cleanly when the sear is set. Forcing it early tears the crust and pulls meat off with it.
- Medium-high, not blazing: Too hot and the chicken chars before it releases for the first flip. You want around 400–425°F on the direct side. Adjust the vents to control temperature.
- Wood chips for extra flavor: Add a small handful directly to the coals right before the chicken goes on. They’ll smoke immediately and infuse the first few minutes of the cook. Cherry, apple, or pecan work well. No need to soak them first.
- Thickness determines timing: A thin 6-ounce breast and a thick 10-ounce breast cook at very different rates. Use a thermometer, not a timer, as your primary doneness indicator.
Cook Once, Eat All Week
This is the anchor protein for the entire grilled chicken cluster. One session at the grill, four to six breasts at once, sets up multiple meals without repeating yourself.
- Grilled Chicken Wraps: Slice cold, warm the tortillas, done in 10 minutes.
- Buffalo Chicken Wrap: Toss sliced grilled chicken in buffalo sauce and blue cheese. The fastest application for leftover chicken.
- Chicken Bacon Ranch Wrap: Charred jalapeño ranch, crispy bacon, pickled jalapeños. Built from the same cook.
- Honey Pepper Pimento Chicken Sandwich: Bold, stacked, and built for leftover grilled chicken.
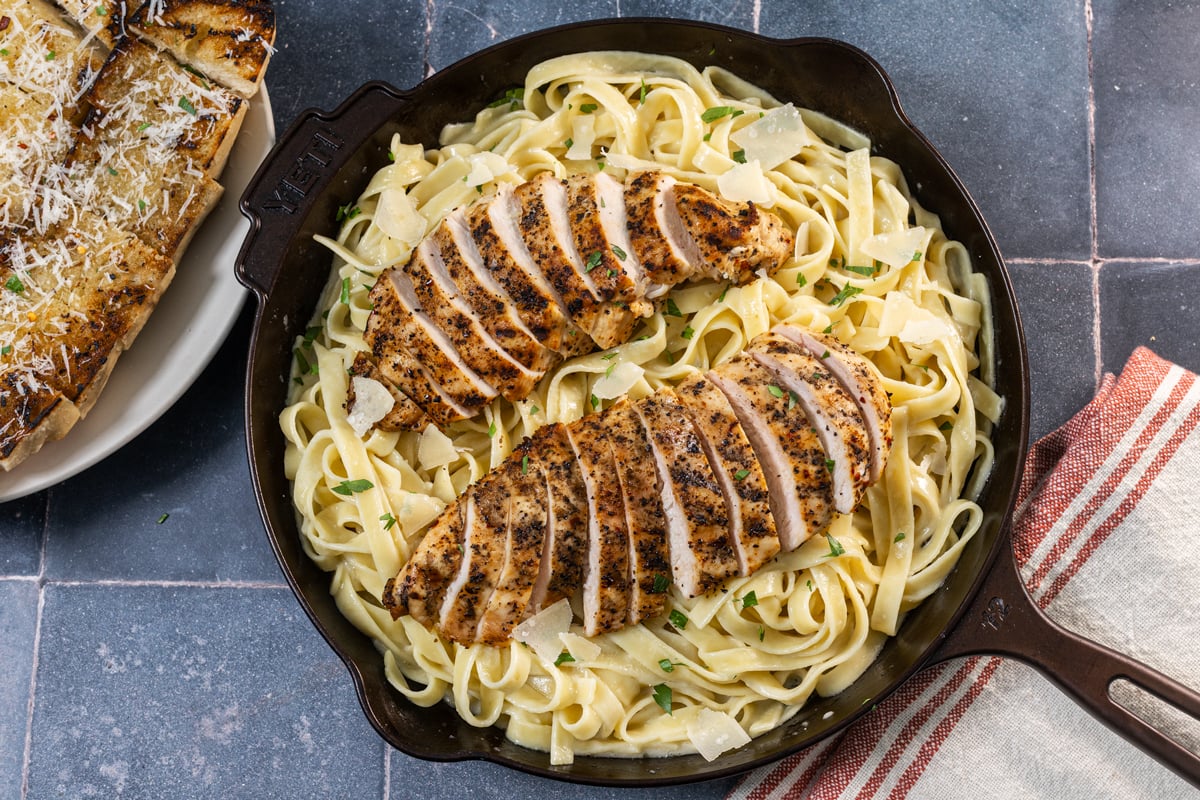
- Grilled Chicken Alfredo: Sliced over pasta. Shows how far one cook can stretch.
- Grain Bowl: Sliced over rice or farro with roasted corn, avocado, and salsa verde.
- Chicken Salad: Chopped fine with mayo, pickled jalapeño, and a squeeze of lime.
The “cook once, eat all week” approach is something I’ve built into the way I cook at home. Grill the chicken on Saturday and you have a foundation for lunch and dinner through Wednesday.
What to Serve with Grilled Chicken Breast
- Grilled Potato Salad: A charcoal-grilled side that holds up next to simply seasoned chicken.
- Grilled Corn Ribs: Fast to make while the chicken rests. Same grill, same fire.
- Blue Cheese Coleslaw: The acid cuts the richness of the chicken and works well with bold seasoning rubs.
- Smoked Mac and Cheese: The heavier pairing for when this is the main event rather than meal prep protein.
How to Store Grilled Chicken Breast
Refrigerator: Store in an airtight container for up to 4 days. Keep it whole or sliced. Both hold well. Sliced chicken dries out slightly faster, so keep it whole if you’re not using it immediately.
Freezer: Wrap individual breasts tightly in plastic wrap, then place in a zip-lock freezer bag. Keeps for up to 3 months. Thaw overnight in the refrigerator before reheating.
Vacuum sealing: If you have a vacuum sealer, use it here. Vacuum-sealed grilled chicken breast keeps in the fridge for up to 7 days and in the freezer for up to 6 months without freezer burn. It also reheats better — the sealed environment holds moisture that an open container loses over time.
Reheating: A dry skillet over medium heat for 2–3 minutes per side is the best option for sliced chicken. It brings back a little color without drying it out. The microwave works for shredded or chopped applications where texture matters less.
Frequently Asked Questions
Pull the chicken off the grill at 160°F. The USDA recommends 165°F as the safe internal temperature, and carryover cooking during a 5-minute rest will bring it there. Pulling at 165°F on the grill means the chicken is already past that temperature by the time you slice it, which produces drier results. Use an instant-read thermometer and pull at 160°F every time.
Two things: two-zone cooking and resting. Sear over direct heat to build the crust, finish on the indirect side to cook the center gently, and pull at 160°F. Then rest under loosely tented foil for 5 minutes before slicing. Skipping the rest is the most common reason grilled chicken comes out dry.
About 20–25 minutes total for a standard boneless breast. Sear for 3–4 minutes per side over direct heat, then 15–20 minutes on the indirect side until the internal temperature hits 160°F. Thickness varies, so use a thermometer rather than relying on time alone.
Yes, with one adjustment. Set up a two-zone fire by turning one burner to high and leaving the other off. The technique is the same. One note: if you’re using mayonnaise as a coating instead of oil, stick with oil on gas. The egg in mayo reacts with propane flames and produces an off flavor. On charcoal it’s fine.
Technically yes, but it’s not recommended for this method. Frozen chicken on a two-zone setup creates an uneven cook. The outside chars before the center thaws. If you’re in a pinch, thaw the breast in cold water for 30–45 minutes first, then grill as written. A fully thawed breast gives you control over the sear and the indirect finish that a frozen one doesn’t. For best results, thaw overnight in the refrigerator.
Try It and Tag Us
If you make this, leave a rating and a comment below. It helps other people find the recipe, and I read every one. Tag @chilesandsmoke on Instagram. I want to see the cook.
If you want more from the live fire playbook, both cookbooks are on Amazon: Chiles and Smoke and Epic BBQ Sandwiches.
Grilled Chicken Breast (Foolproof Method)
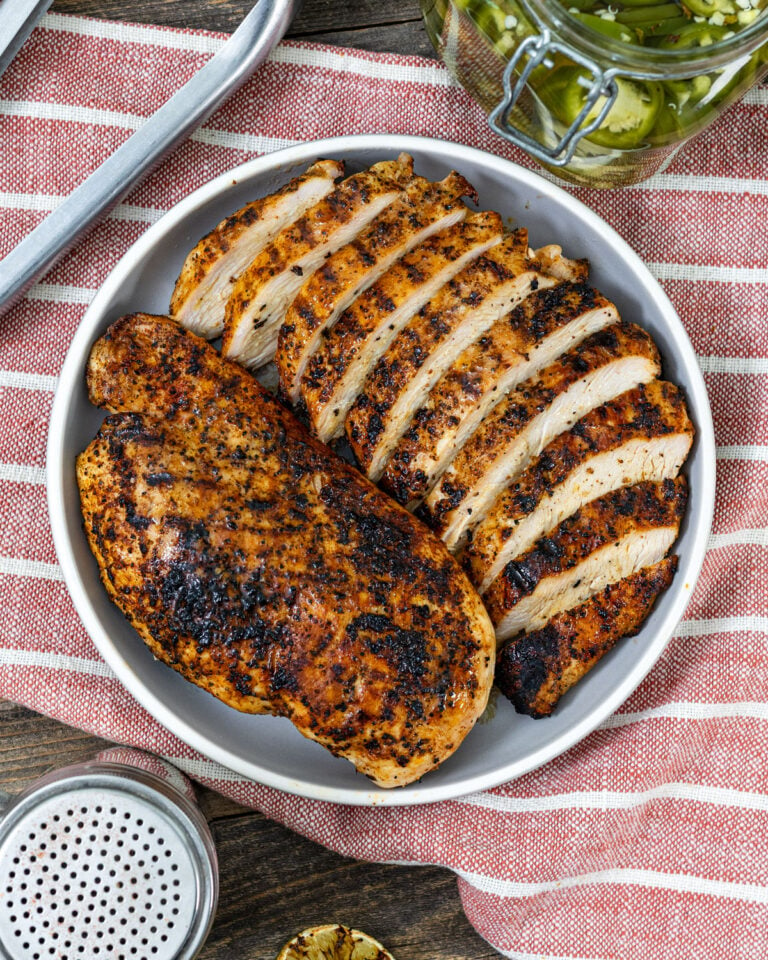
Two-zone charcoal grilled chicken breast, seared for a charred crust and finished indirect to 160°F. Juicy, versatile, and meal prep-ready in 35 minutes.
- Total Time: 35 minutes
- Yield: 4 servings 1x
Ingredients
- 4 boneless chicken breasts (6–8 oz each)
- 1 teaspoon oil per breast
- 2 tablespoons Sedona Sand Fiesta Seasoning or your rub of choice
- Kosher salt to taste (for finishing, optional)
Instructions
- (Optional) If your breasts are thick or uneven, place each one under plastic wrap on a sheet pan and flatten the thickest part with a cast iron skillet or heavy pan until the thickness is even. Skip if your breasts are already uniform.
- Coat each breast with about a teaspoon of avocado oil, then apply your seasoning generously on all sides. Let sit for 10–15 minutes while the grill heats up.
- Fill a charcoal chimney and light it. Once the coals are ashed over, bank them to one side of the grill for a two-zone setup. Target 400–425°F on the direct side. Let the grill stabilize for 10 minutes. Clean the grates before adding the chicken.
- Place the chicken directly over the coals. Sear for 3–4 minutes per side until grill marks develop and the crust is set. Do not flip early. The chicken releases from the grates on its own when it’s ready.
- Move the chicken to the cool side of the grill. Put the lid on and cook for 15–20 minutes until the internal temperature reaches 160°F at the thickest part. Use a thermometer, not time alone.
- Pull the chicken off at 160°F. Tent loosely with foil and rest for 5 minutes. Carryover cooking brings the temperature to 165°F during the rest.
- Slice against the grain into strips about 1/2 inch wide. Taste before adding more seasoning. A light pinch of kosher salt or a pat of salted butter on the slices is optional but worth trying.
Notes
- Pull the chicken at 160°F. Carryover cooking during the rest brings it to 165°F.
- Let it sit for 10–15 minutes after seasoning while the grill heats up.
- Avoid high-sugar rubs. They burn over direct heat before the chicken is ready to flip.
- Do not use mayo on a gas grill. The oil and egg react with propane flames and produce an off flavor. Charcoal only.
- Store in an airtight container in the refrigerator for up to 4 days. Vacuum seal for up to 7 days in the fridge or 6 months in the freezer.
- Prep Time: 10 minutes
- Cook Time: 25 minutes
- Category: Chicken & Poultry
- Method: Grilling
- Cuisine: American
- Diet: Gluten-Free
Nutrition
- Serving Size:
- Calories: 326
- Sugar: 0.5 g
- Sodium: 409.9 mg
- Fat: 10.6 g
- Carbohydrates: 2.5 g
- Protein: 51.2 g
- Cholesterol: 165.5 mg

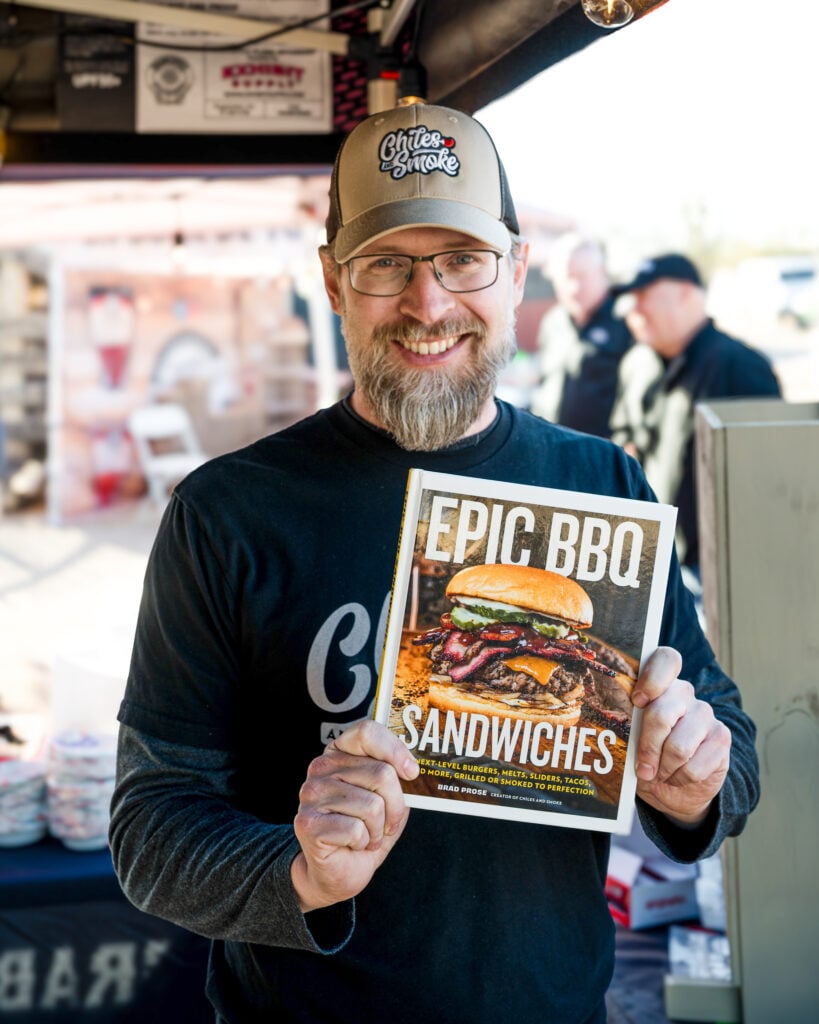
Brad Prose has been crafting recipes over live fire for 20 years. He’s the author of two cookbooks, Chiles and Smoke and Epic BBQ Sandwiches, and the creator of the original smash burger taco, as credited by the Washington Post, TODAY Show, Good Morning America, and Food Network. Brad is the force behind Chiles and Smoke, the home of Sonoran BBQ: bold flavors built around chiles, smoke, and the traditions of the American Southwest. Follow along on Instagram, YouTube, and Facebook.