
Smoked Chuck Roast, Poor Man’s Brisket
Last tested June 2026
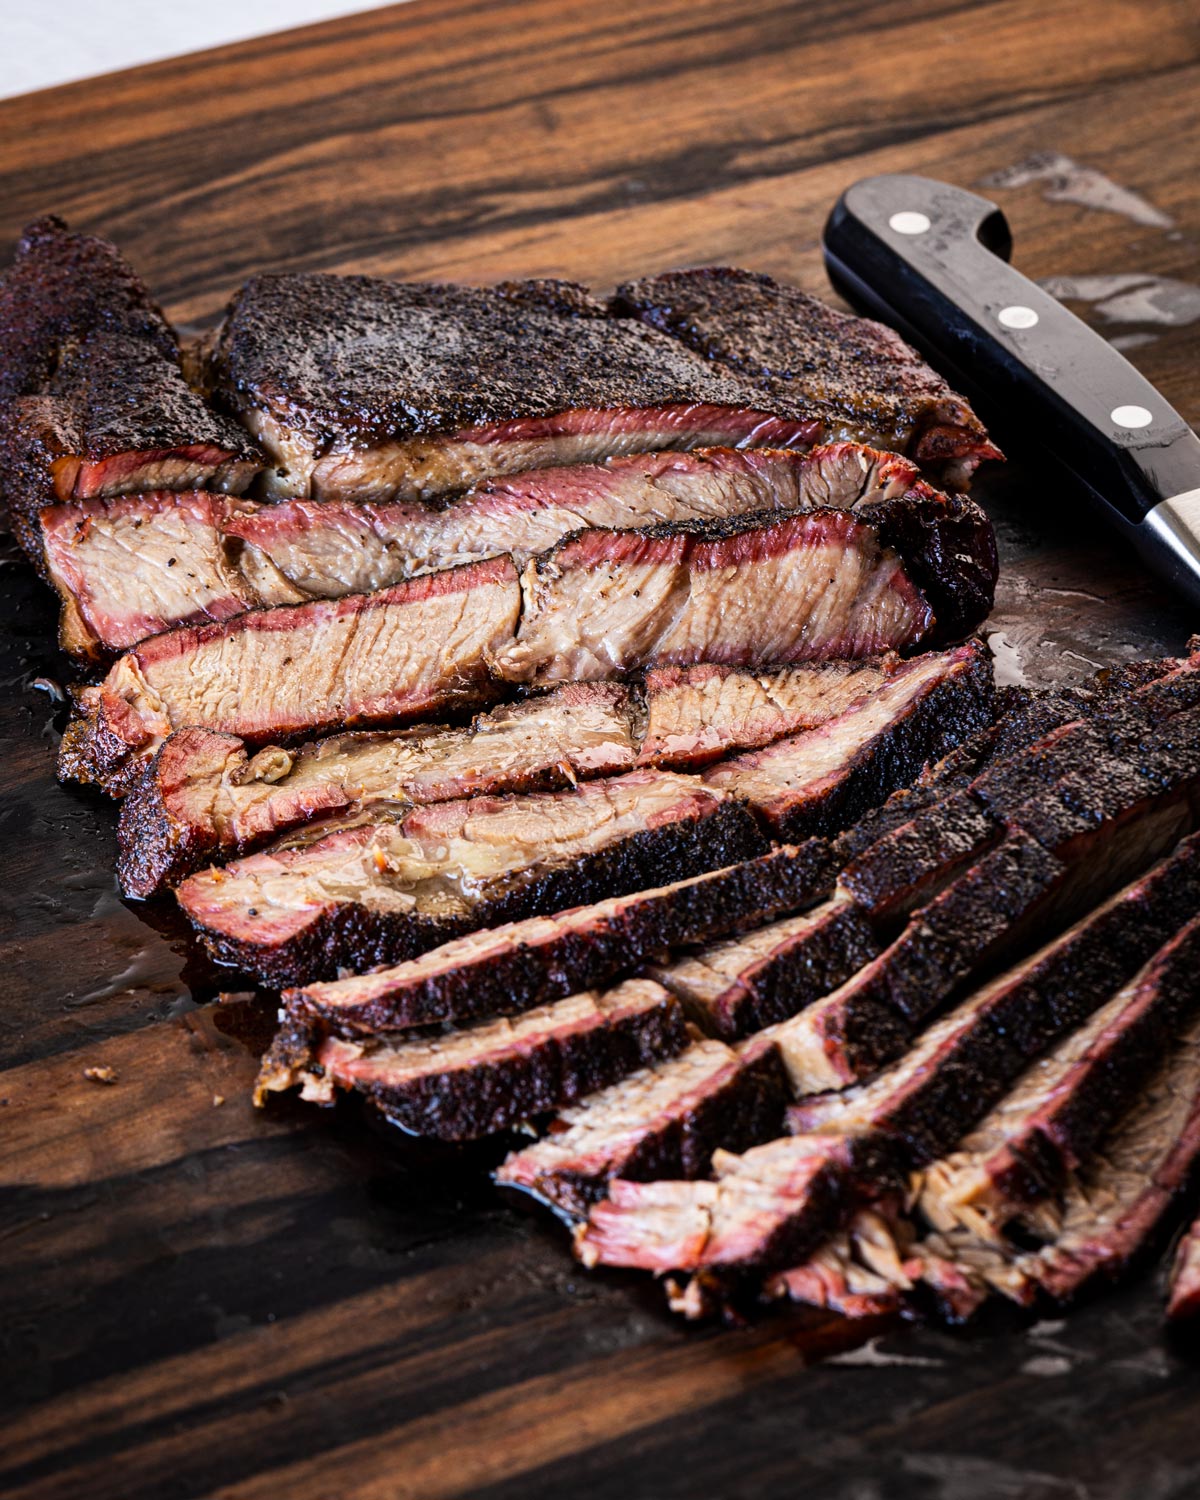
Smoked chuck roast is one of the best low-and-slow cooks you can do on any smoker, and it takes a fraction of the time of a full packer brisket. The bark, the smoke ring, the tender slices: it is all there, just from a cut that costs less and fits in a smaller cooking window.
I started making this about 15 years ago when chuck roast was noticeably cheaper per pound than brisket and buying a full packer wasn’t really on the table. This satisfied the craving well enough that it became a staple, and it stayed one even after the price gap started closing. These days it can be a coin flip on which cut costs more per pound, but a 3-4 pound chuck roast is always a smaller total spend than a whole packer, and sometimes that’s the whole point.
Looking for a brisket recipe? Don’t worry, we’ve got that too. Check out the guide for Smoked Brisket if you’re ready to tackle the big cook.
Why This Process Works
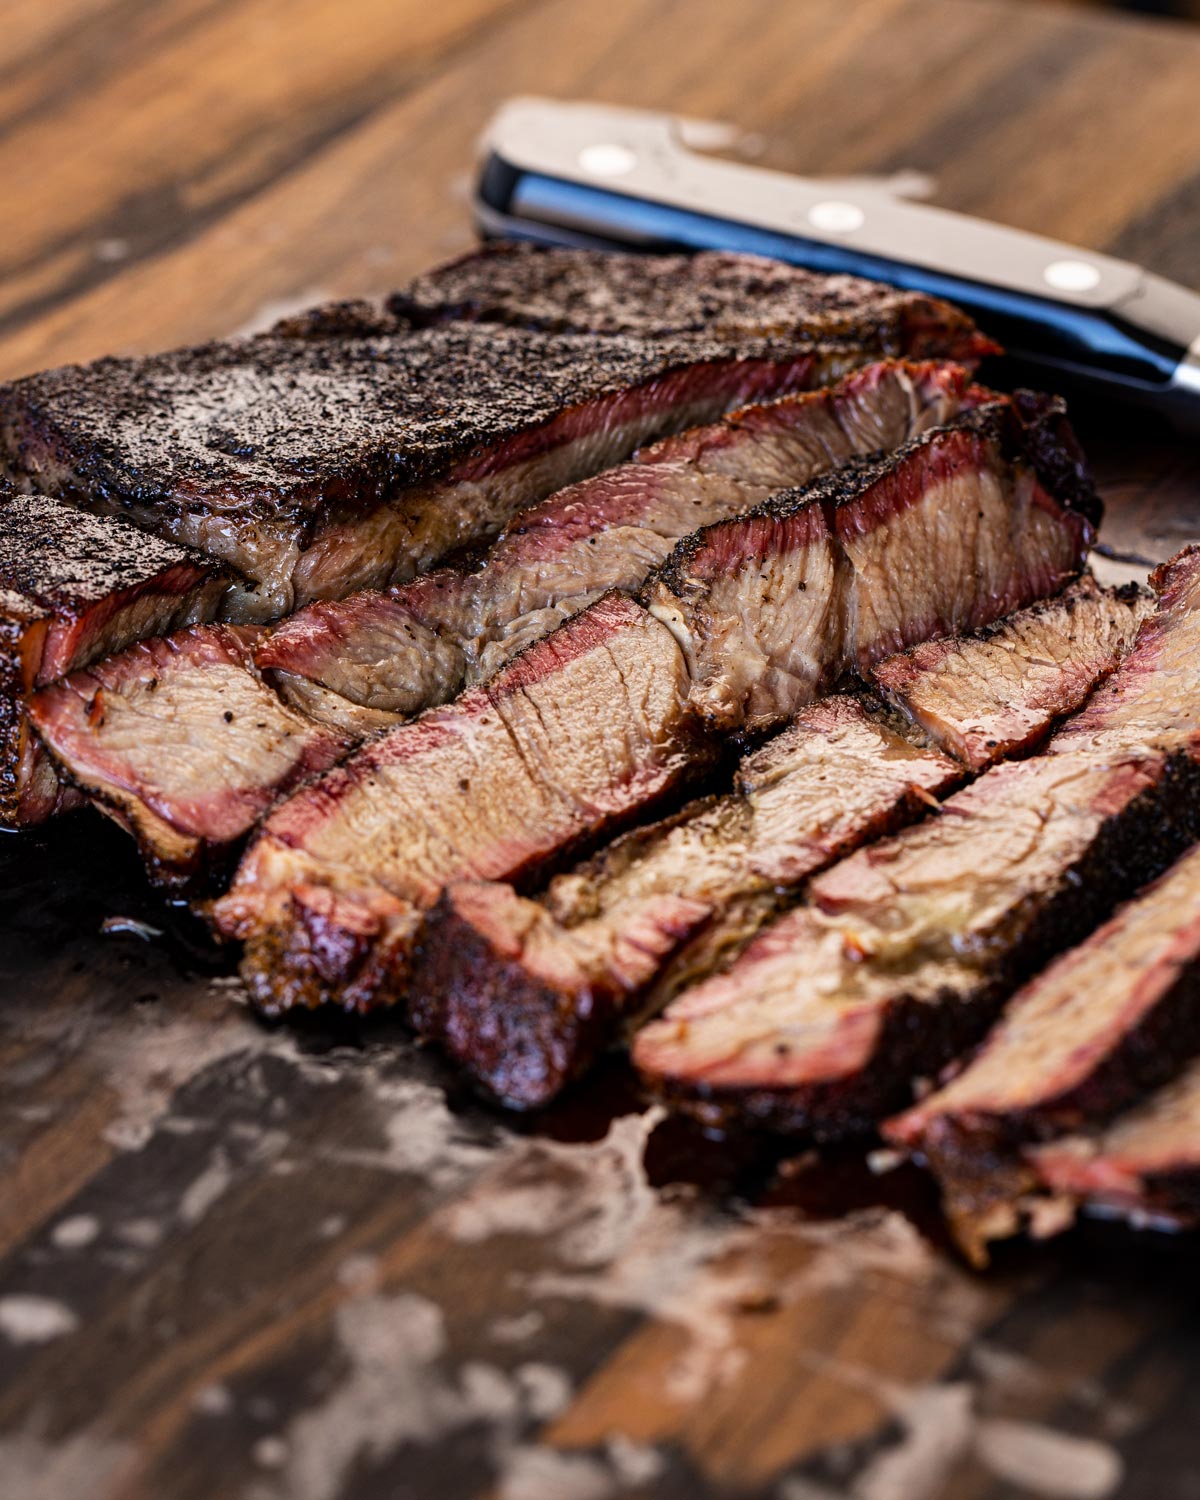
- Every slice stays juicy because chuck has more connective tissue than brisket flat, and that tissue converts to gelatin during the long smoke rather than drying out. More marbling means more forgiveness if you run a little long.
- Butcher paper keeps the crust intact through the wrapped phase: unlike foil, paper lets steam escape rather than trap it against the bark, so you don’t lose what you built in the first few hours of the cook.
- An hour of resting means cleaner slices and less juice lost to the cutting board: the muscle fibers relax and the juices redistribute as the temperature drops, which is the difference between a good result and a great one.
How Long to Smoke a Chuck Roast
Plan on roughly 1.5 hours per pound at 250°F as a working estimate, but time is just a starting point. The roast is done when a probe slides through the thickest part with almost no resistance, somewhere between 200-205°F. Use the table below to block out your day, and always start earlier than you think you need to.
| Roast Size | Estimated Time at 250°F |
|---|---|
| 2-3 lbs | 4-5 hours |
| 3-4 lbs | 5-6 hours |
| 4-5 lbs | 6-7 hours |
| 5+ lbs | 7-9 hours |
The stall is real. Most chuck roasts will hit 165°F and seem to stop climbing for 30-60 minutes. That is normal, and wrapping in butcher paper at that point is how you push through it.
Sliced or Pulled? The Wrap Is What Changes
Both sliced and pulled chuck roast reach the same probe-tender finish, so the temperature alone is not what separates them. What changes is how you wrap the roast midway through the cook.
This recipe wraps in butcher paper, which lets steam escape and keeps the exterior firm enough to hold together when you slice. You get clean cuts, intact bark, and a texture closer to brisket.
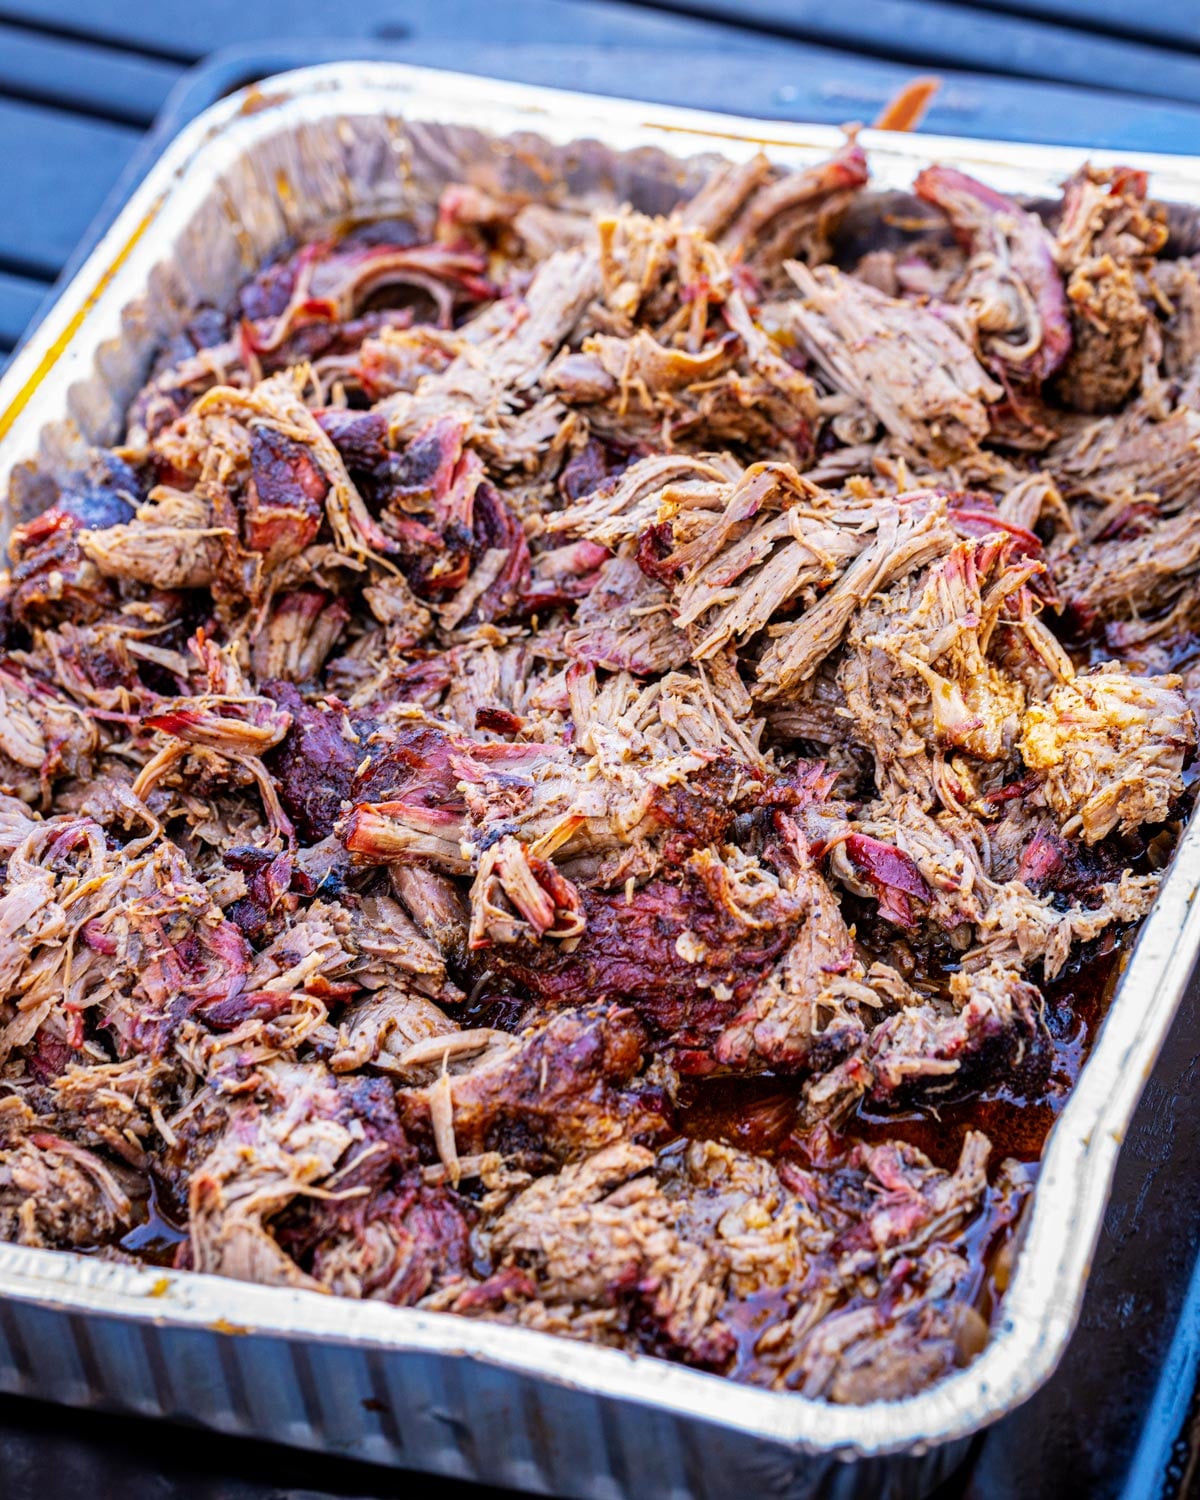
Smoked pulled beef works differently. That method uses a tight foil wrap, sometimes with added liquid, which creates a braise environment inside the package. The roast breaks down further and the muscle fibers pull apart easily once it hits probe tender. The bark softens in the process, but that is the point since everything gets mixed together anyway.
If you want pulled beef, the full method is here: Smoked Pulled Beef.
How to Choose the Best Chuck Roast for Smoking
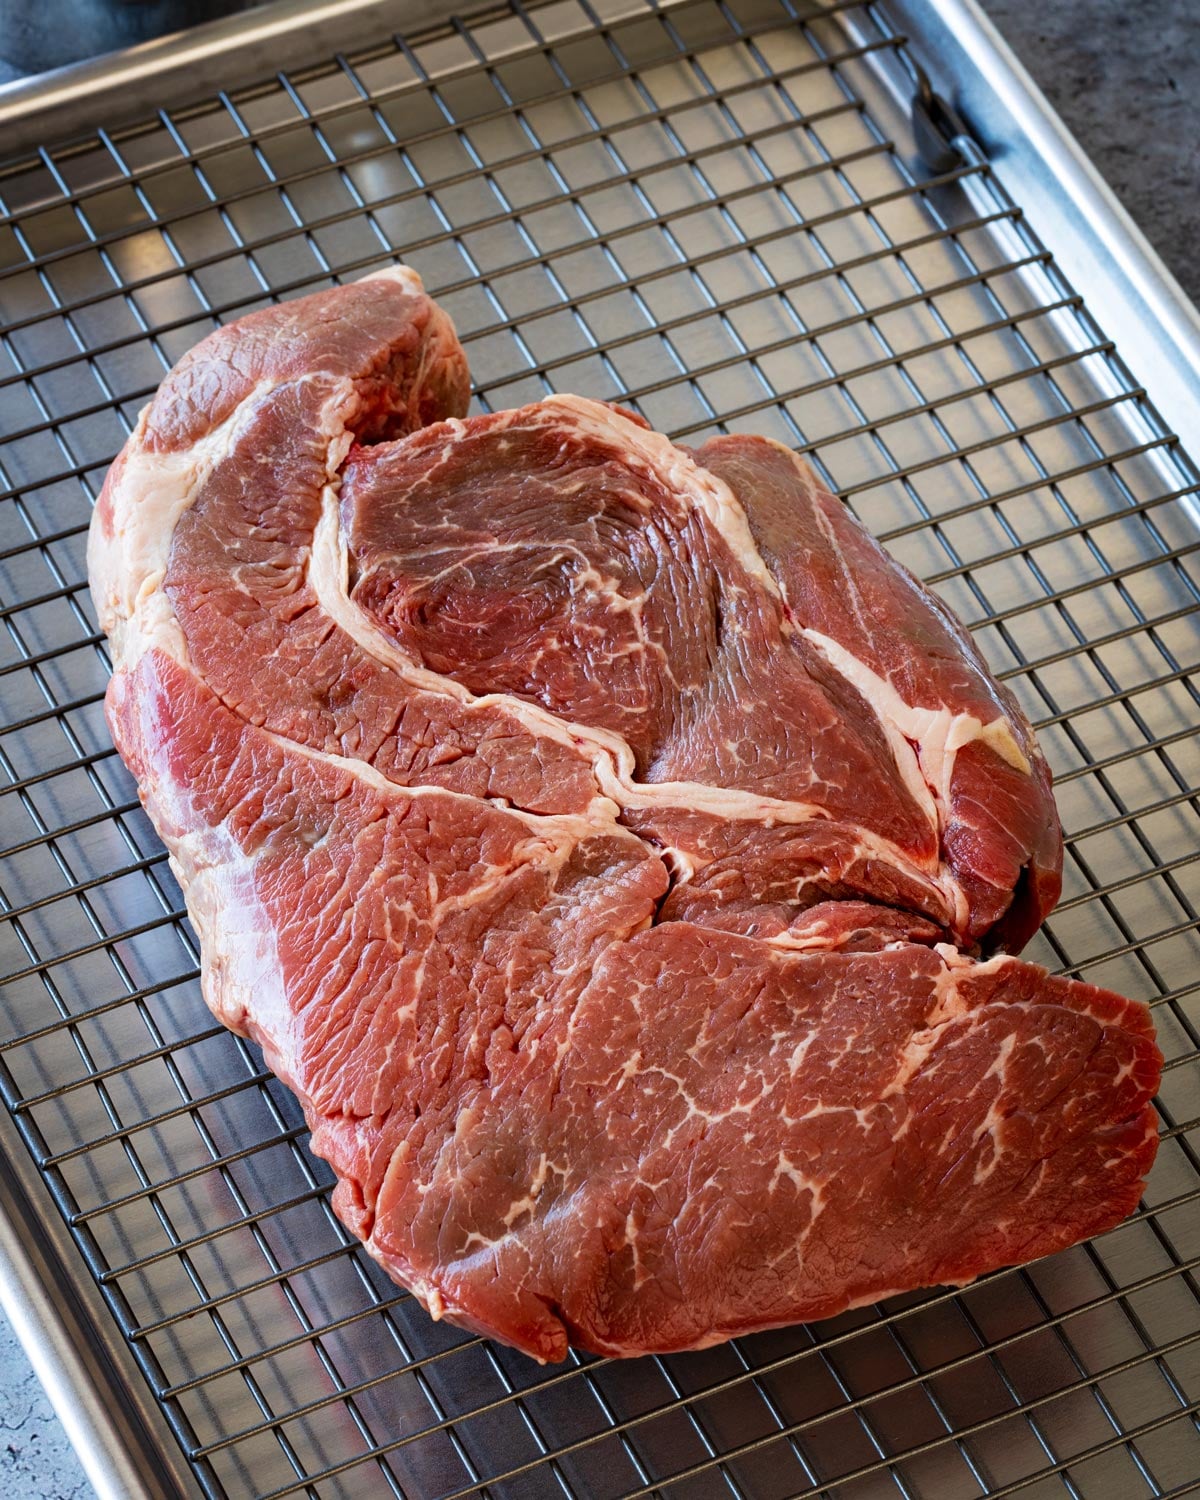
Look for a chuck roast with thin intermuscular fat. That thick band of fat running through the center of the roast does not fully render down during the cook, and a heavy band means more waste and an awkward seam when you slice. A thin band, by contrast, mostly disappears by the time the roast hits 200°F.
Marbling within the muscles matters more than surface fat. A Choice grade roast with strong intramuscular fat will eat better than a Select grade with a thick external fat cap. Prime chuck is worth it when you can find it.
How to Trim a Chuck Roast for Smoking
Trimming is minimal. Remove the roast from the packaging, pat it dry with paper towels, and check for any hard silverskin or loose exterior fat on the surface.
Silverskin does not render and can create a chewy patch on the bark, so trim it off with a sharp boning knife.
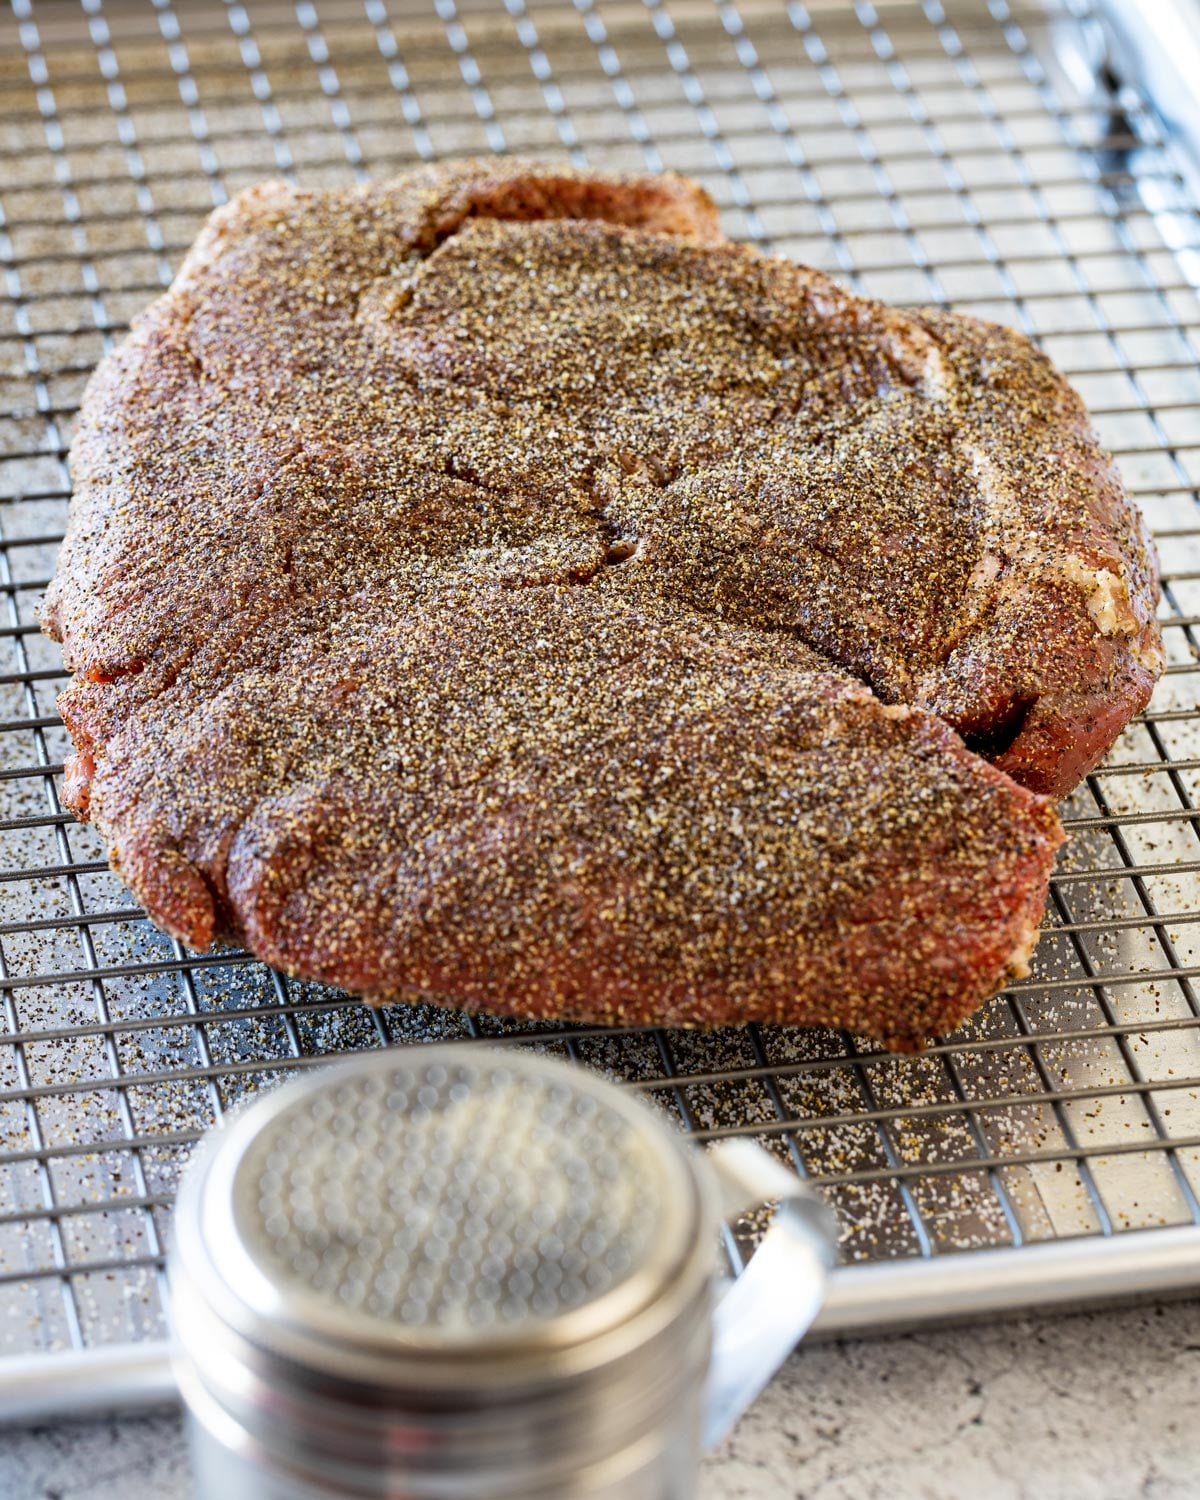
Dry Brining: Why It Matters
Season the chuck roast at least 2 hours before smoking, and overnight if you have the time. That is a dry brine, and it does more than just flavor the surface. The salt draws moisture out of the muscle, which then dissolves the salt and gets pulled back in through osmosis. The result is a roast that is seasoned all the way through, not just on the outside, and one that retains more juice during the long cook.
The overnight dry brine also dries out the surface of the meat. That dry exterior is what allows a hard bark to form in the first 90 minutes on the smoker. A wet surface takes longer to crust and produces a thinner bark.
Set the seasoned roast on a wire rack over a baking sheet and leave it uncovered in the fridge. The airflow around the bottom matters, so do not skip the rack and rest it flat on the pan.
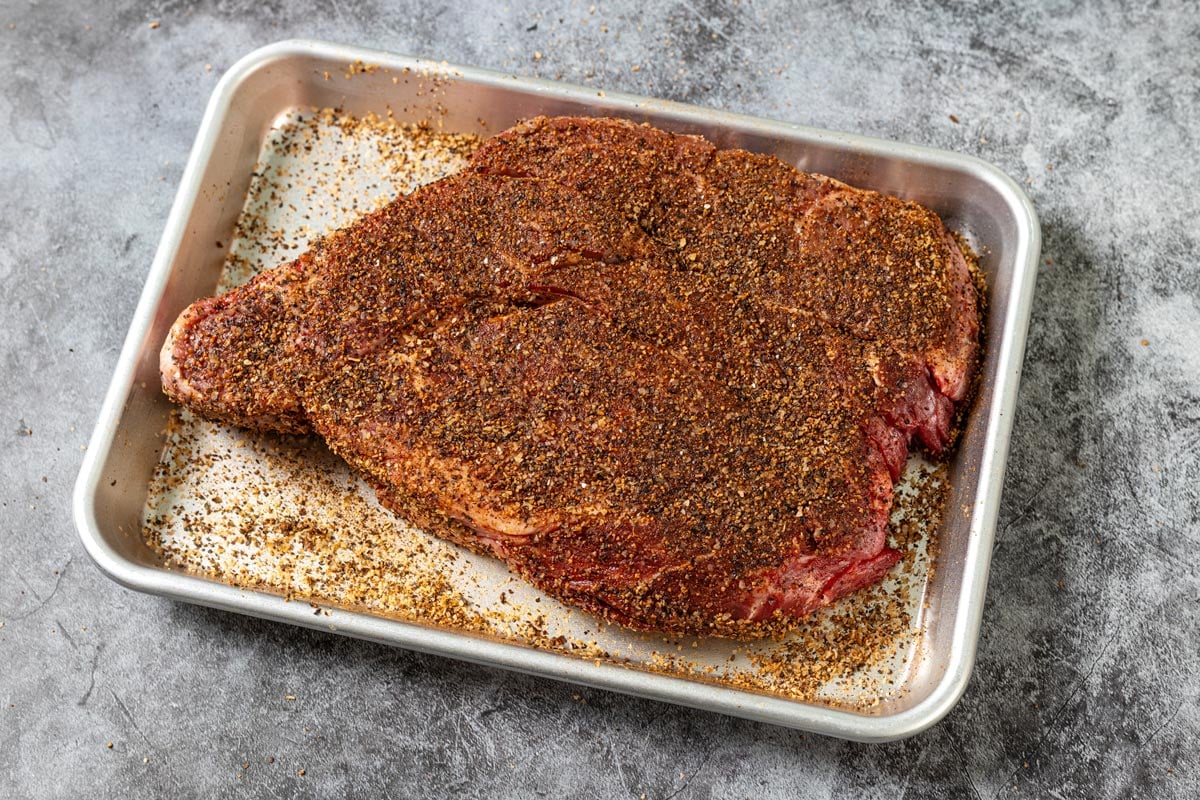
Seasoning the Chuck Roast
Texas Dalmatian Rub (the base): 50/50 kosher salt and coarse black pepper. This is the starting point for most of my low-and-slow beef, and for good reason. The large salt crystals pull moisture out efficiently for the dry brine, and the coarse pepper builds visible texture into the bark.
Mix equal parts by volume, not weight. A quarter cup of each is enough for a 3-4 lb roast. Apply it generously on all sides and don’t be shy about the edges.
Optional additions:
- Granulated garlic: adds depth without competing with the smoke. I use about 1 teaspoon per pound.
- Ground guajillo or ancho chile powder: where the Sonoran influence comes in. A tablespoon mixed into the rub gives you a reddish bark and a mild earthy heat that works well with beef.
If you want to skip the build-your-own rub, Canyon Crust Beef Seasoning is my seasoning for smoked beef. It is built around these same flavors and goes straight onto the roast without any blending.
How to Smoke the Chuck Roast
Preheat your smoker to 250°F. This works on a pellet grill, offset, or a charcoal grill set up for indirect cooking. The method is the same across all three: you want steady indirect heat at 250°F with good smoke running through the chamber.
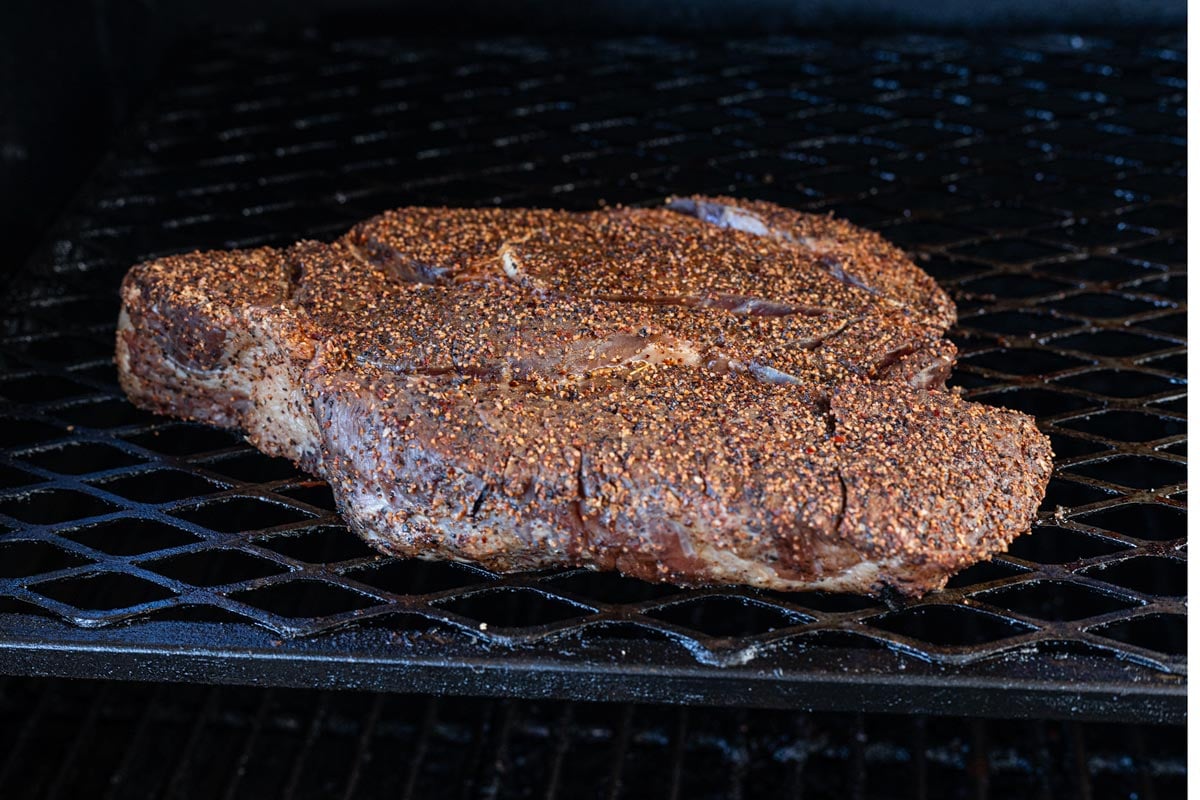
If you are using a charcoal grill, bank your coals to one side and place the roast on the opposite side, with the thickest part facing toward the heat source. Add two or three wood chunks directly to the coals. On an offset, manage your firebox as usual. On a pellet grill, 250°F is your dial setting and the auger handles the rest. One note on pellet grills: avoid the smoke or low setting (usually around 180°F). That temperature is too low to render the fat properly and will add hours to your cook without improving the result.
Place the roast on the grates and close the lid.
Spritzing: After the first hour, spritz the roast every 45 minutes. I use apple cider vinegar, flat stout beer, or beef stock depending on what flavor profile I am after. Coffee and stout give you a darker, more aggressive bark. Apple cider vinegar keeps things lighter and adds a subtle tang. Use whatever makes sense for the meal.
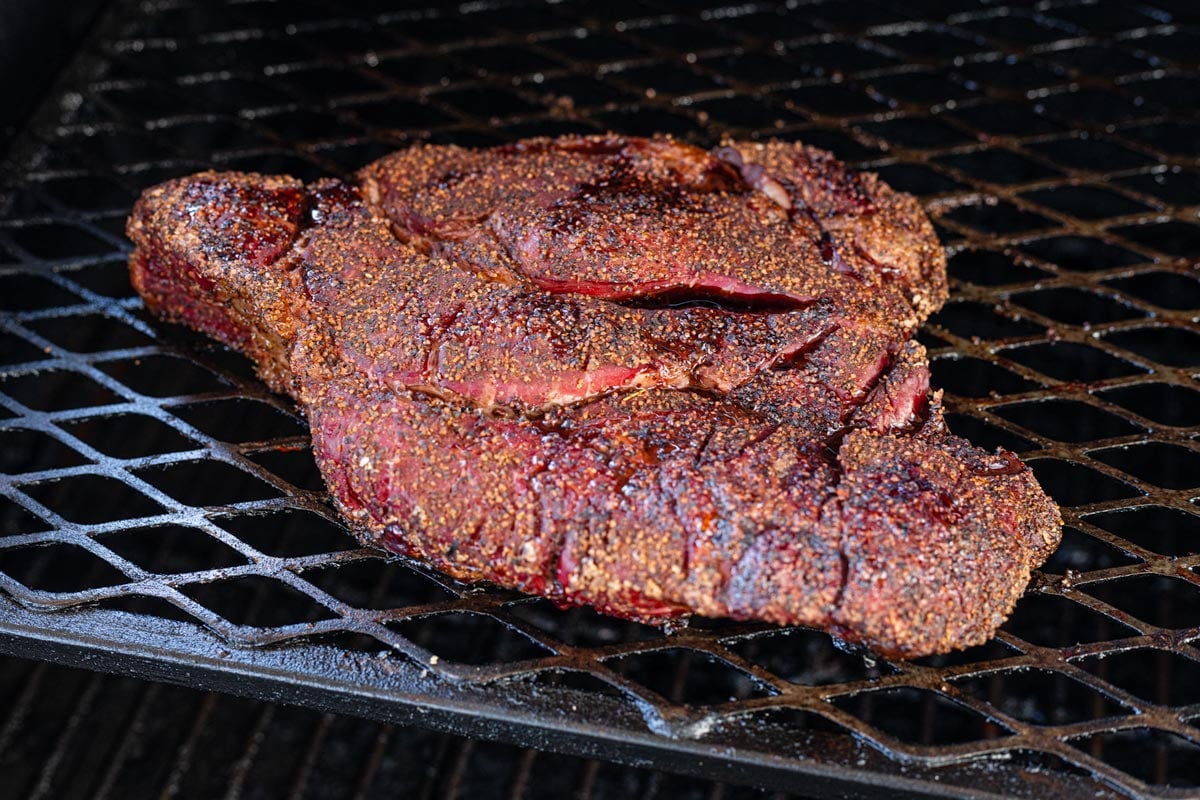
Wrapping and Finishing
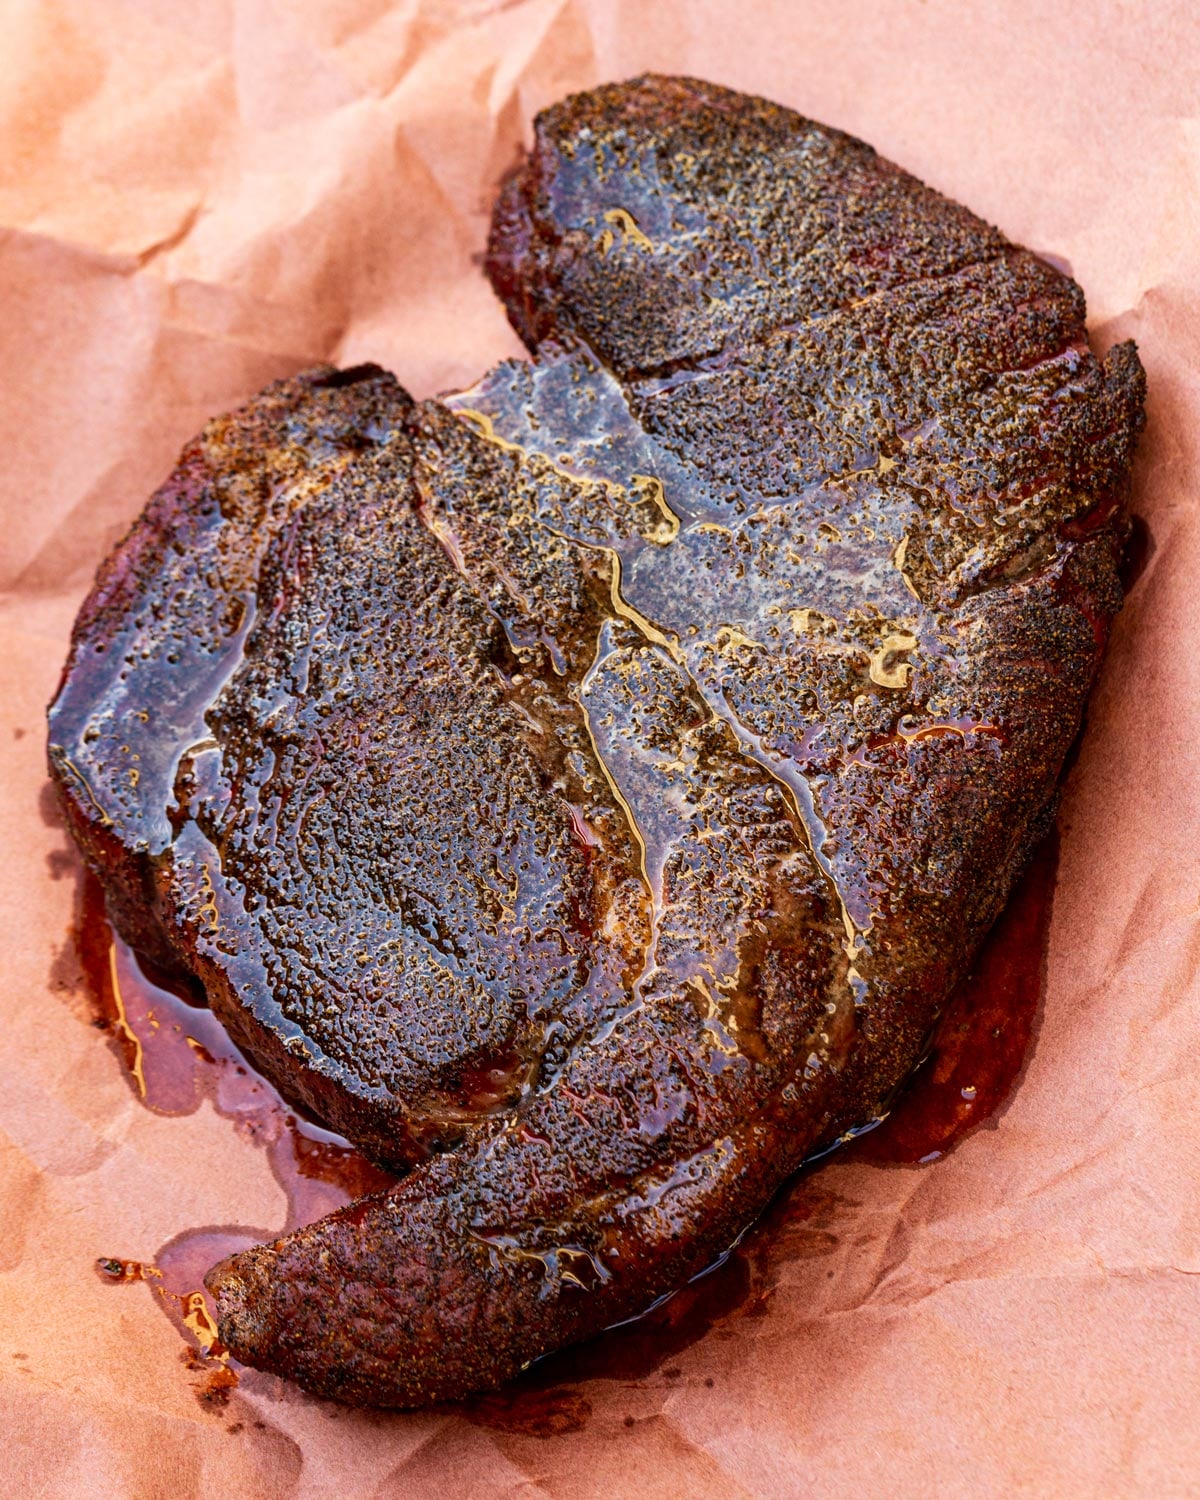
When the chuck roast hits around 165°F, pull it off the grill and wrap it in a sheet of pink butcher paper. Before you close the wrap, spritz the surface one more time or pour a splash of melted beef tallow over the top. The tallow adds richness and keeps the bark from drying out during the wrapped phase.
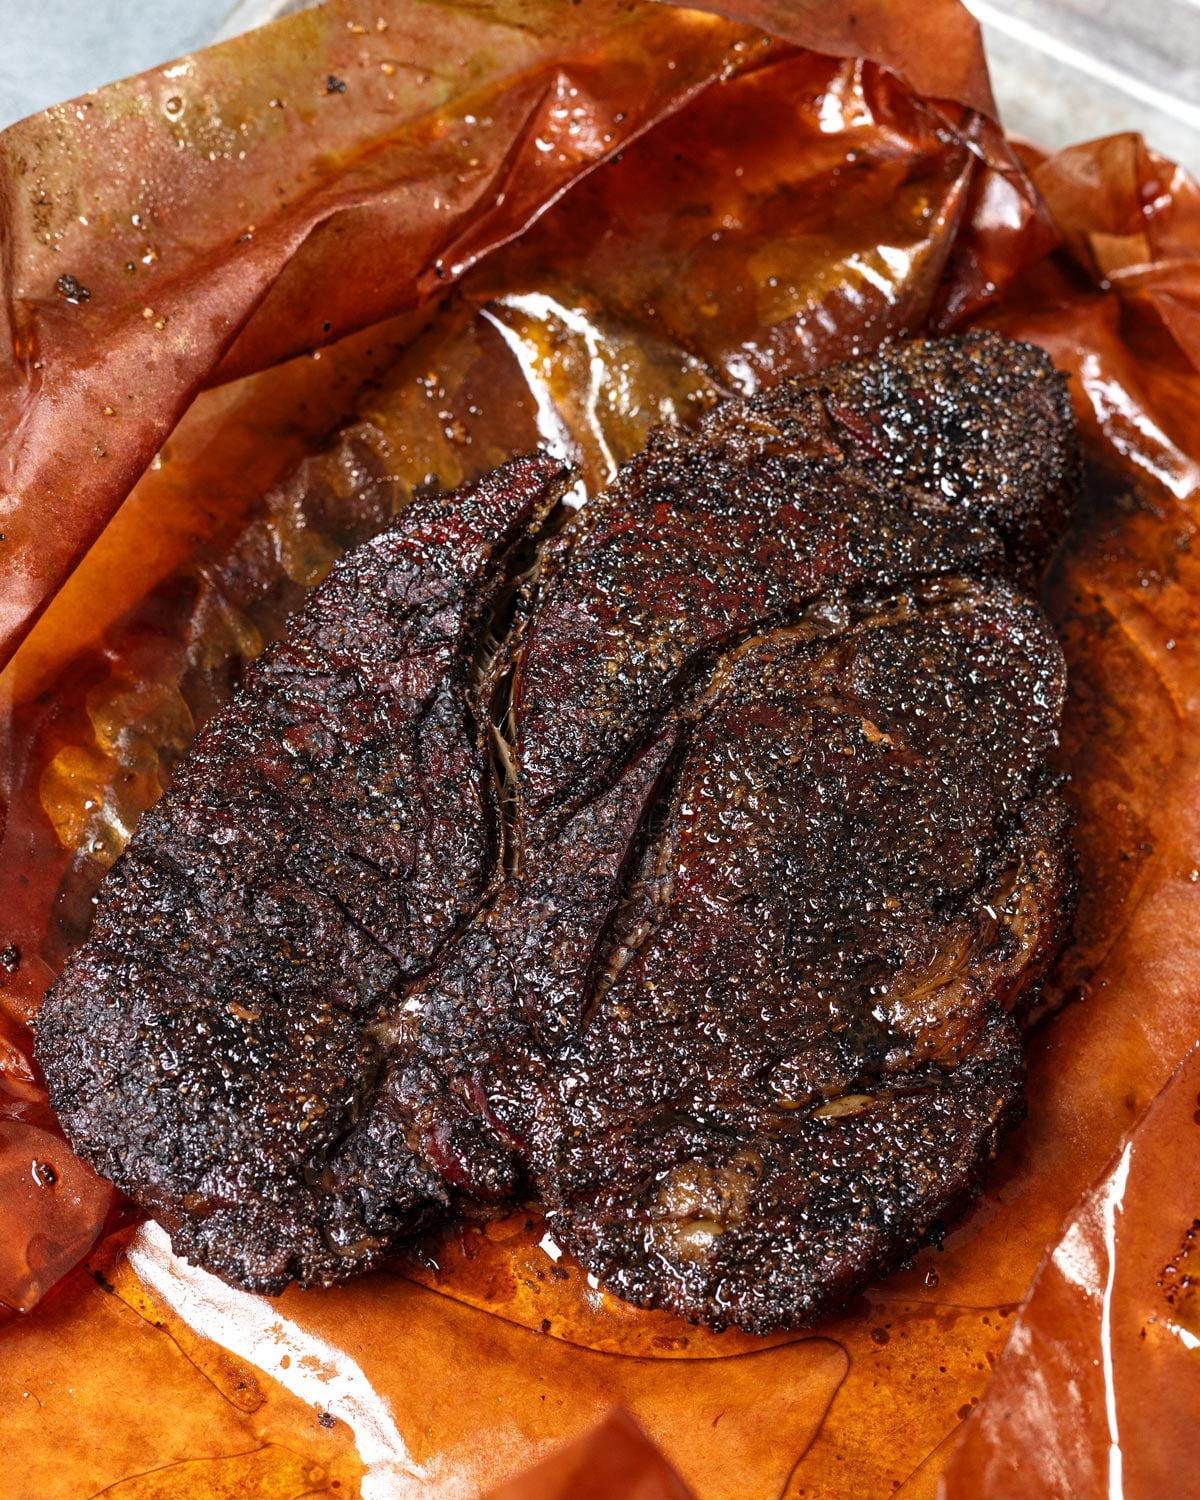
Wrap tightly, seam-side down, and return it to the smoker. Continue cooking until the internal temperature reaches 200-205°F and a probe or instant-read thermometer slides into the thickest part with almost no resistance. Every roast is slightly different, so use feel over temperature as your final check.
How to Rest the Chuck Roast
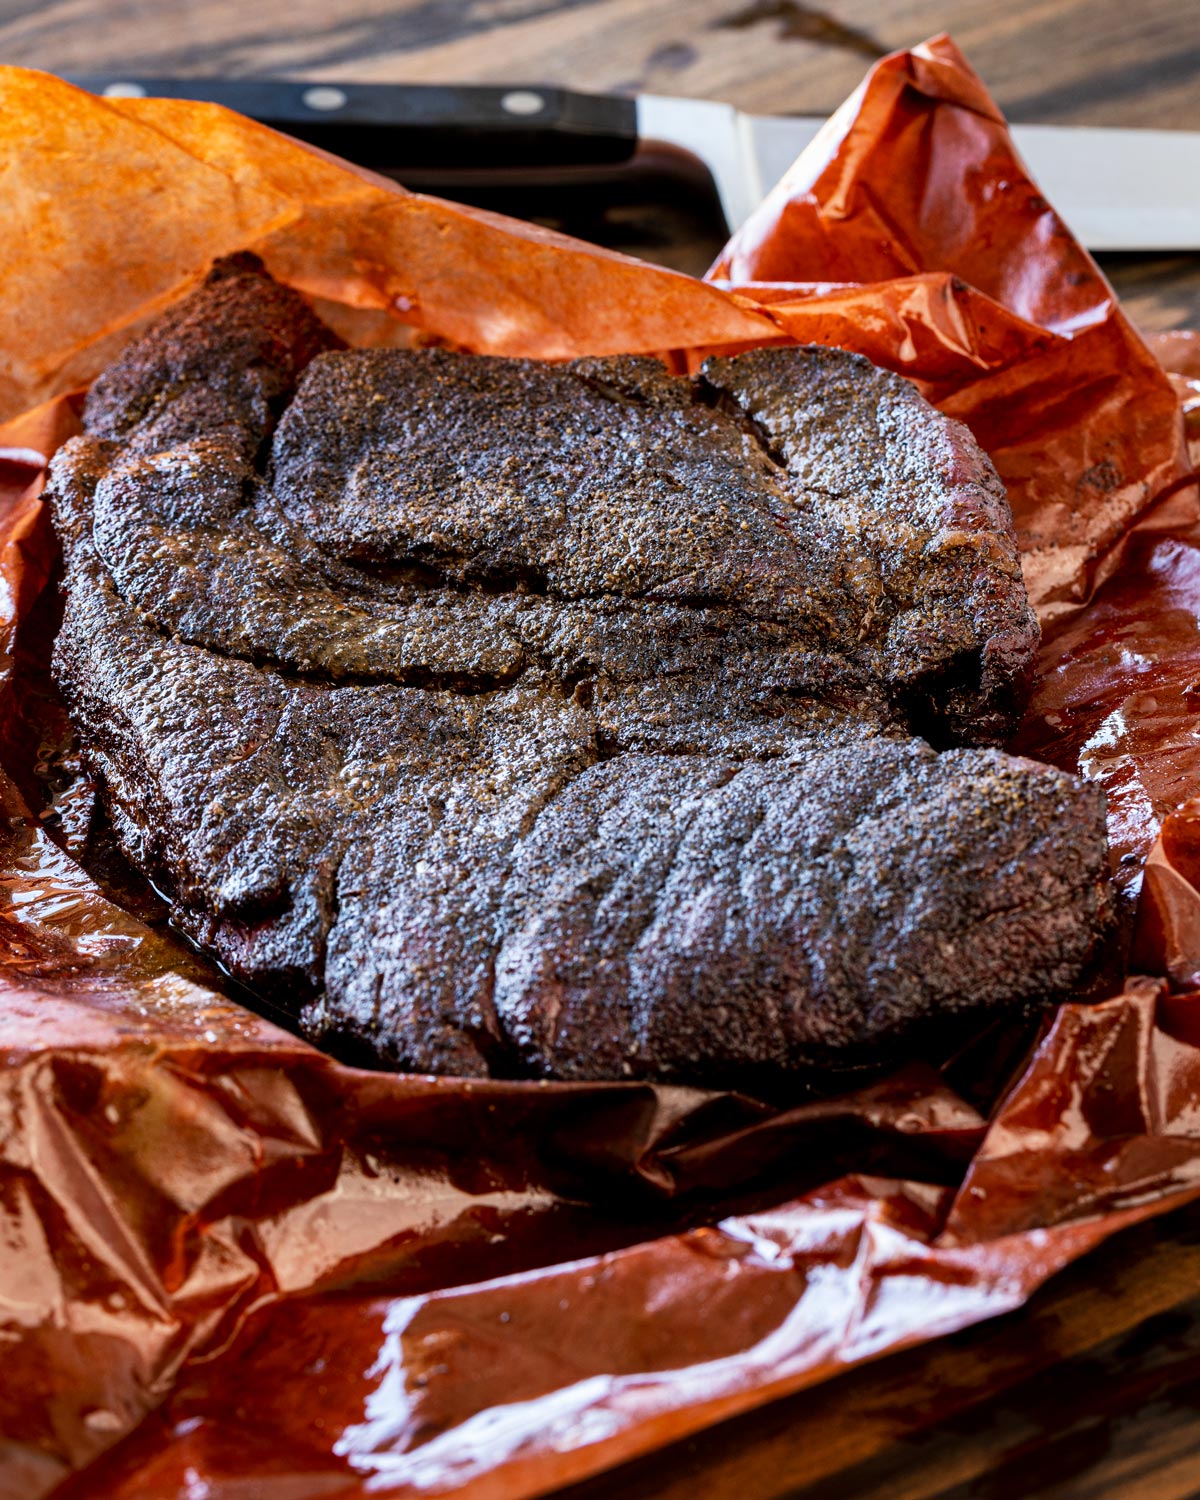
Do not skip the rest. The meat is still cooking slightly when it comes off the grill, and cutting into it too early means losing a significant amount of juice to the cutting board.
Leave the roast wrapped and set it on a cutting board or baking sheet at room temperature until the internal temperature drops to about 190-195°F, which takes around 20 minutes. At that point, either hold it in an insulated cooler for up to 2 hours or move it to an oven set to 170-175°F if you are not ready to serve.
Minimum rest time is one hour. A 2-hour hold in a cooler actually improves the texture as the juices continue to redistribute.
How to Slice Smoked Chuck Roast
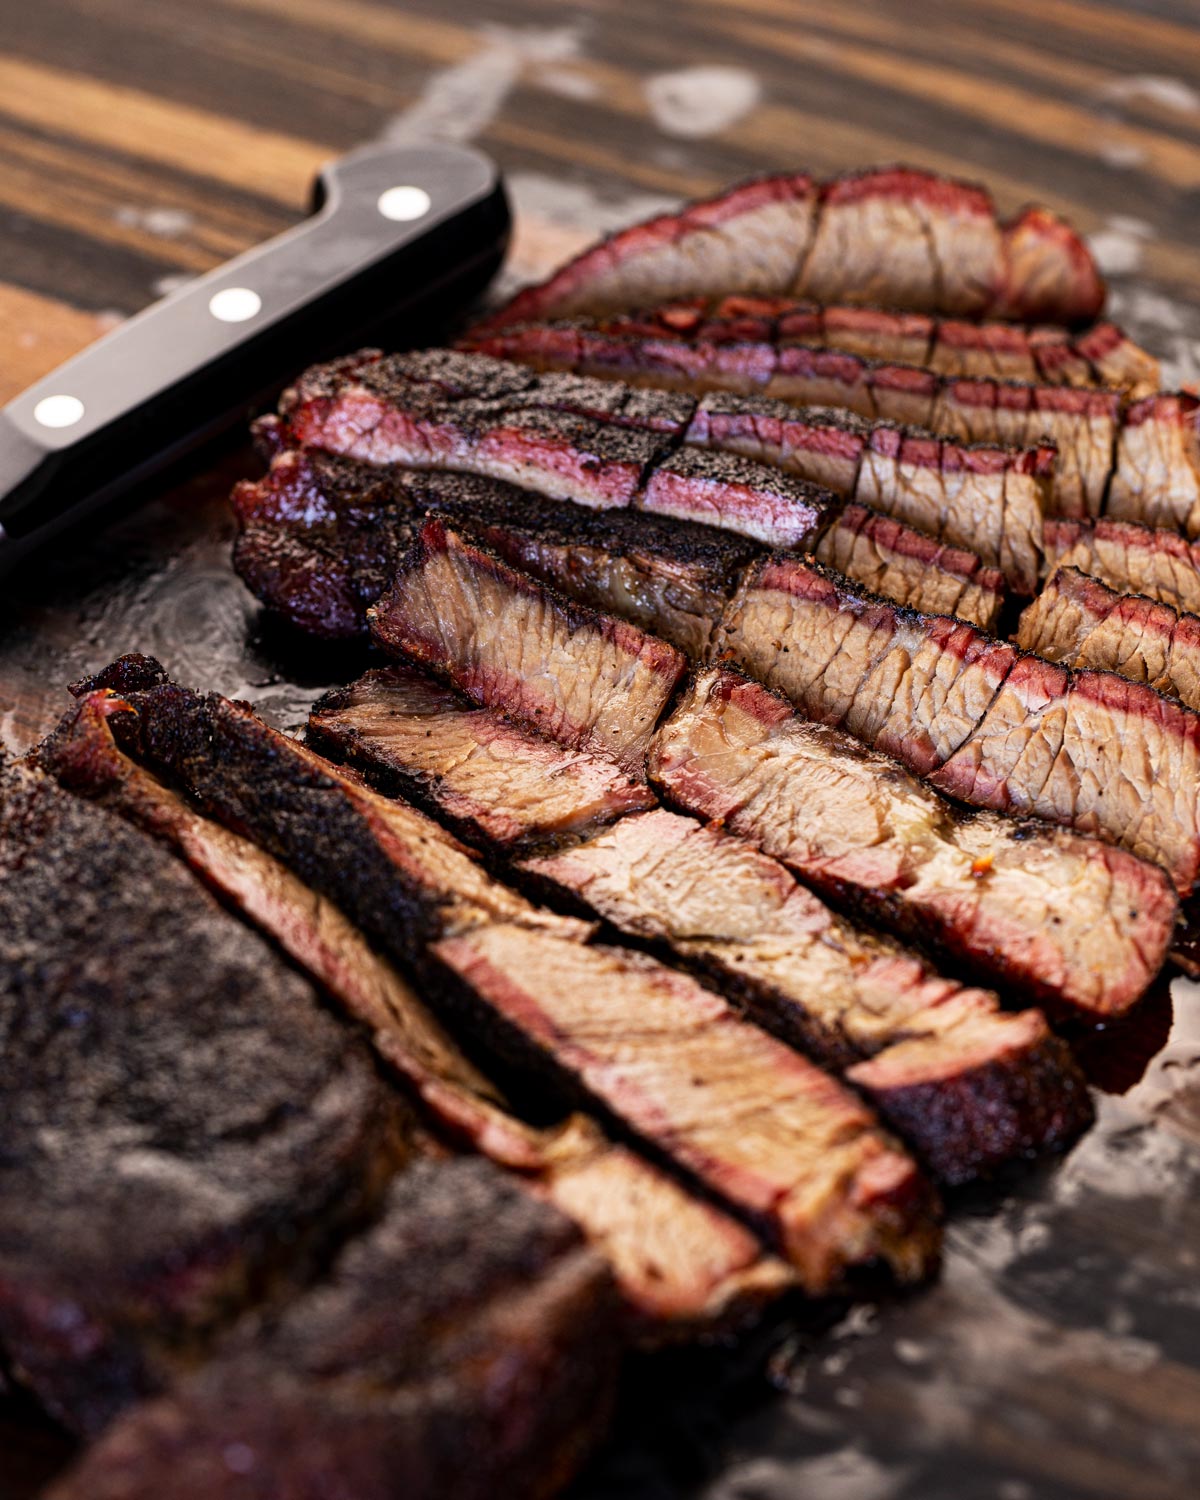
Slice against the grain. The grain in a chuck roast runs in different directions depending on which muscle you are cutting through, so take a moment to look at the fiber direction before you start.
Use a sharp slicing knife or boning knife and cut into slices about a quarter inch thick. Thinner than that and the slices can fall apart; thicker and they can feel chewy because you are leaving more muscle fiber length intact.
Slice only what you are serving right away. Pre-sliced chuck roast dries out within 20 minutes at room temperature, so keep the rest wrapped until people are ready for seconds.
Make-Ahead and Storage
Dry brine ahead: Season the roast up to 24 hours in advance and keep it uncovered on a wire rack in the fridge. This is the highest-value make-ahead step because it improves the end result, not just your morning schedule.
Leftovers: Sliced chuck roast keeps well in an airtight container in the fridge for up to 4 days. Store it with any juices from the cutting board so the slices don’t dry out.
Reheating: Reheat sliced chuck in a covered skillet with a splash of beef broth over low heat until just warmed through. A 325°F oven with the slices covered in a bit of broth also works. Avoid the microwave if you can; it dries the edges out fast.
Freezing: Freeze in sliced portions with some of the juices for up to 3 months. Thaw overnight in the fridge and reheat the same way as above.
Pro Tips from the Pit
- Choose a roast under 4 pounds if this is your first time. Smaller roasts are more forgiving with timing and tend to have better fat distribution than the oversized ones you sometimes find at warehouse stores.
- The stall is not a problem, it is information. When the temperature seems stuck at 165°F for 30-45 minutes, the roast is going through evaporative cooling as moisture leaves the surface. Wrap it and it will climb again.
- Don’t trim the intermuscular fat band before the cook. It holds the different muscles of the chuck together during the long smoke, which makes the roast easier to handle. You can separate the muscles cleanly when slicing after the rest.
- Beef tallow in the wrap is worth it. A quarter cup of melted tallow poured over the roast before closing the butcher paper wrap adds richness to the bark and keeps the crust from drying out in the wrapped phase. It is a small step that makes a noticeable difference.
- Only slice what you need. Smoked chuck roast dries out quickly once cut. Serve from the whole roast directly and keep the rest wrapped until your guests come back for more.
What to Serve With Smoked Chuck Roast
- Smoked Baked Potatoes: load them up while the roast rests, and they are ready at the same time.
- Grilled Potato Salad with Charred Lemon: a good call if you want something lighter that still came off the fire.
- Smoked Baked Beans: the classic pairing, and they can run in the smoker alongside the roast for most of the cook.
- Smoked Mac and Cheese: the same setup as the beans, if you want to run both at once.
- Smoked Jalapeño Poppers: good as an appetizer while the roast finishes its rest.
Frequently Asked Questions
Plan on roughly 1.5 hours per pound at 250°F. A 3-lb roast typically runs 5-6 hours from cold; a 4-lb roast is closer to 6-7 hours. Those are estimates, not guarantees. The real signal is probe tenderness: when a thermometer slides into the thickest part with almost no resistance and the internal temperature reads 200-205°F, the roast is ready. Always start at least an hour earlier than you think you need to.
250°F is the target. That temperature renders the fat and converts the collagen efficiently without drying out the exterior before the interior catches up. You can go as low as 225°F, but it adds time without improving the end result. Avoid the smoke or low setting on a pellet grill (usually around 180°F) since that temperature is too low to render the fat properly and will significantly extend your cook time.
Pull it between 200-205°F for sliced chuck roast, and use probe tenderness as your final confirmation. The thermometer should slide in and out of the thickest part with almost no resistance, similar to probing a jar of peanut butter. If there is resistance at 205°F, keep cooking. Some roasts with more connective tissue need another 30-40 minutes past that temperature before they fully relax.
Yes. Wrap in pink butcher paper when the internal temperature reaches around 165°F, which is typically where the stall sets in. Butcher paper is the right choice over aluminum foil because it is permeable, so steam can escape rather than pooling against the bark. The result is a crust that stays intact through the wrapped phase. Foil produces a softer, more braised texture, which works for pulled beef but not for this sliced method.
Post oak is my first choice for beef: it produces a clean, medium-intensity smoke that complements the fat in the chuck without overpowering it. Hickory is a close second and builds a slightly more aggressive smoke flavor. Mesquite works well in smaller amounts but can turn bitter if you use it for the whole cook. On a charcoal or offset, I use two or three fist-sized wood chunks at the start and do not add more mid-cook. On a pellet grill, the wood pellet flavor is built in, so just choose a beef blend or straight post oak pellets.
More Smoked Beef Recipes
- Smoked Pulled Beef: the same cut, wrapped tight in foil with liquid so it braises down for shredding instead of slicing. A completely different result and just as good.
- Smoked Brisket: the full packer version when you have the time and the guests to justify it.
- Smoked Beef Plate Ribs: the most impressive beef you can put on a smoker, and the bark is in a different league.
Try It and Tag Us
Give this method a try. Hopefully, it saves you plenty of time and money. Tag us on Instagram when you do. Leave a rating below if this helped.

Smoked Chuck Roast (Poor Man’s Brisket)
Chuck roast smoked until it slices like brisket, for a fraction of the cost. Low-and-slow method with a butcher paper wrap, salt and pepper rub, and a full rest before slicing.
- Total Time: 7-8 hours
- Yield: Serves about 6
Ingredients
- 1 beef chuck roast, 3-4 pounds
- 2–3 tablespoons dalmatian rub (50/50 kosher salt and coarse black pepper)
- 1 teaspoon granulated garlic (optional)
- 1 teaspoon ground guajillo or ancho chile powder (optional)
- 1/2 cup liquid for spritzing (apple cider vinegar, beef stock, or flat stout beer)
- 1/4 cup melted beef tallow (for the wrap, optional but recommended)
Instructions
- Season the chuck roast generously on all sides with the dalmatian rub. Set it on a wire rack over a baking sheet, uncovered, in the fridge for at least 2 hours or up to overnight.
- Preheat your smoker to 250°F. Remove the roast from the fridge and let it warm up while the smoker comes to temperature.
- Place the chuck roast on the smoker grates and close the lid. After the first hour, begin spritzing every 45 minutes.
- When the internal temperature reaches around 165°F (roughly 3-4 hours in), wrap the roast in pink butcher paper. Spritz it one last time or pour the melted beef tallow over the surface before closing the wrap. Return it to the smoker seam-side down.
- Continue cooking until the internal temperature reads 200-205°F and a probe slides through the thickest part with almost no resistance. Every roast is slightly different; use feel as your final check.
- Remove the wrapped roast from the smoker. Let it rest at room temperature until the internal temperature drops to 190-195°F, about 20 minutes, then transfer to an insulated cooler or a 170°F oven for at least 1 hour total rest time.
- Slice against the grain into quarter-inch slices. Serve immediately.
Notes
- Season and dry brine up to 24 hours in advance. Leftovers keep refrigerated for up to 4 days; freeze sliced portions with juices for up to 3 months.
- Prep Time: 2 hours
- Cook Time: 5-6 hours
- Category: Beef & Lamb
- Method: smoking
- Cuisine: American BBQ
- Diet: Gluten-Free
Nutrition
- Serving Size: 6 ounces
- Calories: 236
- Sugar: 0 g
- Sodium: 582.9 mg
- Fat: 10.2 g
- Carbohydrates: 0.6 g
- Protein: 33.5 g
- Cholesterol: 102.2 mg

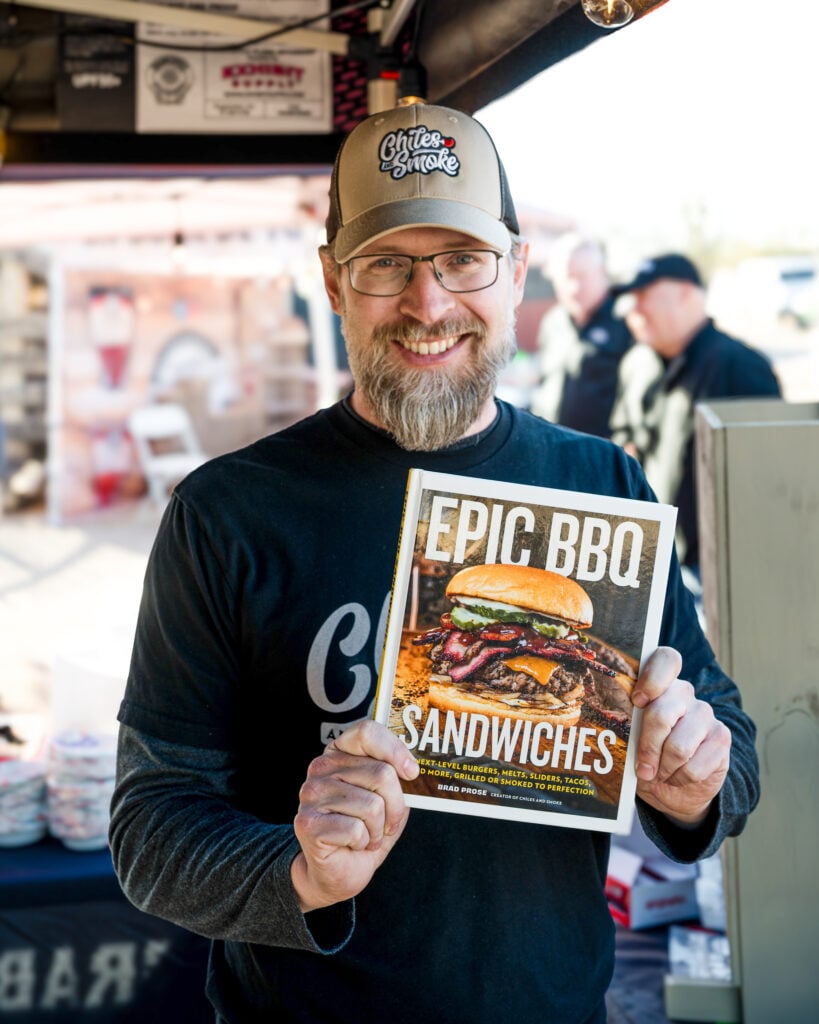
Brad Prose has been crafting recipes over live fire for 20 years. He’s the author of two cookbooks, Chiles and Smoke and Epic BBQ Sandwiches, and the creator of the original smash burger taco, as credited by the Washington Post, TODAY Show, Good Morning America, and Food Network. Brad is the force behind Chiles and Smoke, the home of Sonoran BBQ: bold flavors built around chiles, smoke, and the traditions of the American Southwest. Follow along on Instagram, YouTube, and Facebook.


I don’t have butcher paper, is there an alternative? Would heavy foil work? Thanks, looking forward to trying this recipe!
If you wrap with foil, it will steam the meat making it incredibly tender. This is ideal if you plan to shred it to serve. If you’re planning on doing a lot of barbecue it’s worth having the butcher paper, especially for all of the bigger cuts.
Going to try this on Sunday! Have you ever heard of injecting the meat with some beef tallow as well? Or is that overkill? If you were to do that, in what step of the process when would you?
I’ve heard of it, but haven’t tried that. I will wrap with melted beef tallow though!
Have one going now…what if I wrap ahead of 165?
It could work. The temperature is more of a guide, it’s more important to make sure that you have an adequate bark on the surface. Sometimes beef will plateau earlier or later than 165.
Hi, thanks for posting the recipe, I can’t wait to try it!
Question, once the time comes to tightly wrap it a 2nd time, do u still use the Butcher paper or aluminum foil, and does it matter? Thank u!
Great question! I treat it like brisket and use butcher paper. I’ve found that foil tends to ruin the bark and make it too soft.
Great recipe and explanation. Have you perhaps tried this in a foil boat rather than a full wrap?
Thank you! You know, I haven’t but I do plan on testing it. I’m very curious about the bark!
I’ve got one on right now. Gonna try out the boat. I’ll report back.
Awesome! Hope you enjoy it
I will never spend money on smoked brisket again. This gave me 100% of pleasure of brisket at a fraction of the cost. My roast was 2.85 lbs and was done in six hours. It was tender but still had some tooth. The perfect amount of salty and bite from the pepper. I added 1/2 the salt volume of granulated garlic with the salt and pepper.
Thank you for sharing! I’m so glad to hear you’ve enjoyed it and are inspired.
Prepared this recipe today using the 50/50 salt-pepper rub two-three hours prior to setting out. Then added some seasoned salt. Smoked on the grill for 3 hours using mesquite wood and spritzed with a apple cider vinegar-barrel aged stout and a shot of bourbon. Turned out great…
That spritz sounds amazing! Thanks for sharing
I understand cooking to temperature instead of time, but do you have a ball park time per lb for planning?
Yes I do, which should be about 100 minutes per pound roughly. So a 3 1/2-pound chuck should take about 6 hours, potentially a little more. It can vary based the most based on the intermuscular fat, so choose your meat wisely.
Excellent choice of rub.
Thank you!